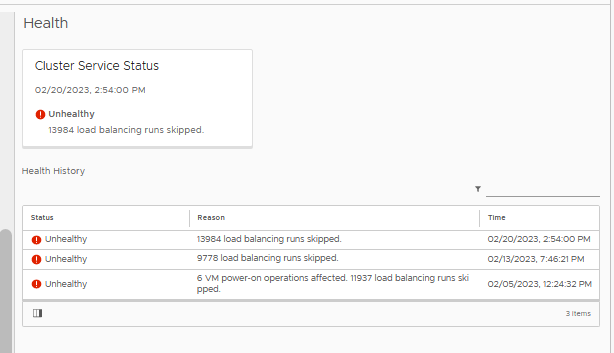
If you see such an error on the Cluster object of a vSAN (in my case it appeared on two vSAN clusters managed by the same vCenter)
vSphere DRS functionality was impacted due to an unhealthy state vSphere Cluster Service …….

an unhealthy state of the Service cluster
Errors such as the following in the EAM log. vCenter LOG
EAM.log:
2023-01-26T13:16:39.996Z |  INFO | vim-monitor | VcListener.java | 131 | Retrying in 10 sec.
2023-01-26T13:16:41.432Z | ERROR | vlsi | DispatcherImpl.java | 468 | Internal server error during dispatch
com.vmware.vim.binding.eam.fault.EamServiceNotInitialized: EAM is still loading from database. Please try again later.
        at com.vmware.eam.vmomi.EAMInitRequestFilter.handleBody(EAMInitRequestFilter.java:57) ~[eam-server.jar:?]
        at com.vmware.vim.vmomi.server.impl.DispatcherImpl$SingleRequestDispatcher.handleBody(DispatcherImpl.java:373) [vlsi-server.jar:?]
        at com.vmware.vim.vmomi.server.impl.DispatcherImpl$SingleRequestDispatcher.dispatch(DispatcherImpl.java:290) [vlsi-server.jar:?]
        at com.vmware.vim.vmomi.server.impl.DispatcherImpl.dispatch(DispatcherImpl.java:246) [vlsi-server.jar:?]
        at com.vmware.vim.vmomi.server.http.impl.CorrelationDispatcherTask.run(CorrelationDispatcherTask.java:58) [vlsi-server.jar:?]
        at java.util.concurrent.ThreadPoolExecutor.runWorker(ThreadPoolExecutor.java:1149) [?:1.8.0_345]
        at java.util.concurrent.ThreadPoolExecutor$Worker.run(ThreadPoolExecutor.java:624) [?:1.8.0_345]
        at java.lang.Thread.run(Thread.java:750) [?:1.8.0_345]
2023-01-26T13:16:50.007Z |  INFO | vim-monitor | ExtensionSessionRenewer.java | 190 | [Retry:Login:com.vmware.vim.eam:b55a7f93b59f0f7e] Re-login to vCenter because method: currentTime of managed object: null::ServiceInstance:ServiceInstance failed due to expired client session: null
2023-01-26T13:16:50.007Z |  INFO | vim-monitor | OpId.java | 37 | [vim:loginExtensionByCertificate:913aec585658e328] created from [Retry:Login:com.vmware.vim.eam:b55a7f93b59f0f7e]
2023-01-26T13:16:51.440Z | ERROR | vlsi | DispatcherImpl.java | 468 | Internal server error during dispatch
com.vmware.vim.binding.eam.fault.EamServiceNotInitialized: EAM is still loading from database. Please try again later.
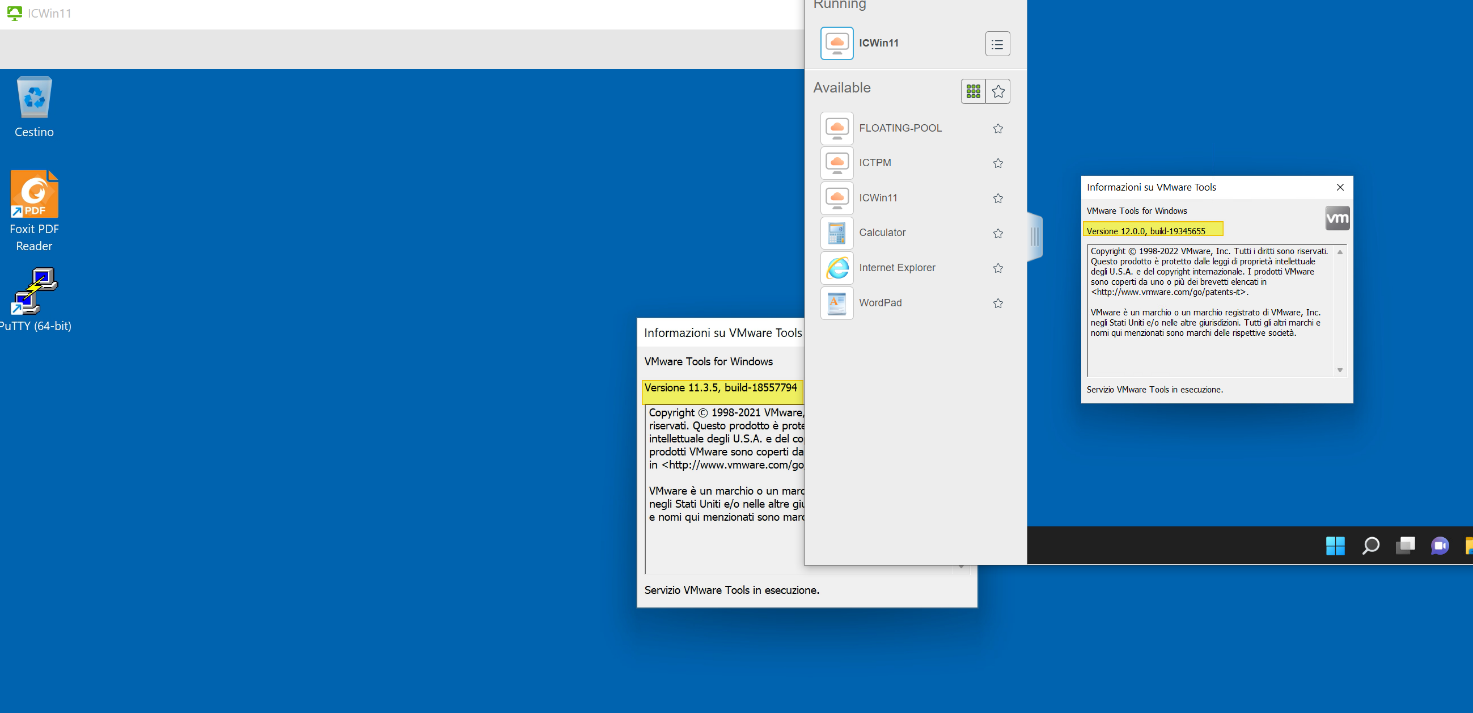
And you see the lack of vCLS VMs in the two vSANs
To resolve the anomaly you must proceed as follows:
- vCenter Snapshots and Backup
- Log in to the vCenter Server Appliance using SSH.
- Run this command to enable access the Bash shell:
shell.set --enabled true
- Type shell and press Enter.
- Run this command to retrieve the vpxd-extension solution user certificate and key:
mkdir /certificate
/usr/lib/vmware-vmafd/bin/vecs-cli entry getcert --store vpxd-extension --alias vpxd-extension --output /certificate/vpxd-extension.crt
/usr/lib/vmware-vmafd/bin/vecs-cli entry getkey --store vpxd-extension --alias vpxd-extension --output /certificate/vpxd-extension.key
- Run this command to update the extension’s certificate with vCenter Server.
python /usr/lib/vmware-vpx/scripts/updateExtensionCertInVC.py -e com.vmware.vim.eam -c /certificate/vpxd-extension.crt -k /certificate/vpxd-extension.key -s localhost -u "Administrator@domain.local"
Note: If this produces the error “Hostname mismatch, certificate is not valid for ‘localhost'”, change ‘localhost’ to the FQDN or IP of the vCenter. The process is checking this value against the SAN entries of the certificate.
Note: The default user and domain is Administrator@vsphere.local. If this was changed during configuration, change the domain to match your environment. When prompted, type in the Administrator@domain.local password.
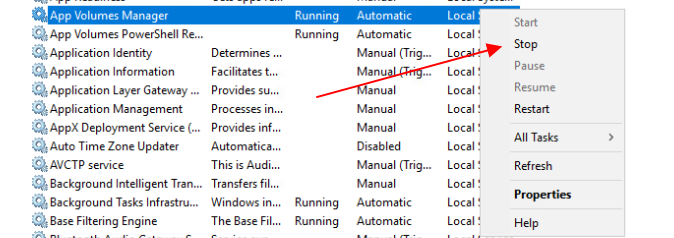
- Restart EAM and start the rest of the services with these commands:
service-control --stop vmware-eam
service-control --start --all


![Notepad
File Edit Format
[General]
netlnternet=
View
Help
ipø=192.168.247.54
diskMode=
ip1=192,168,246.54
defaultGateway=192.168.247.1
target=
ds=
routes
2.168.246.1,192.168.4.0/24 192.168.246.1,172.25.2.0/23 192.168.246.1,172.25.6
netmaskØ=255.255.255. or
netManagement etwor
net3ackendNetwork
• pØA110cationMode=STATICV4
name=
deploymentOption=twonic
forceNetmaskØ=255.255.255. or
forceNetmask1=255.255.255. or](https://vmvirtual.blog/wp-content/uploads/2022/05/notepad-file-edit-format-general-netlnternet.png)
![Notepad
File Edit Format View Help
l[Generate1]
net Internet—DPG - EXT•4Zjjj)
ipe=192.168.247.55
diskMode—thick
source—E : - unified - access - gateway- 22.03. 1955Ø 91_OVFI Ø. Ova
ip1=192,168,246.55
default-Gateway=192.168.247.1
target—vi : / /vcaØ7
ds=vsanDatastore
routes1=172.16.e.Ø/16 192.168.246.1,192.168.4.0/24 192.168.246.1,172.25.2.0/23 192.168.246.1,172
netmaskØ=255.255.255. and
netManagementUetwork
net8ackendNetwork=DPG - INT - C*IZ
ipeA110cationMode=STATICV4
name-VilJAGØ3-22Ø3
deploymentOption=twonic
forceNetmaskØ=255.255.255. and
forceNetmask1-255.255.255. and
ip1A110cationMode=STATICV4
net-maski=255,255,255. and
authenticationT imeout—3ØØØØe
fipsEnab1ed—fa1se
sys L ogType=UDP
uagName=viuage3
clockSkewT01erance=6Øe](https://vmvirtual.blog/wp-content/uploads/2022/05/notepad-file-edit-format-view-help-lgenerate1.png)