Move vSAN cluster from a unavailable vCenter to new vCenter

A cartoon character with text

Description automatically generated

Our customer had a big problem with a vCenter that managed a vSAN cluster.

The unique solution was to restore the vCenter form backup……but the customer doesn’t have a backup for this virtual appliance or vCenter backup from VAMI (Argghhhhh…).

We have resolved this with a new vCenter installation and this VMware KB.

Moving a vSAN cluster from one vCenter Server to another

An attention point (step 3 of the KB) is the vDS configuration, for bypassing this attention point we have migrated the vDS (in this situation only the vSAN network for our luck) to vSphere Standard Virtual Switch (vSS).

We have used this command on each ESXi to remove the vmkernel from vDS to vSS.

(You need to change your value, vDS Name…IP address etc..)

#Check the vDS and vSS configuration and identify vmnic

esxcfg-vswitch -l

#Remove a vmnic from vDS
esxcfg-vswitch -Q vmnic5 -V 12 DS1vSAN1

#Create a new vSS
esxcli network vswitch standard add –vswitch-name=VSAN

#Assign a vmnic to vSS
esxcli network vswitch standard uplink add –uplink-name=vmnic5 –vswitch-name=VSAN

#Create a PortGroup to vSS
esxcli network vswitch standard portgroup add –portgroup-name=VMK_VSAN –vswitch-name=VSAN

#Assign a vLAN to PortGroup
esxcli network vswitch standard portgroup set -p VMK_VSAN –vlan-id xxx

This is the critical point, we need to move the vmkernel vSAN (Where there is the vSAN traffic) from vDS to vSS.

It is important to check the vSAN status before and after the vmkernel move with this command and wait for the object to rebuild.

The command is

esxcli vsan health cluster

#Remove vmkernel for the vSAN from vDS
esxcli network ip interface remove –interface-name=vmk2

#Add the vmkernel interface to vSS
esxcli network ip interface add –interface-name=vmk2 –portgroup-name=”VMK_VSAN”

#Assign the IP address to vmkernel interface
esxcli network ip interface ipv4 set –interface-name=vmk2 –ipv4=x.x.x.x –netmask=x.x.x.x –type=static

#Assign the interface for vSAN service
esxcli network ip interface tag add –interface-name=vmk2 –tagname=VSAN

#Check if there is communication to other ESXi vmkernel vSAN interfaces IP with vmkping
vmkping -I vmk2 x.x.x.x

#Verify the vSAN status

esxcli vsan health cluster

When the vSAN cluster is all healthy repeat the same operation on all other vSAN cluster ESXi node

After this, you can continue following the link
Moving a vSAN cluster from one vCenter Server to another

Move vSAN cluster from a unavailable vCenter to new vCenter

Omnissa Horizon – Pre-Launch Option


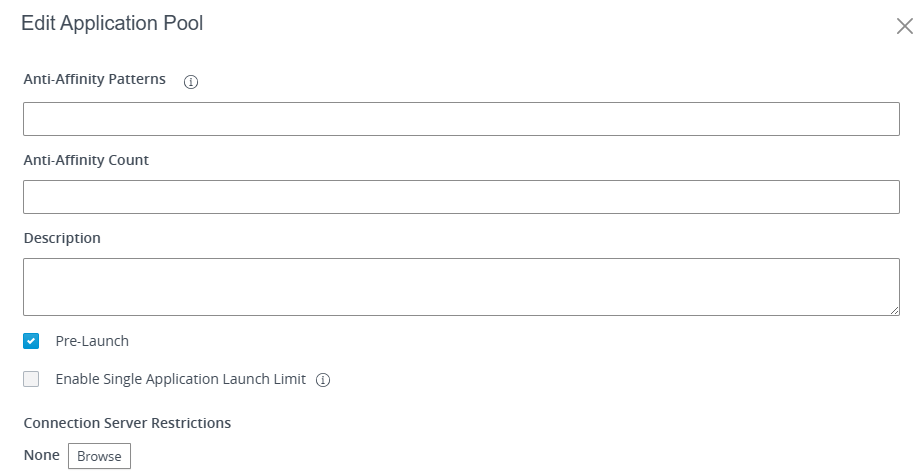
When implementing and publishing an application with Horizon infrastructure a classic situation is the request from the users to reduce the time of waiting until the application is ready to use.

Well we have a feature to speed up the application start, this functionality is the “Pre-Launch option”

A little recap:

When a user start a Publish Application we have two step:

  • The first step, the login to the RDS host assigned
  • The Second step, the application start

With the “Pre-Launch” Option we can remove the First step because this option does that when the user login to Horizon Infrastructure, if the user is entitled to Application Pool (with the pre-launch option enabled), an automatic session (login) starts on a RDS Host.

We

A screenshot of a login page

Description automatically generated

This improves the start of the application because the RDS user Session is just running on the RDS farm.

We can see my video where I tested this function (Sorry it is in the Italian language, but it is very clear with only seeing the video)

https://youtu.be/qL7opgoXQaM

Omnissa Horizon – Pre-Launch Option

vSAN ESA and vSAN File Service

Requirements

Enable vSAN File Service

Limitations and Considerations

Limitations and Considerations of vSAN File Service

Networking Considerations for vSAN File Service

After deploying and configuring the vSAN ESA we are ready to enable and configure the vSAN file services.

Enable File Service

A screenshot of a computer

Description automatically generated

A screenshot of a computer service

Description automatically generated

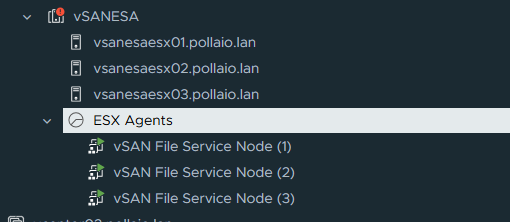
After Enabling the service we will see on the vCenter a new Resource Pool to allocate the File Service Node VM. (One for Each host ESXi)

A screenshot of a computer

Description automatically generated

Configure vSAN File service

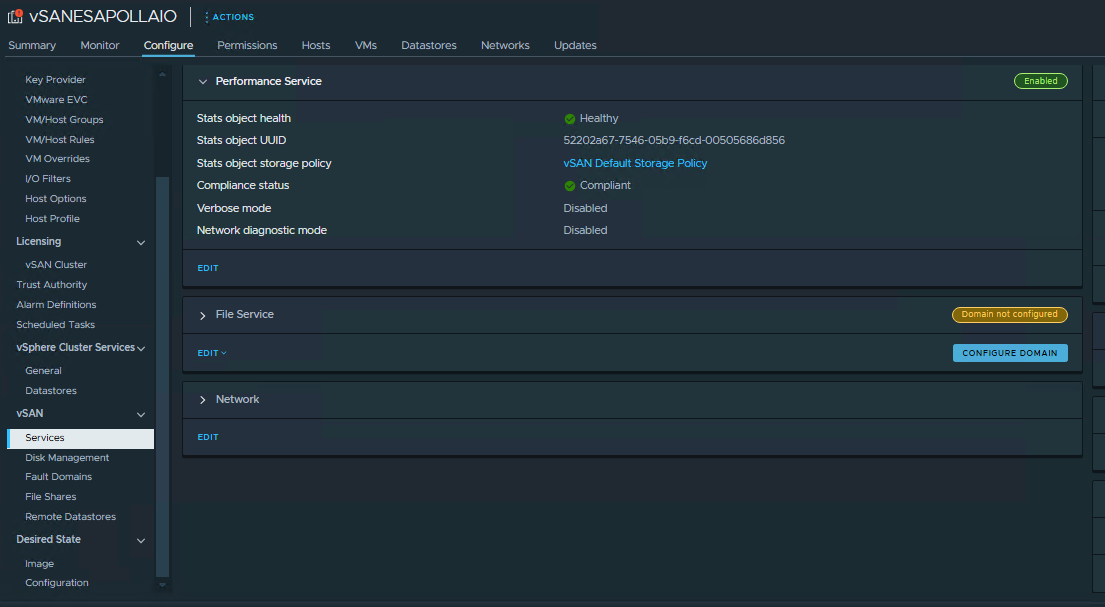
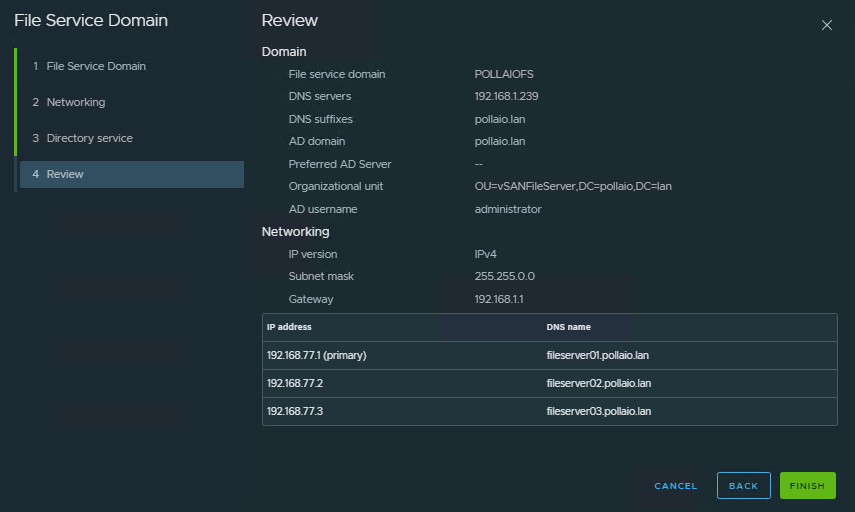
Go to vSAN, Services and under File Service click CONFIGURE DOMAIN

A screenshot of a computer

Description automatically generated

A screenshot of a computer

Description automatically generated

A screenshot of a computer

Description automatically generated

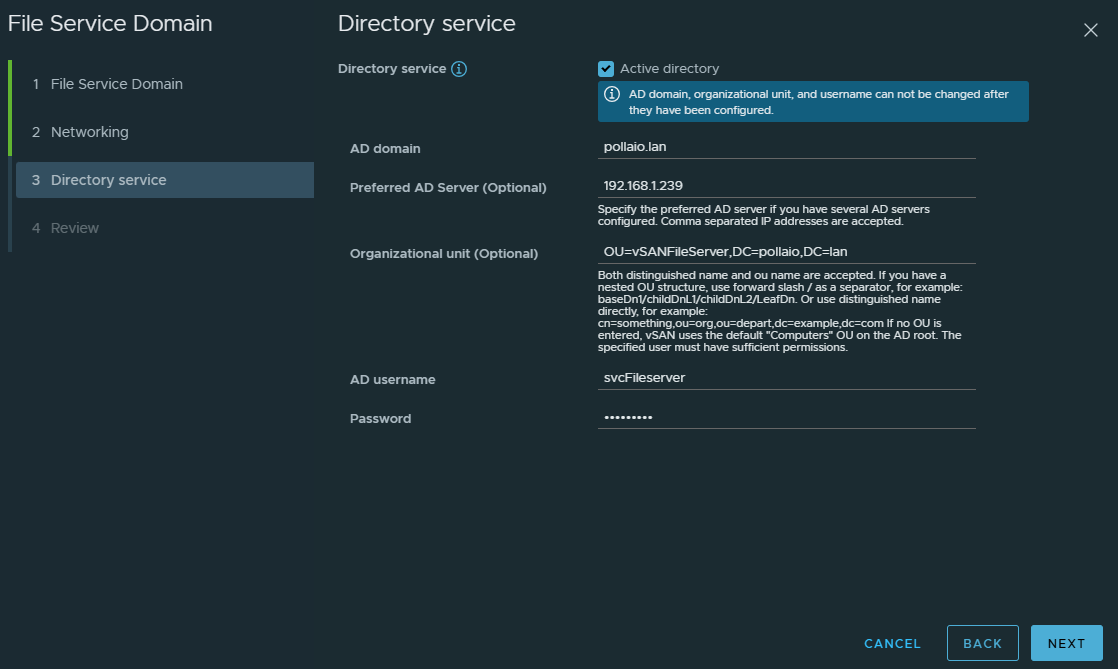
We need to configure the Directory Service to enable SMB share and NFS Kerberos Authentication.

The user identity for configuring the directory service must have the correct permission to do a join AD.

A screenshot of a computer

Description automatically generated

A screenshot of a computer

Description automatically generated

A screenshot of a computer

Description automatically generated

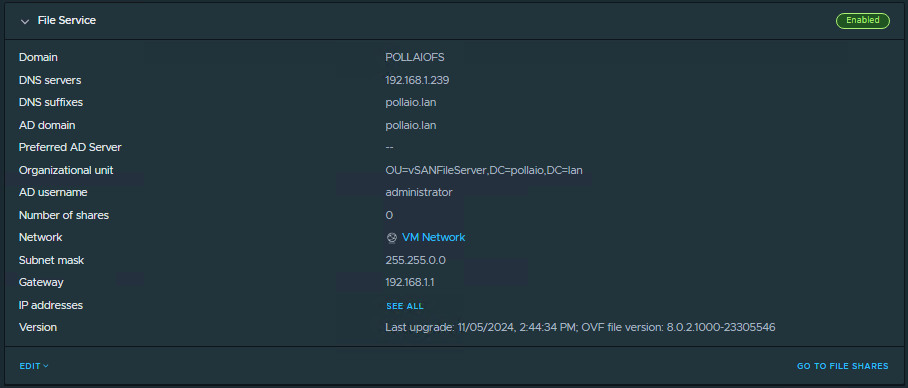
After completing the domain configuration we see the computer accounts in the OU select.

A screenshot of a computer

Description automatically generated

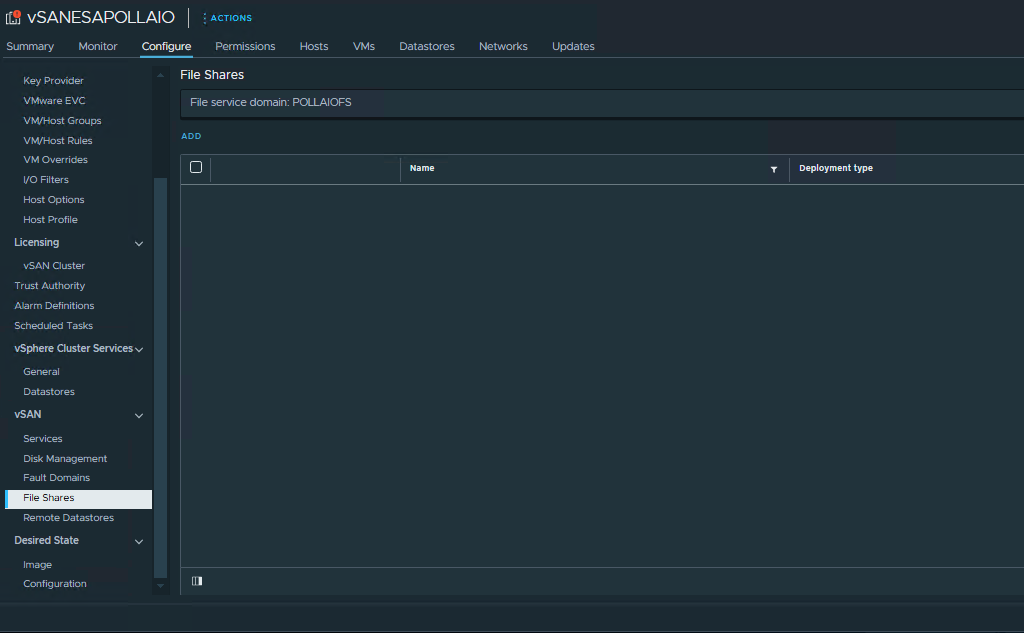
Create File Share

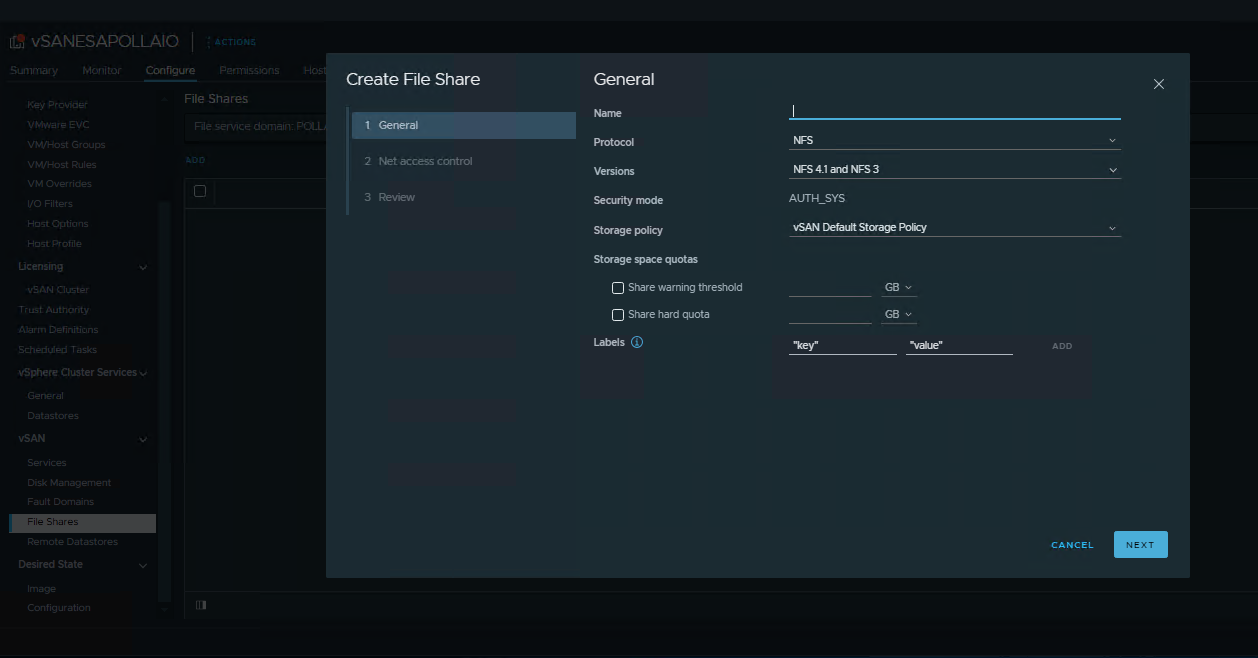
Now we can create the file share

A screenshot of a computer

Description automatically generated

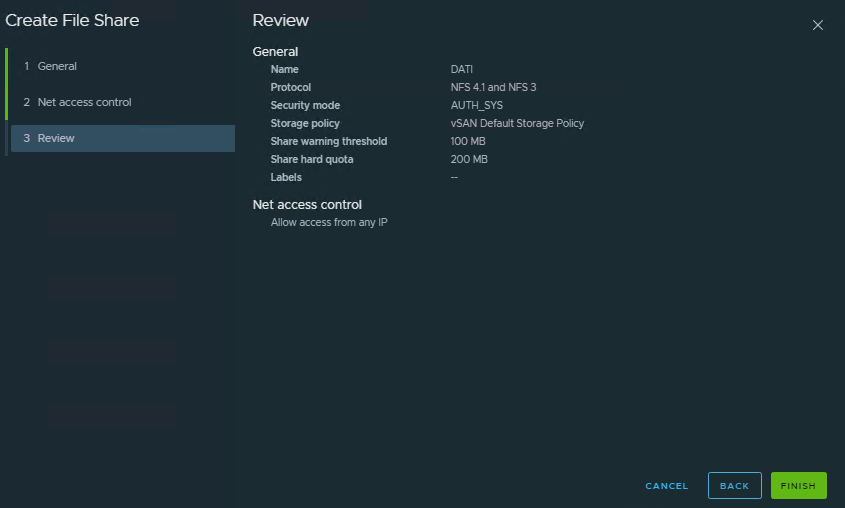
Will can create a NFS share with AUTH_SYS or Kerberos Authentication

A screenshot of a computer

Description automatically generated

A screenshot of a computer

Description automatically generated

A screenshot of a computer

Description automatically generated

A screenshot of a computer

Description automatically generated

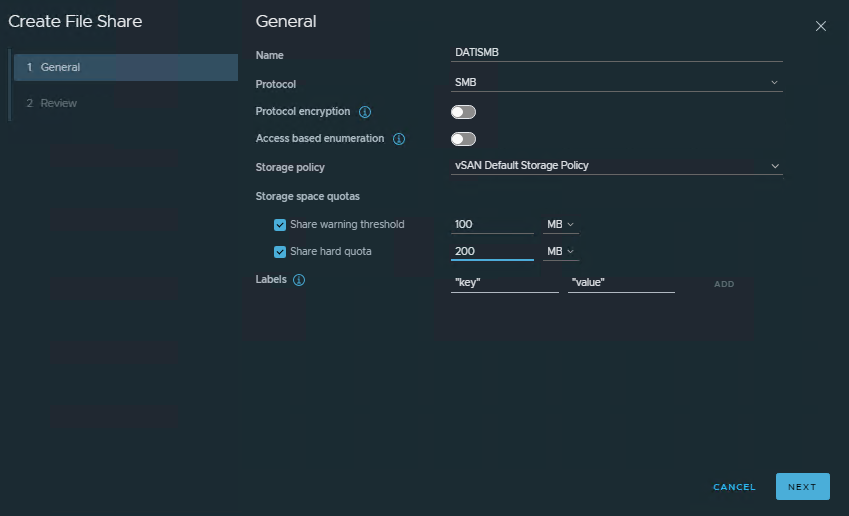
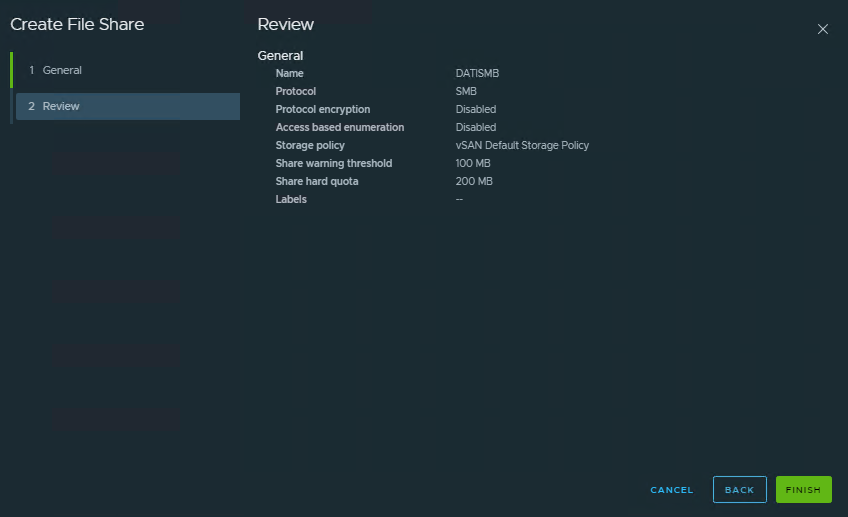
Will can create an SMB share

A screenshot of a computer

Description automatically generated

A screenshot of a computer

Description automatically generated

Configure ACL permission

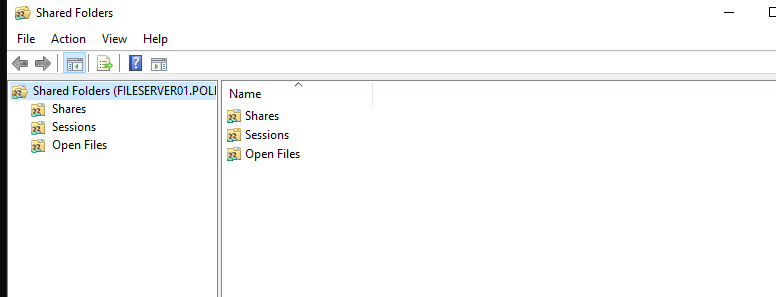
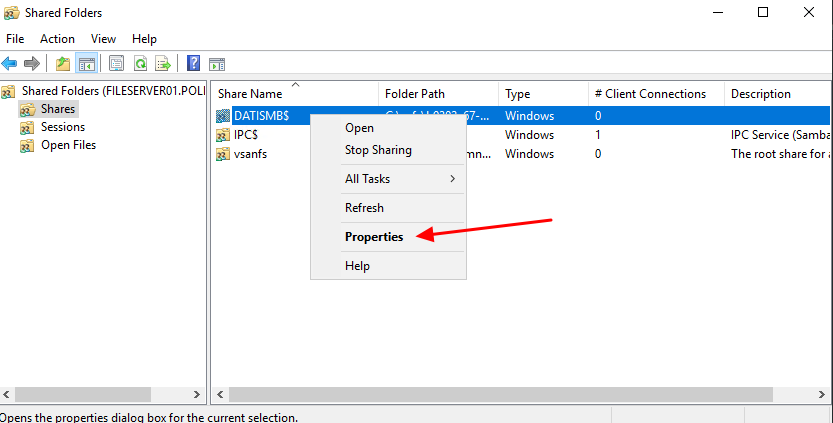
SMB SHARE can configure ACL for access use the FSM MMC from a windows OS.

A screenshot of a computer

Description automatically generated

A black background with white text

Description automatically generated

A screenshot of a computer

Description automatically generated

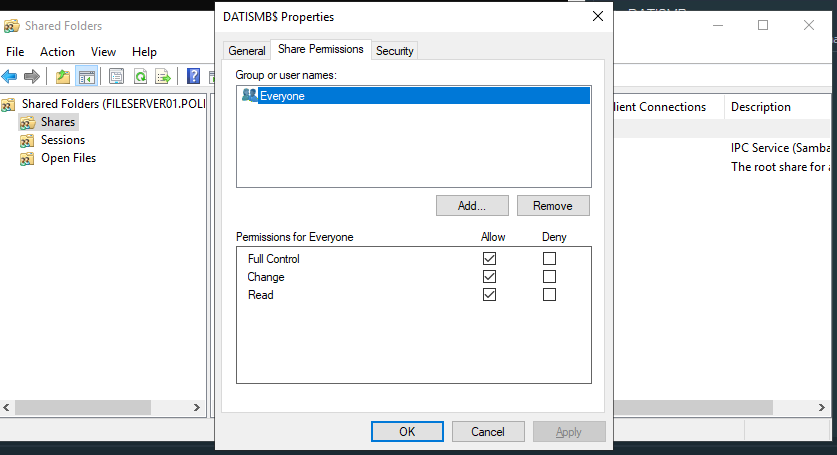
From best practices Microsoft it suggest to user Everyone on Share permission

A screenshot of a computer screen

Description automatically generated

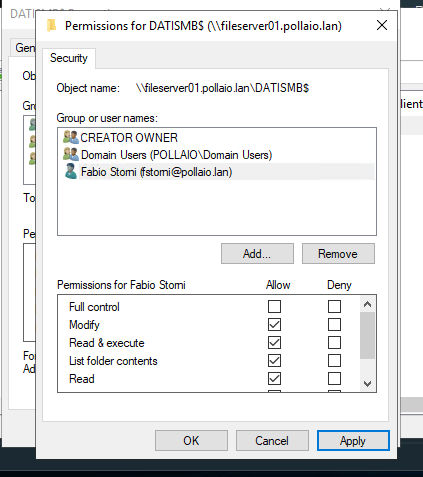
And set the permission on File Level (Security TAB)

A screenshot of a computer screen

Description automatically generated

Mount Share

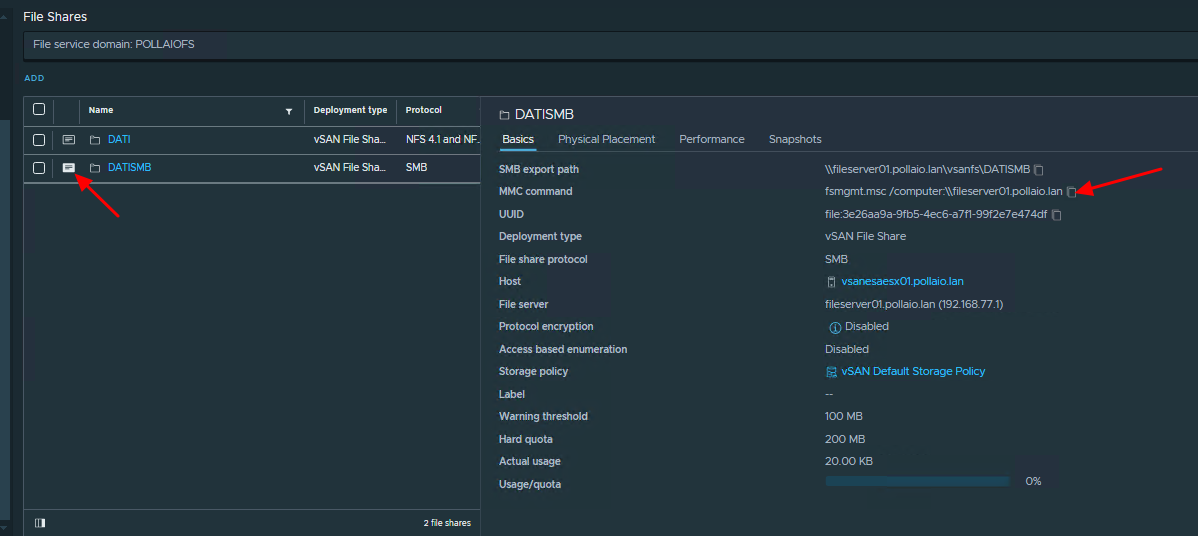
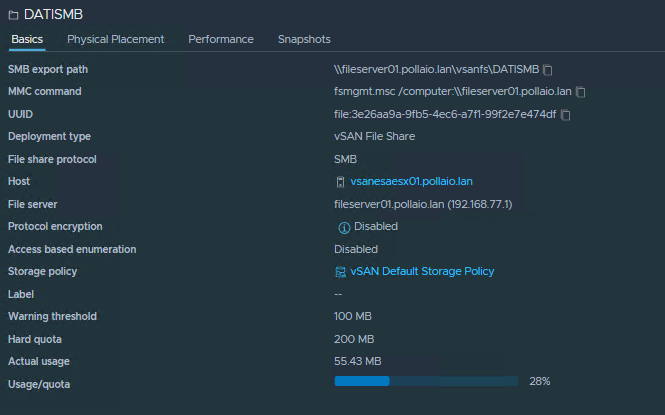
On every share proprieties, we can find the path to use for mounting the share (The SMB Export Path)

A screenshot of a computer

Description automatically generated

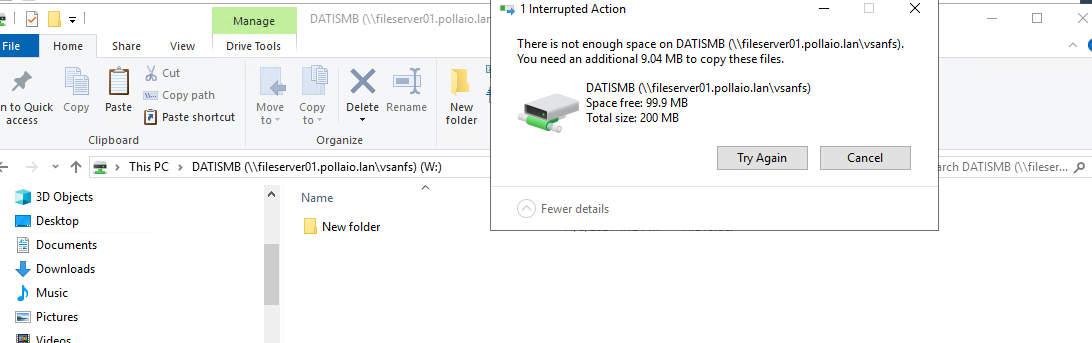
Share quota

The quota control if a specified Share exceed the max space add for it.

A screenshot of a computer

Description automatically generated

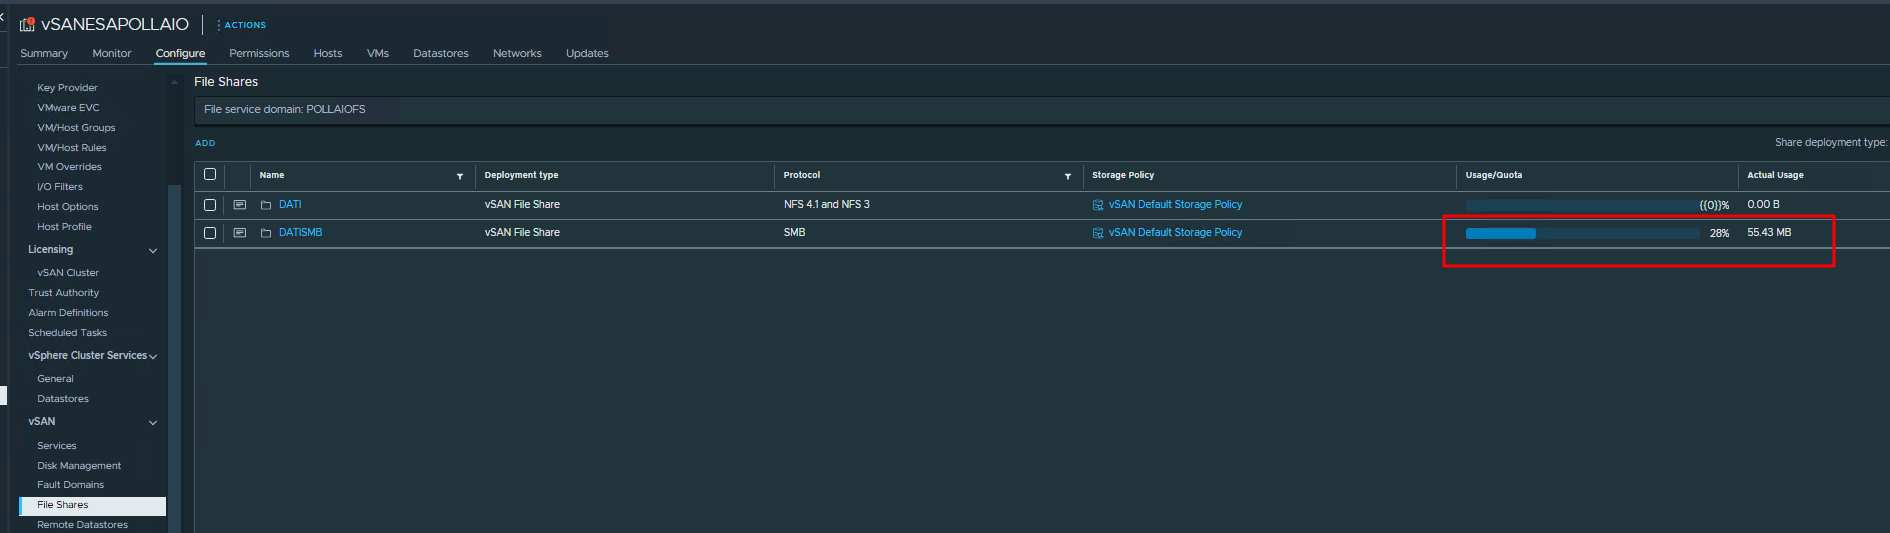
We can control the state of all share quotas from the vSphere console.

A screenshot of a computer

Description automatically generated

A screenshot of a computer

Description automatically generated

SMB Export Path -> The path to use for mounting the share

MMC Command -> The command to use for configuring the ACL

A screenshot of a computer

Description automatically generated

vSAN ESA and vSAN File Service