I have updated Horizon to 2406 and I see the following banner?
![]()
I upgraded Horizon to 2406 and have a subscription license, do I have to install the Edge Gateway to activate the licenses?
Well, I recommend you read this post of mine.
New features in Horizon version 2406 include changes to license management, including:
- The ability to activate subscription Plus and HUL licenses even without deploying the EDGE Gateway (we will see the details in a future post)
- The degraded mode
Activation without EDGE Gateway
we will have the following advantages:
- Due to corporate or administrative policies, some customers cannot have production environments that send data to the cloud. With this new feature, they will be able to enjoy the benefits of subscription Plus licenses to HUL without sending data
- They will not have to dedicate resources to the Edge Gateway (8 vCPUs and 32 GB RAM)
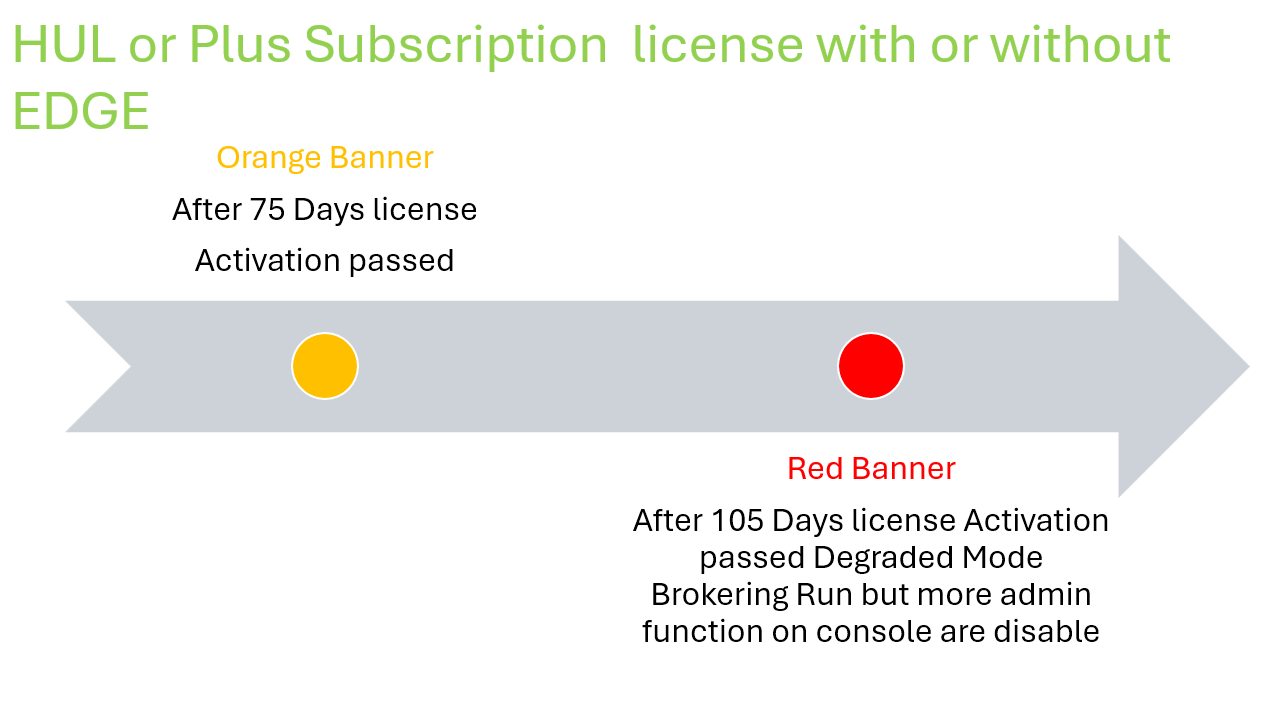
The only activity to do, if you do not have the EDGE gateway installed, is to remember to reactivate the license every 105 days in a very simple way by clicking on the button on the licenses page

Degraded Mode

When Horizon console switch to degraded mode?
- When there are no Horizon licenses installed (see first-time installation)
- When a perpetual customer upgrades their connection server to version 2406
- When the term/subscription license expires
What does it involve?
Entering the degraded state involves the following situations:
- In the Inventory -> Desktops – Add button will be disabled
- In the Inventory -> Farms – Add button will be disabled
- In the Inventory -> Desktops -> Automated Desktop Pool -> Edit -> Provisioning Settings -> Desktop Pool Sizing – Maximum Machines input field will be disabled
- In the Inventory -> Farms -> Automated Farms -> Edit -> Provisioning Settings -> Farm Sizing – Maximum Machines input field will be disabled
- In the Inventory -> Desktops -> Pools Summary -> Maintain -> Schedule button will be disabled
- In the Inventory -> Farms -> Farms Summary -> Maintain -> Schedule button will be disabled
- In the Inventory -> Desktops -> Duplicate button will be disabled.
The features will be re-enabled when you adjust the license
So you ask me, what happens if we upgrade the version of Horizon to version 2406 and have perpetual licenses?
The following banner appears on the first access (the status is degraded mode with the restrictions indicated above)
![]()
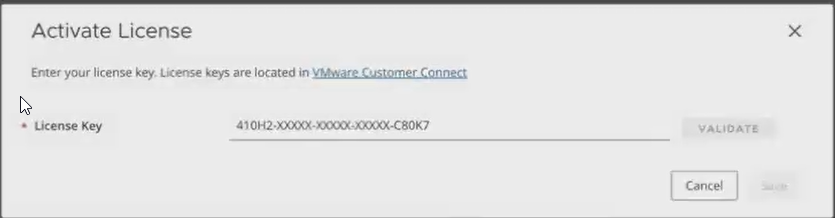
You will need to reactivate your license by opting for one of the following options:

In the case of perpetual licenses, select Term or Perpetual license and enter the code
The inclusion of the degraded mode also changes the management of the expiration of the so-called TERM licenses from version 2406:
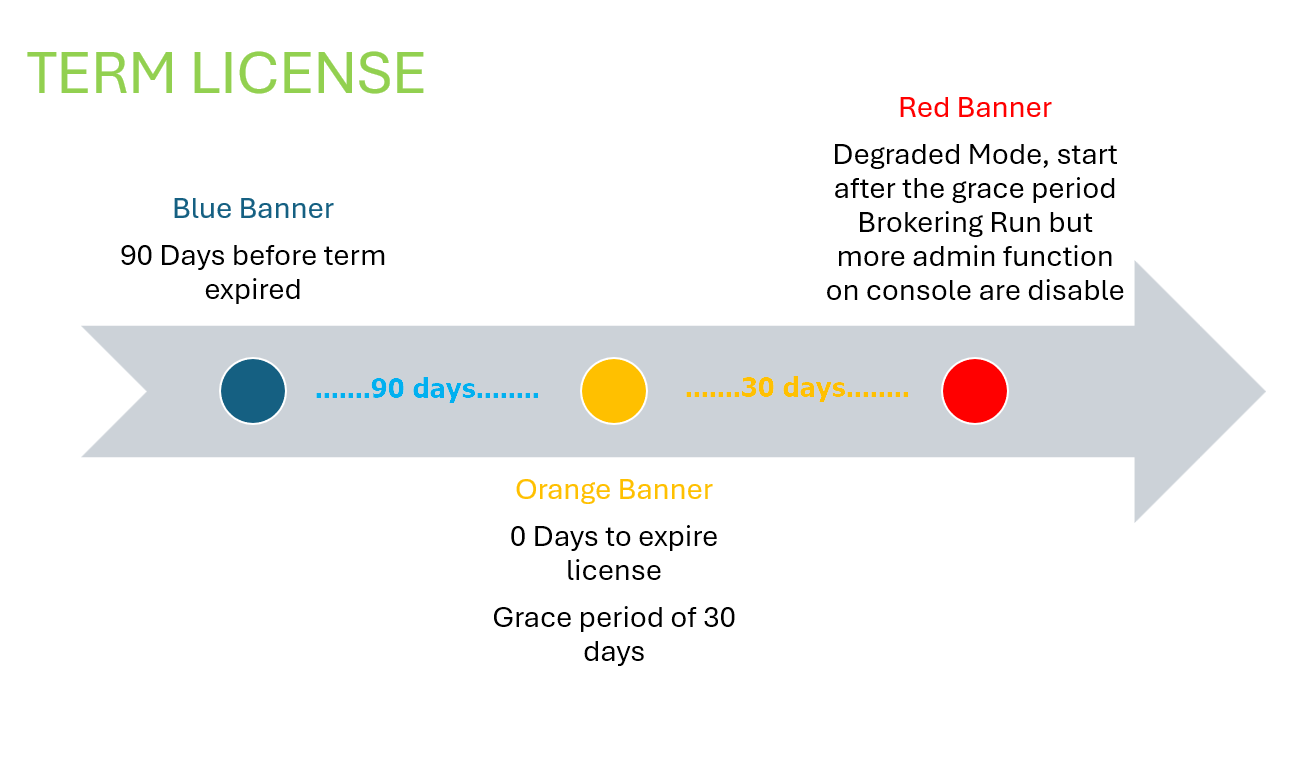
While for subscription HUL or Plus licenses it is also necessary to think about the failure to verify licenses through the EDGE or manual reactivation without the EDGE.