Let’s be honest — that shiny self-signed certificate your Omnissa Connection Server came with is fine… until your browser or Horizon client starts screaming “Untrusted!” at every login. 😅


It’s time to fix that properly — by replacing it with a trusted certificate issued by your internal Microsoft CA.
In this guide, we’ll walk through the process step-by-step, ending up with a PFX certificate you can deploy to all your Connection Servers.
Why One Certificate for All Connection Servers?
Because simplicity is beautiful.
Maintaining a single certificate across all your Connection Servers reduces management overhead and avoids those awkward “name mismatch” warnings.
In the certificate, we’ll include all relevant hostnames as Subject Alternative Names (SANs):
Example SAN list (2 Connection Servers and 1 VIP):
connection01.company.local
connection02.company.local
horizon-vip.company.local
connection01
connection02
horizon-vip
Step 1: Require the certificate as a PFX File
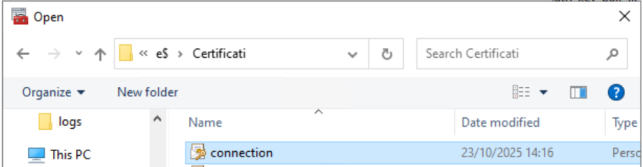
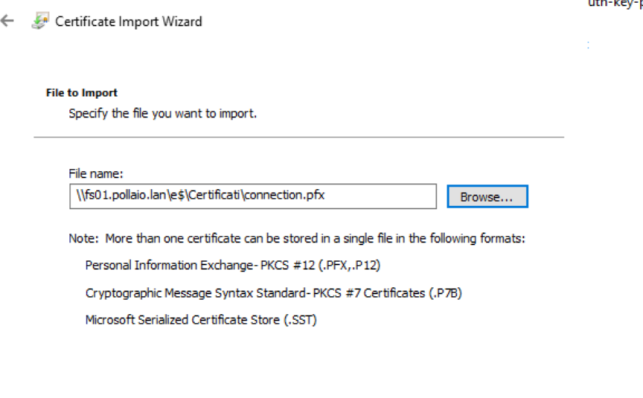
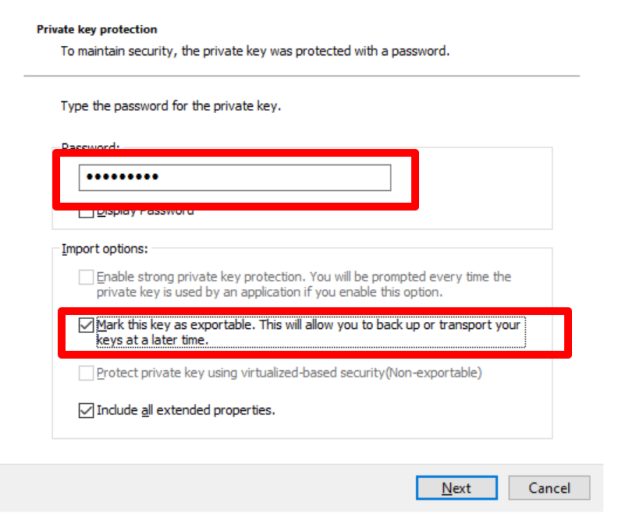
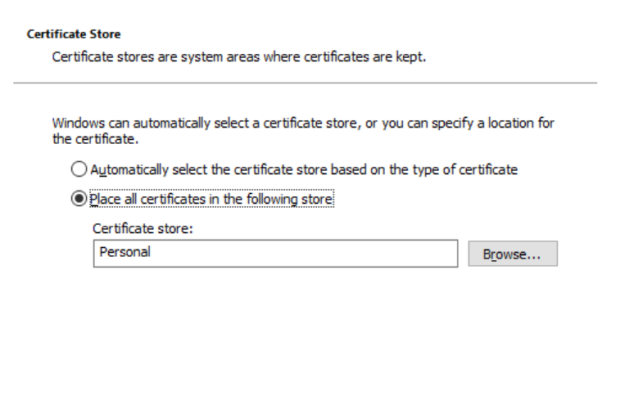
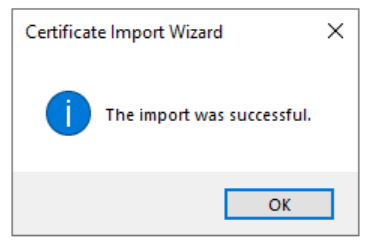
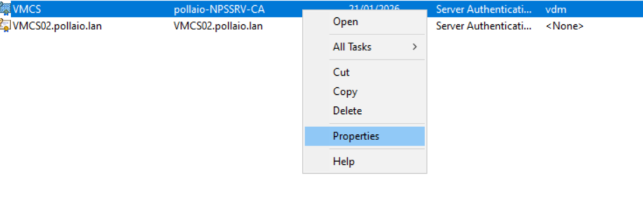
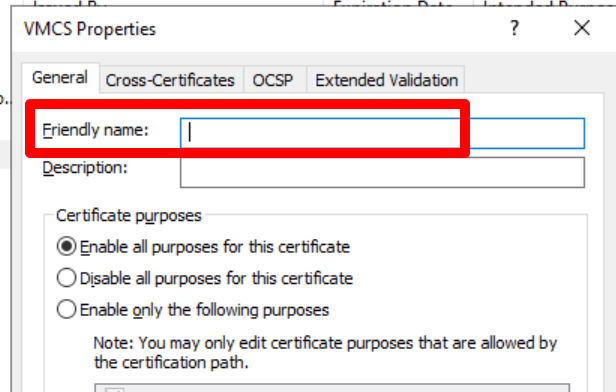
Step 2: Deploy the Certificate on All Connection Servers
Now that you have your shiny, trusted .pfx file, it’s time to put it to work.
Repeat the following steps on each Connection Server:
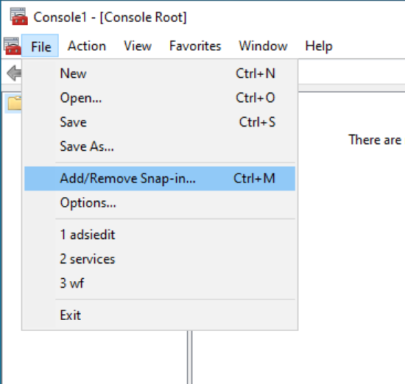
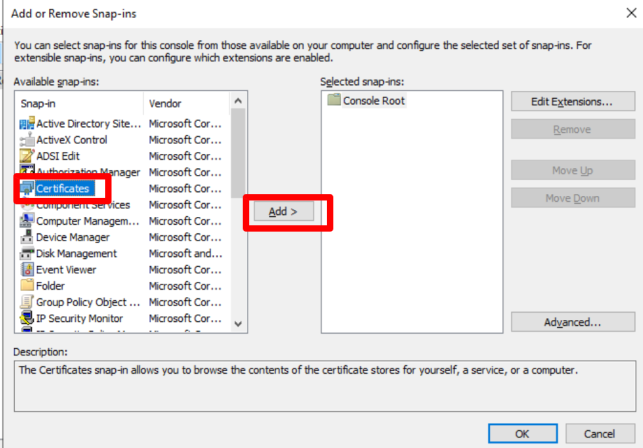
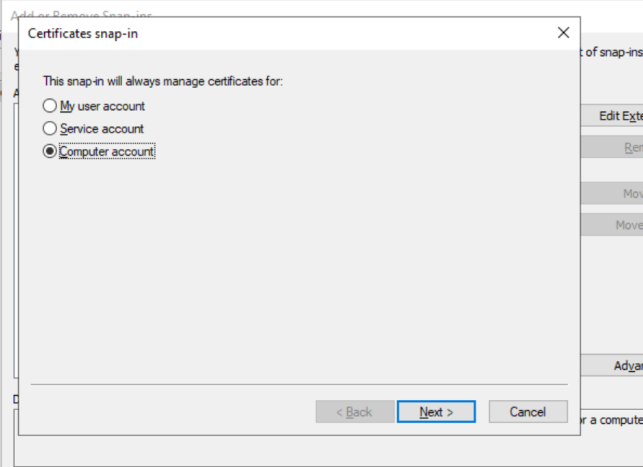
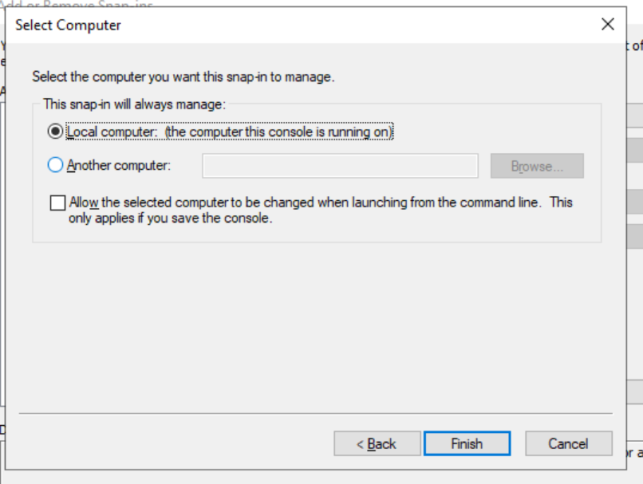
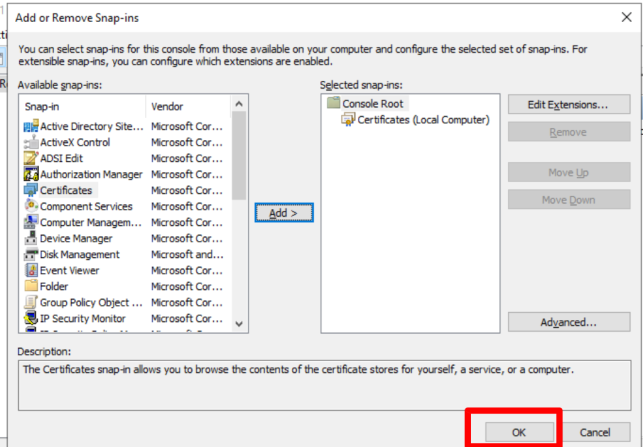
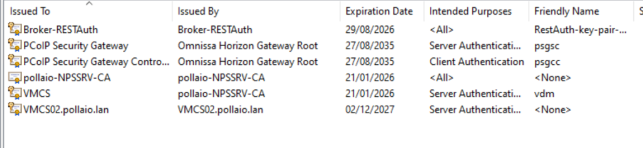
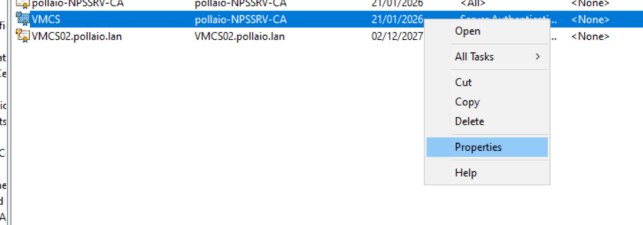
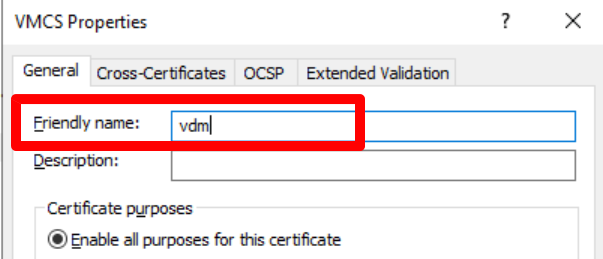
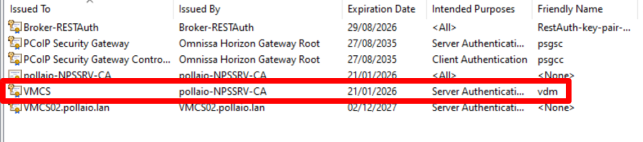
In Personal, there is a self-signed certificate (or an old certificate) installed by the Connection Server installation process

Personal > Certificates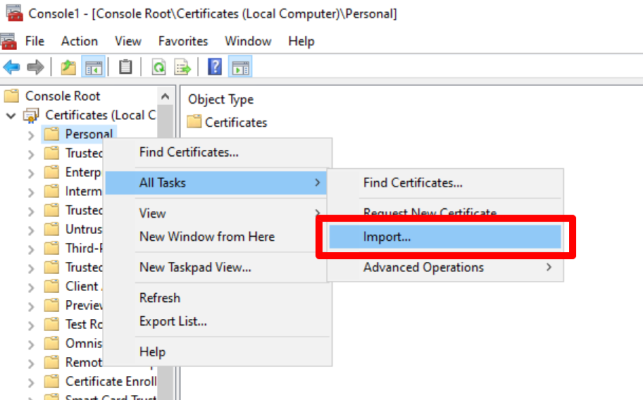
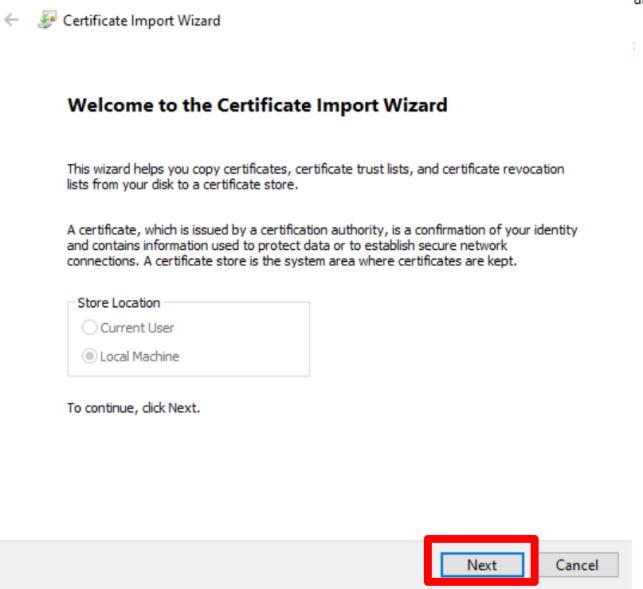
Step 3: Restart the Horizon Connection Server Service
To make the change effective:
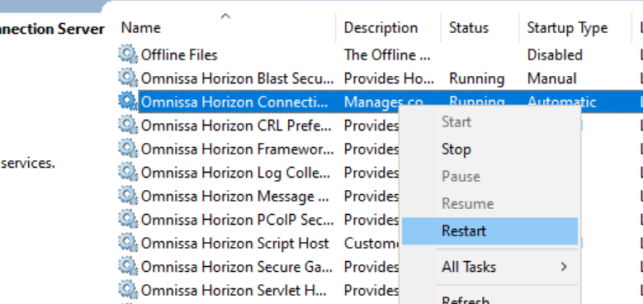
Once restarted, the Connection Server should automatically pick up the new certificate.
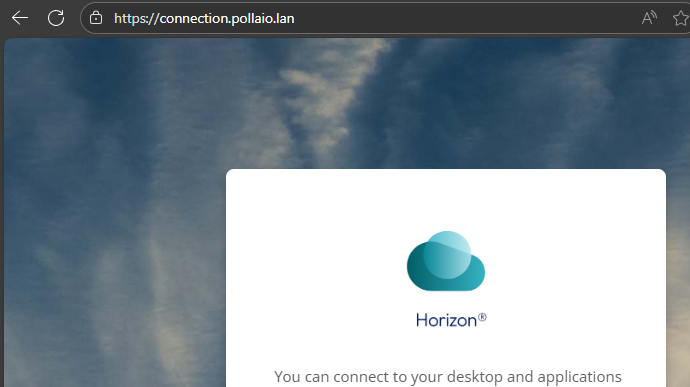
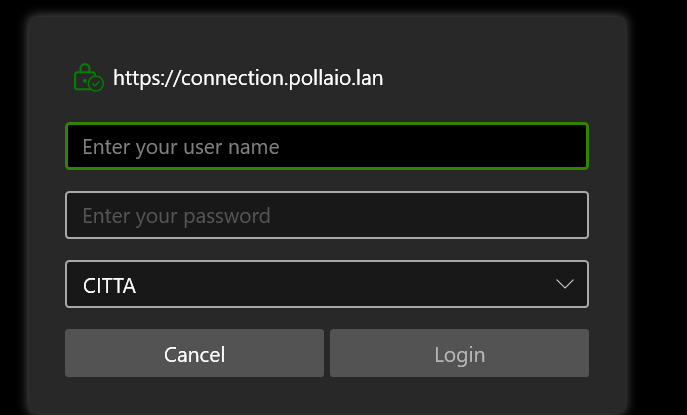
You can confirm by opening the Horizon Administrator Console in your browser and checking that your connection is now secure and trusted ✅
We need to repeat steps 4 and 5 on all Omnissa Connection servers
Bonus: Keeping Things Clean
Done!
You’ve successfully banished the self-signed gremlin and brought your Horizon environment into the trusted world of PKI.
From now on, your users will enjoy clean, warning-free connections — and your security team will silently thank you for doing things the right way.