![]()
![]()
![]()
![]()
In questi giorni c’è molto fermento nel mondo dell’EUC (‘End-User Computing) in merito alla comparsa sul mercato di un nuovo nome.
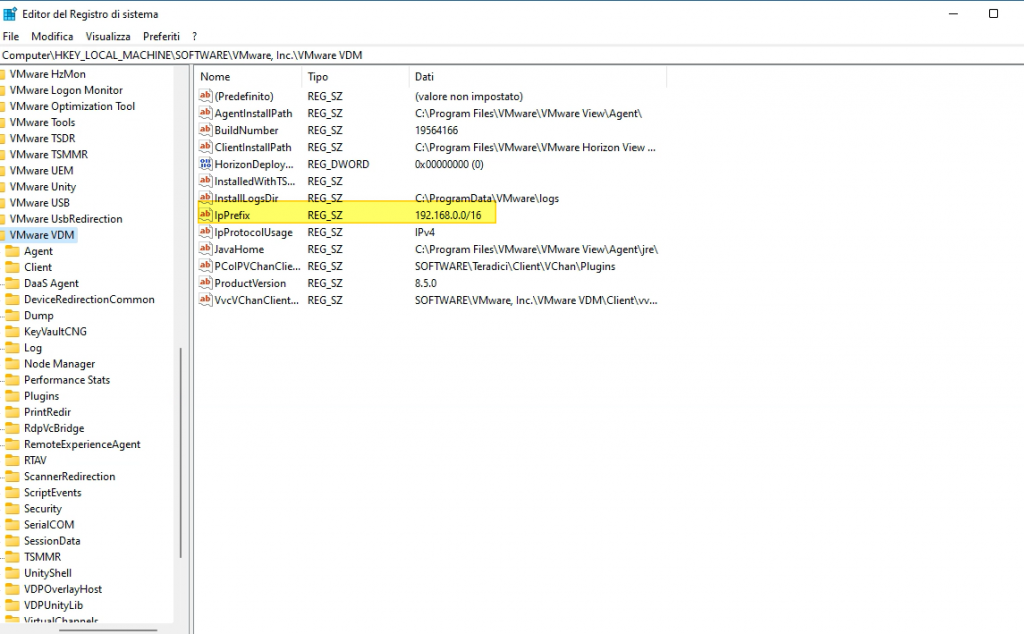
Ma partiamo con ordine, nel lontano 2008 mi avvicino al modo delle VDI (Virtual Desktop Infrastructure) inizialmente con l’automatizzazione di aule corsi, grazie a VMware e al suo prodotto che allora era stato appena rinominato in Horizon View (se non sbaglio precedentemente si chiama VMware VDM….. ancora oggi, nelle installazioni dei Connection Server, troviamo una cartella VDM sotto c:\ProgramData).
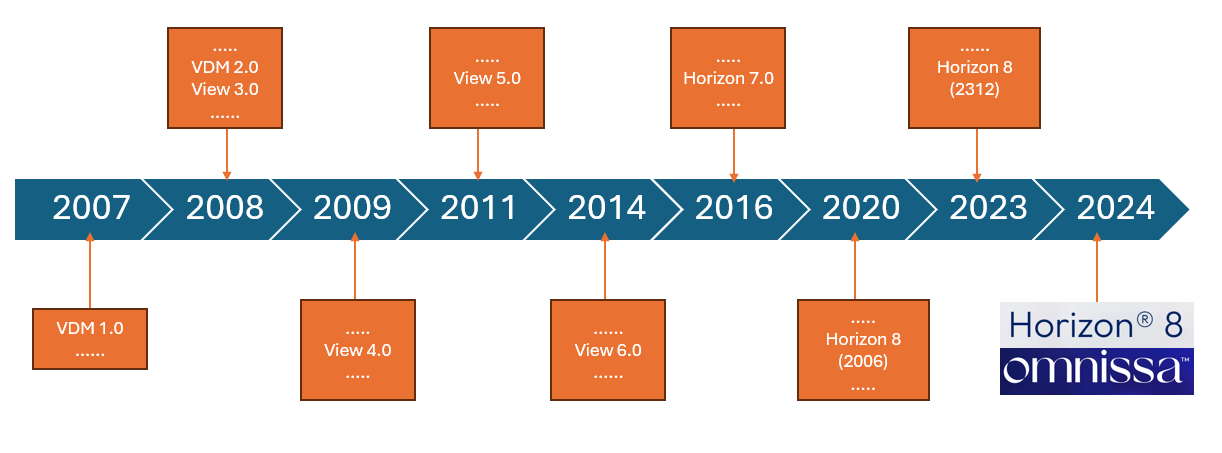
Col tempo le soluzione VDI di VMware sono evolute in maniera importante con l’aggiunta prima della tecnologia linked clones e poi con le instant clone (tecnologie che permettono di semplificare notevolmente la vita dell’amministratore delle postazioni di lavoro).
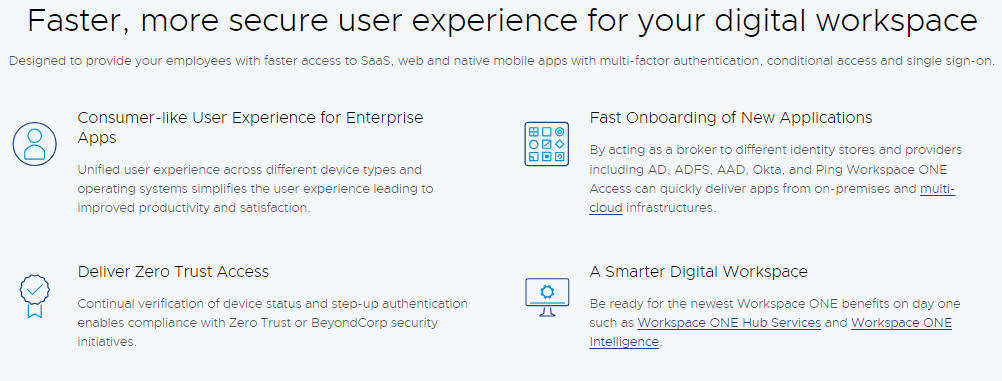
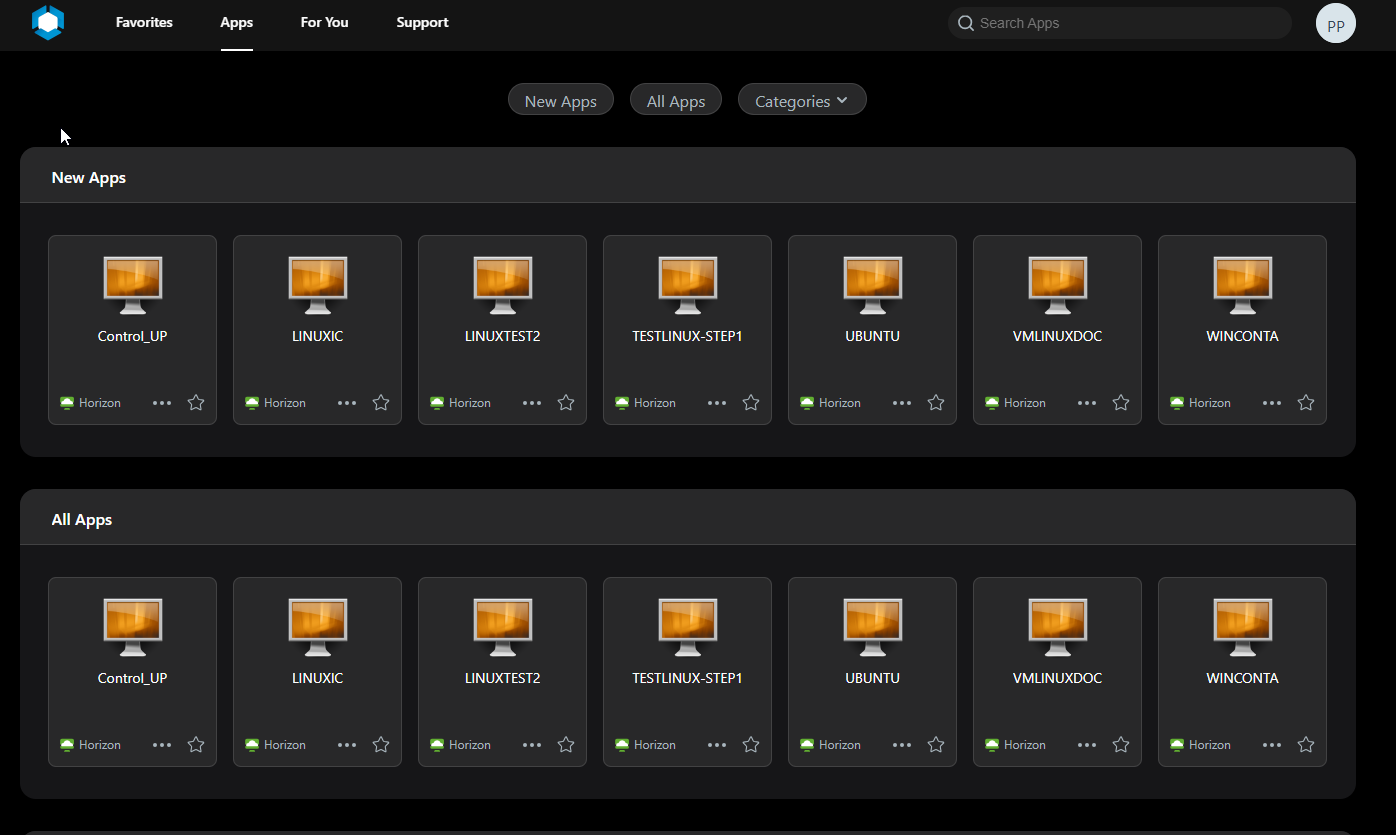
Abbiamo visto l’affiancare a Horizon soluzioni che permettono di sfruttare al meglio le VDI come App Volumes, DEM (Dynamic Environment Manager), Workspace One ecc.…
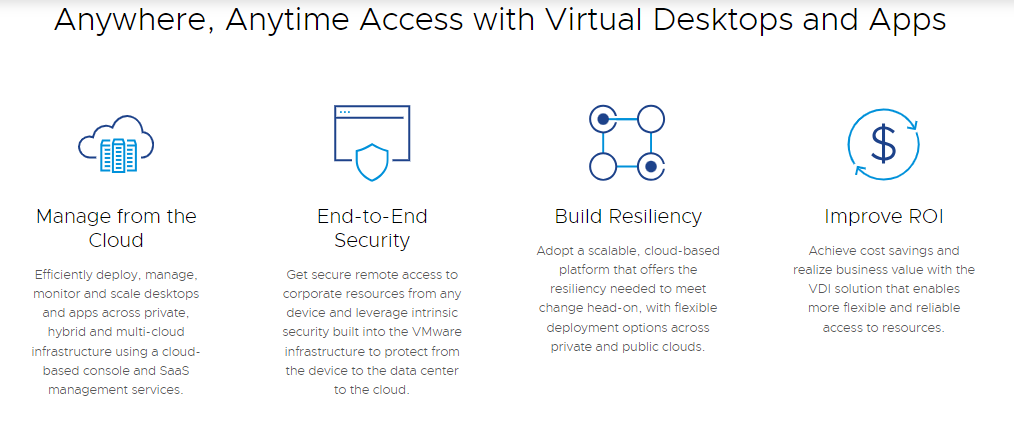
Poi dall’on-premise è stato portato anche sul Cloud con soluzione come Horizon Cloud on Microsoft Azure.
Anche per la mia carriera lavorativa il mondo delle VDI ha lasciato un solco importante dal 2021 sono vEXPERT (Con specificità nel mondo EUC) e dal 2024 sono EUCExpert e collaboro con VMware/Broadcom nel deploy.
Mi direte ok sono cose che ormai conosciamo ma quindi che cosa è successo??
Bene, sappiamo tutti che VMware è stata acquisita da Broadcom e una delle prime dichiarazioni della nuova proprietà è stata quella di non volere investire sull mondo EUC.
Ma quindi che succede?
Tutto i prodotti EUC di VMware sono riconosciuti tra i leader del mercato dei prodotti VDI e Desktop as a Service sono stati comprati da KKR (Fondo Americano nato nel 1977) per cui nasce Omnissa
![]()
Nata con persone VMware per garantire la stessa qualità e lo stesso sviluppo in innovazione che è stato garantito in questi anni.
In cui continua o parte una nuova vita (scegliete voi) per tutti i prodotti EUC che molti noi conosciamo e apprezziamo (Horizon ecc…)
Ne vedremo sicuramente delle belle e ci aspetta un futuro luminoso!