VMware Workspace One Access, VMware Horizon, and FIDO2 device

Publishing VDI outside our company network is an activity that has become a necessity for many companies since COVID-19 (employee smart working, workstations dedicated to consultants, etc.). In all the implementations, that I have done in recent years, one of the key points of my installations is the need to implement MFA solutions to increase the level of security.

In this post, I want to explain how to configure the integration of Workspace One Access WS1A, Horizon, and FIDO2 devices (I use a Yubikey 5 Series with NFC and Fingerprint)
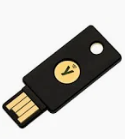
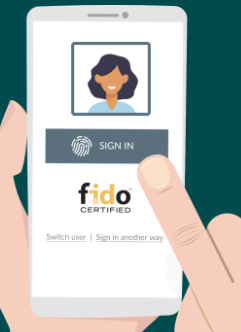
A black usb flash drive with a yellow circle and a gold circle

Description automatically generated A hand holding a phone with a sign in the screen

Description automatically generated A hexagon with arrow

Description automatically generated A green computer with a white cloud in the screen

Description automatically generated

What is VMware WorkSpace One Access?
A screenshot of a computer

Description automatically generated

Workspace ONE Access (vmware.com)

What is VMware Horizon?
A screenshot of a computer

Description automatically generated

VMware Horizon | VDI Software Solutions | VMware

What is FIDO2?

FIDO2 enables users to leverage common devices to easily authenticate to online services in both mobile and desktop environments.

The FIDO2 specifications are the World Wide Web Consortium’s (W3C) Web Authentication (WebAuthn) specification and FIDO Alliance’s corresponding Client-to-Authenticator Protocol (CTAP).

FIDO2 – FIDO Alliance

What is Yubikey 5 Series?

Multi-protocol security key, eliminate account takeovers with strong two-factor, multi-factor, and passwordless authentication, and seamless touch-to-sign. Multi-protocol support allows for strong security for legacy and modern environments. A full range of form factors allows users to secure online accounts on all of the devices that they love, across desktops and mobile.

  • Multi-protocol support; FIDO2, U2F, Smart card, OTP, OpenPGP 3
  • USB-A, USB-C, NFC, Lightning
  • IP68 rated, crush resistant, no batteries required, no moving parts

USB-A YubiKey 5 NFC Two Factor Security Key | Yubico

Configure Workspace one Access(WS1A) SaaS for use FIDO2 authentication

Enable Authentication methods on WS1A.

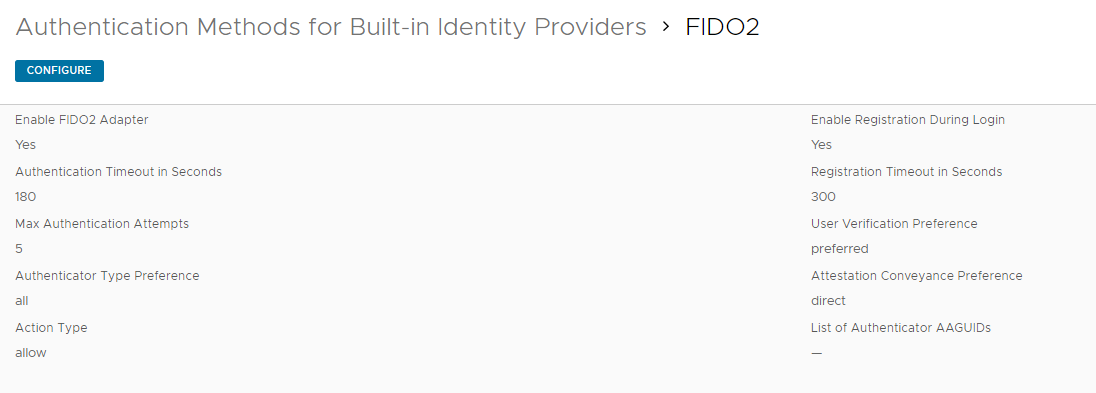
Go to integrations -> Authentication Methods -> Click on FIDO2 -> Enable FIDO2 Adapter

A screenshot of a computer

Description automatically generated

A screenshot of a computer

Description automatically generated

Now we need to associate the authentication method to Identity provider (created to integrate WS1A with Active Directory)

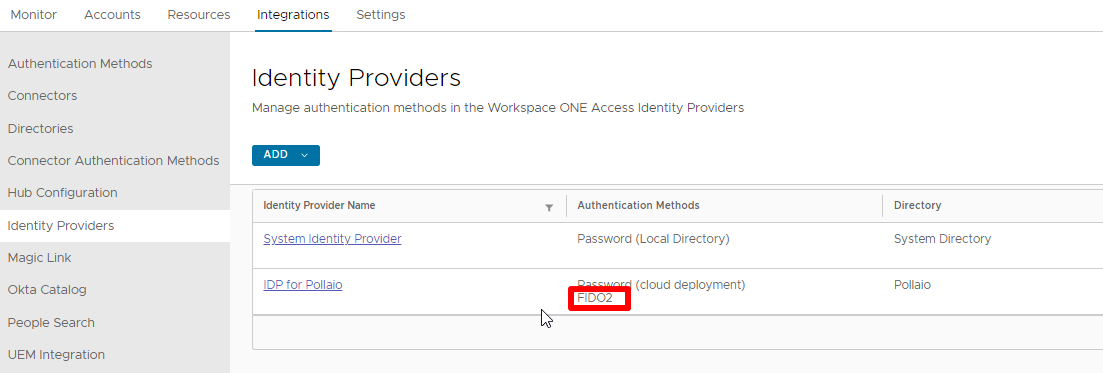
Go to integrations -> Identity providers -> Click on correct IdP -> Flag FIDO2

A screenshot of a computer

Description automatically generated

A screenshot of a computer

Description automatically generated

After associating the FIDO2 to IdP we need to create the policy to enable self-services FIDO2 device registration (it is possible to pre-configure the FIDO2 device registration)

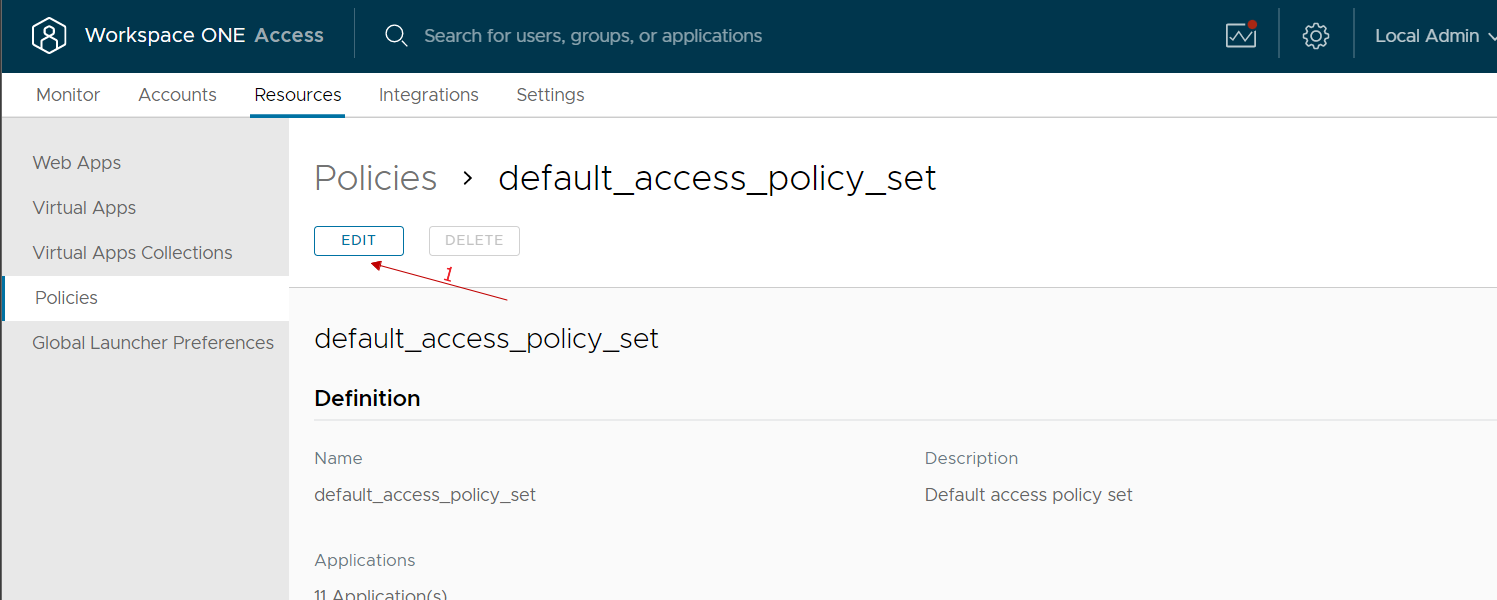
Go to resources -> Policies -> Click on default_access_policy_set -> Edit

A screenshot of a computer

Description automatically generated

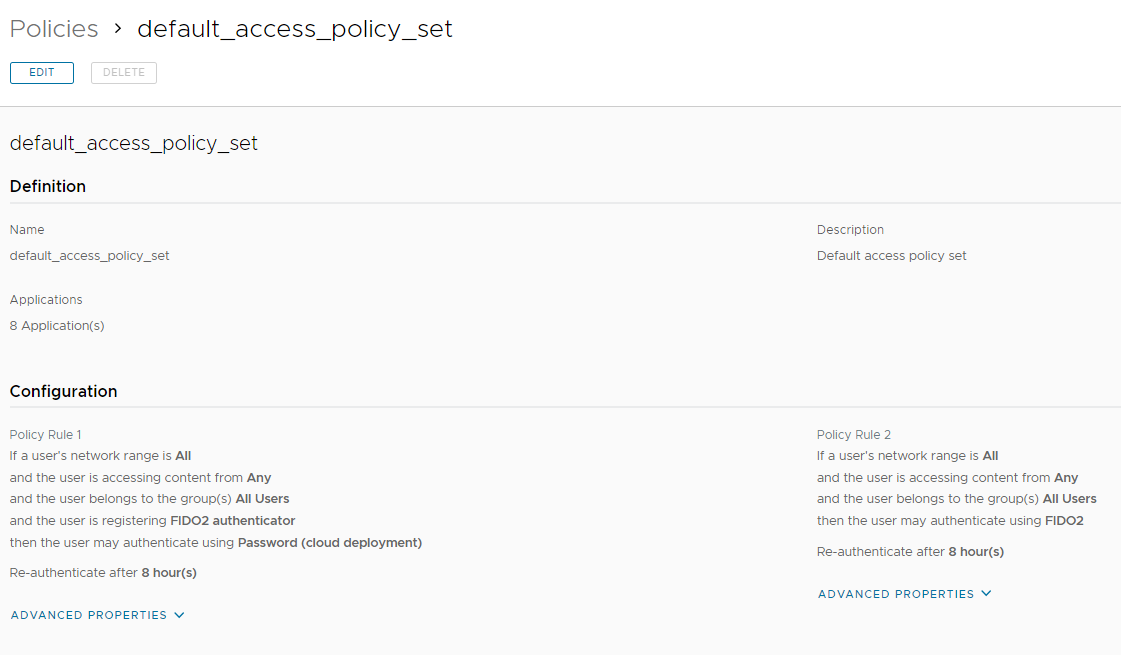
Create to rule:

Rule 1 -> enable self-service registration FIDO2 Device

Rule 2 -> enable the login with only FIDO2 Device

In the next image, there are the Policy Rule configurations
A screenshot of a computer

Description automatically generated

Self-service registration key

Insert the Yubikey 5 into to USB port and log to the Workspace One Access portal.

Now the web portal requires two choices:

  • Sign in with Fido2 Authenticator
  • Register your Fido2 Authenticator

To register the device we need to select Register
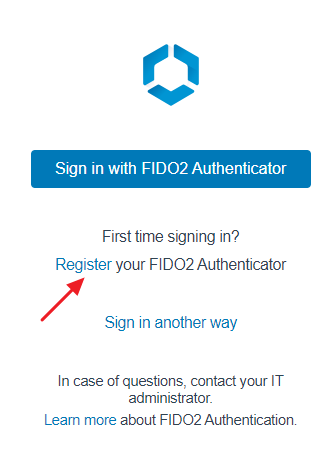
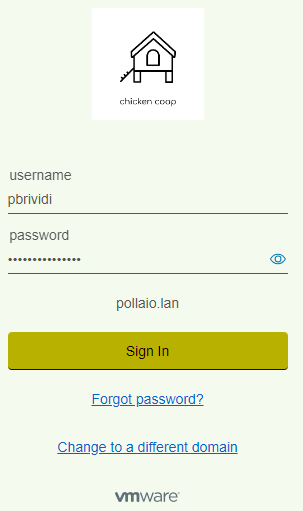
Login with the correct domain name account
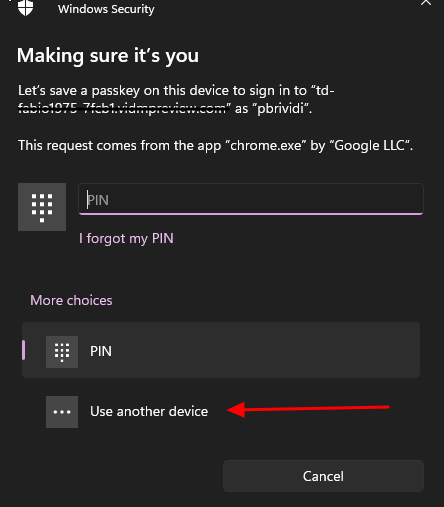
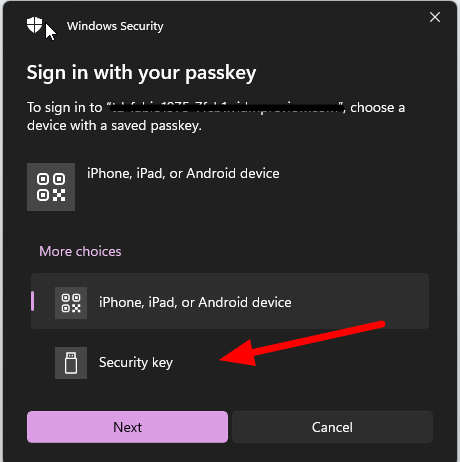
Now we need to select the authenticator
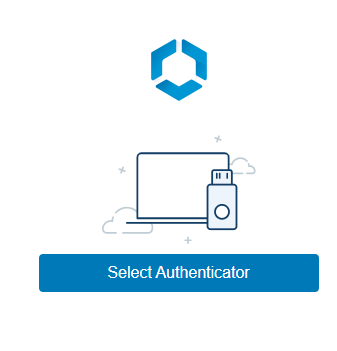
A screen shot of a computer

Description automatically generated

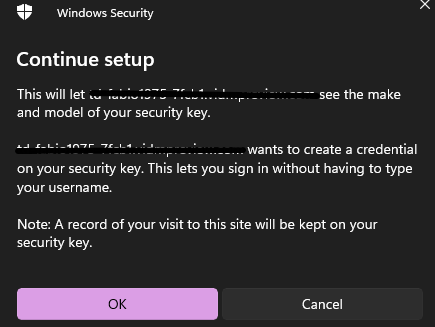
Select another device

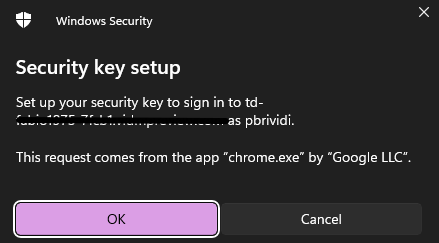
Select Security Key where store the passkey
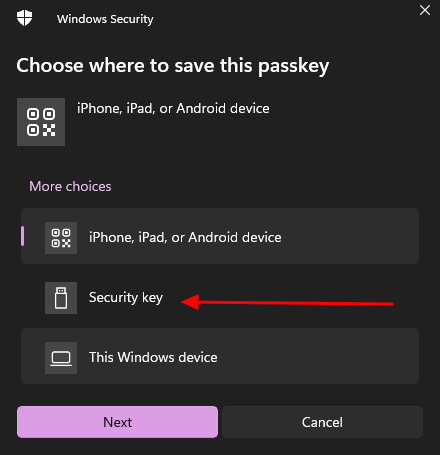
A screenshot of a computer security system

Description automatically generated

A screenshot of a computer security system

Description automatically generated

A screenshot of a computer security system

Description automatically generated

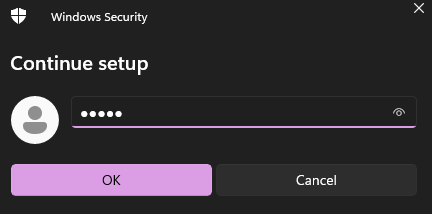
Insert the security pin

A screenshot of a computer

Description automatically generated

Touch the key (there is a fingerprint ….)
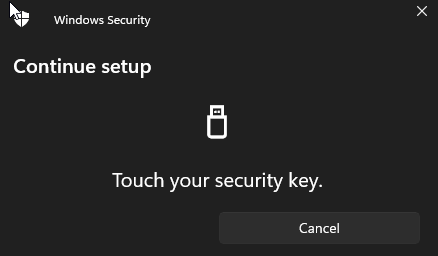
A screenshot of a computer

Description automatically generated

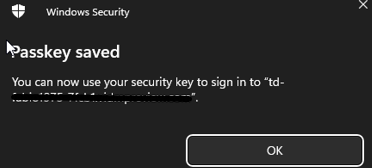
A screen shot of a computer security

Description automatically generated

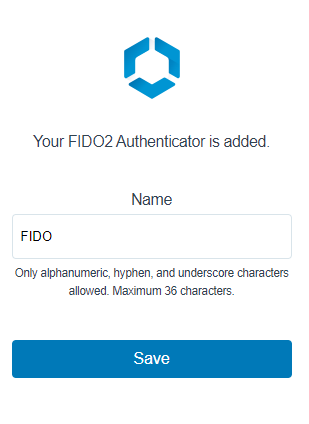
Add a name for the Security Key

A screenshot of a phone

Description automatically generated

Now you are ready to log in with the security key

User Experience login

Access to company workspace one access website
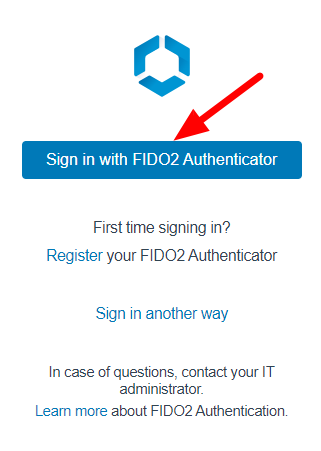
A screen shot of a sign

Description automatically generated

A screenshot of a computer security

Description automatically generated

Insert PIN number associated with FIDO2
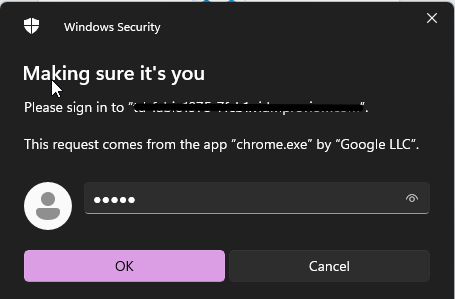
A screenshot of a computer security

Description automatically generated

Now touch the key for fingerprint authentication Chiara2013!
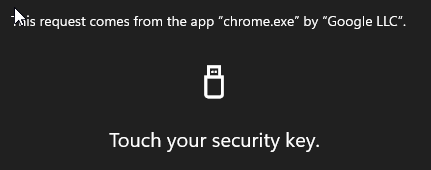
A black and white screen with white text

Description automatically generated

You are redirected to Workspace One catalog portal
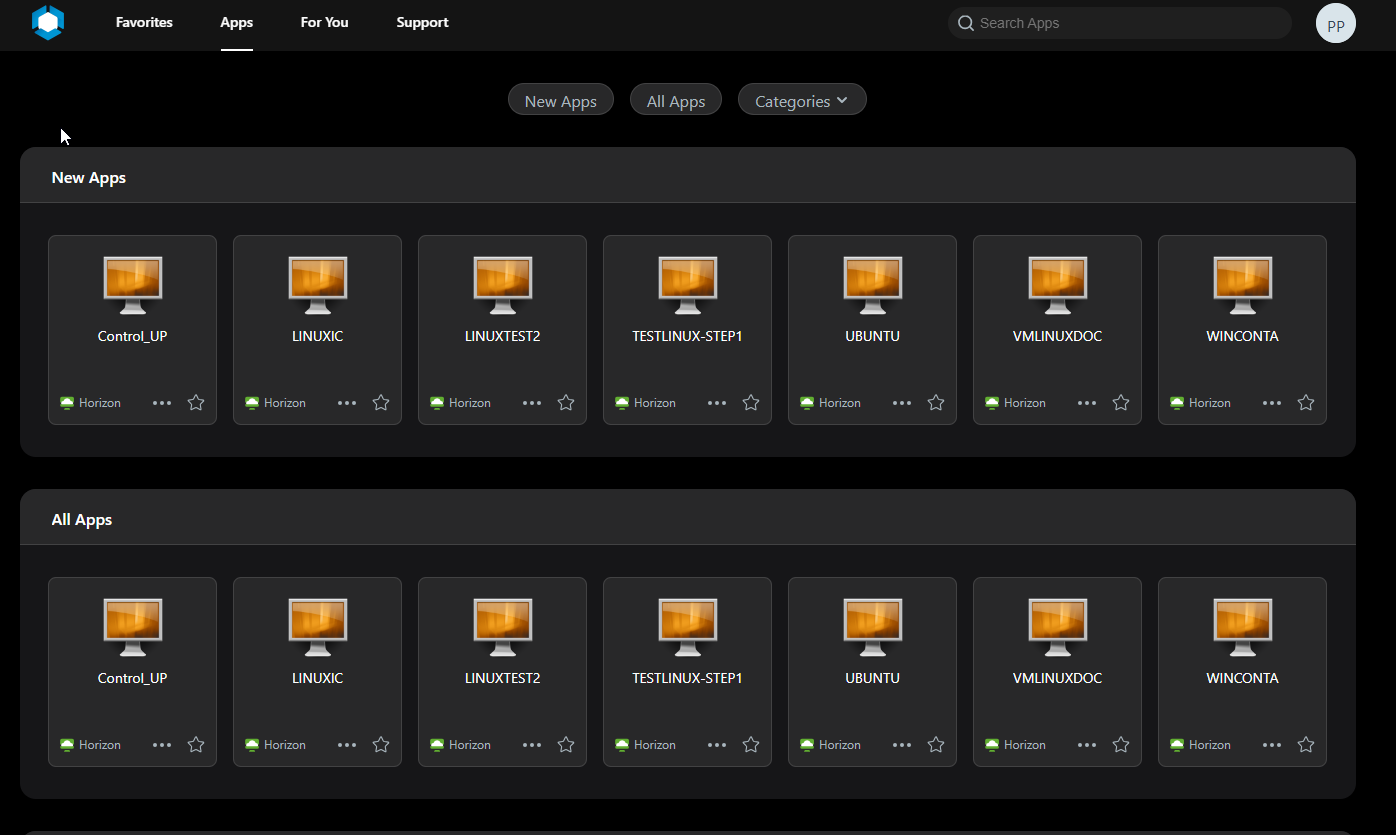
A screenshot of a computer

Description automatically generated

If you want to show and reset the User FIDO2 device you need to:

Login to Workspace One Access SaaS admin console, go to Accounts, Users and click on the user that you want to reset the device association
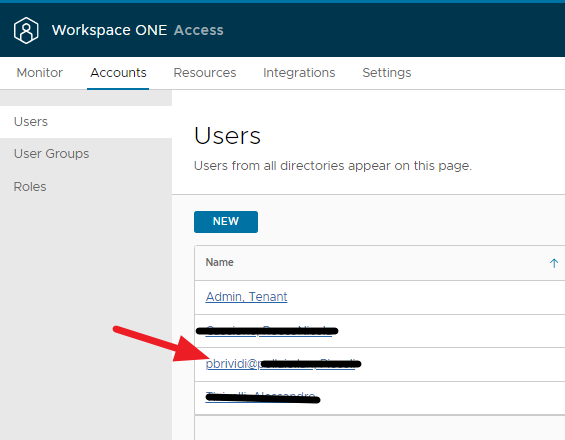
A screenshot of a login page

Description automatically generated

Select two-factor authentication

A red arrow pointing to a white background

Description automatically generated

A white and blue rectangle

Description automatically generated

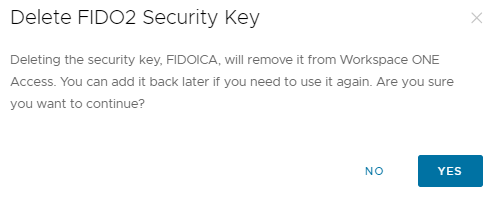
And delete the FIDO2 security key

A screenshot of a computer security key

Description automatically generated

Otherwise, the administrator can associate the new device with the user.

VMware Workspace One Access, VMware Horizon, and FIDO2 device

Authenticator APP and Workspace One Access

It is very important to activate MFA (Multi-factor authentication) using applications such as Google Authenticator on corporate services exposed on the internet that require access using credentials.

If we talk about VMware Workspace One Access, a solution that allows us to publish applications and business services on the internet, it is mandatory to activate the MFA.

Since Workspace One Access version 22.09, you can use Authentication Applications such as Microsoft or Google.

Enabling MFA requires a few steps:

  • Enable the “Authenticator APP” authentication method on Workspace One Access
  • Ask the end user to install the APP on their phone or the company one (possibly we can use services that allow us to enrol automatically)
  • At the first access, the user will have to scan the QRcode that appears on the login page of Workspace One Access (in my case we try the access via WEB to workspace one access)

Enable the “Authenticator APP” authentication method on Workspace One Access

Access the Integration menu, select Authentication Methods, enable Authenticator App and select Configure.

Graphical user interface, text, application, email

Description automatically generated

We enable and possibly can change any classic account lock parameters etc …

Graphical user interface, text, application, email

Description automatically generated

At this point, we go to integrations, select identity provider and select our IDP related to the integration with AD

Graphical user interface, text, application, email

Description automatically generated

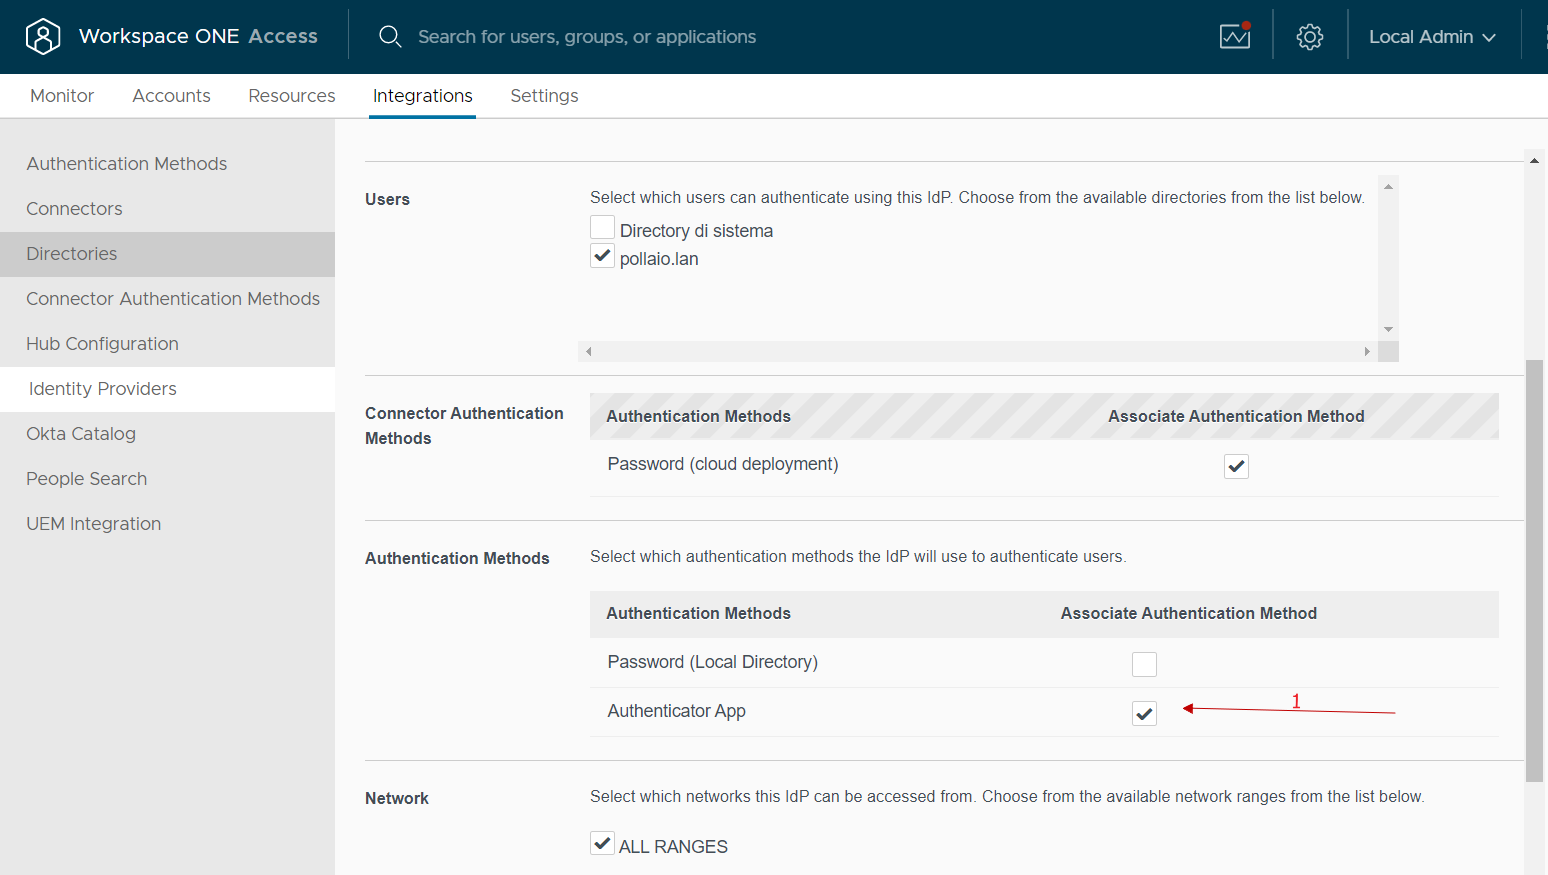
In the Authentication Methods menu select Authenticator APP

Graphical user interface, text, email

Description automatically generated

At this point, we just need to go and modify the policy used by our users by adding MFA for authentication

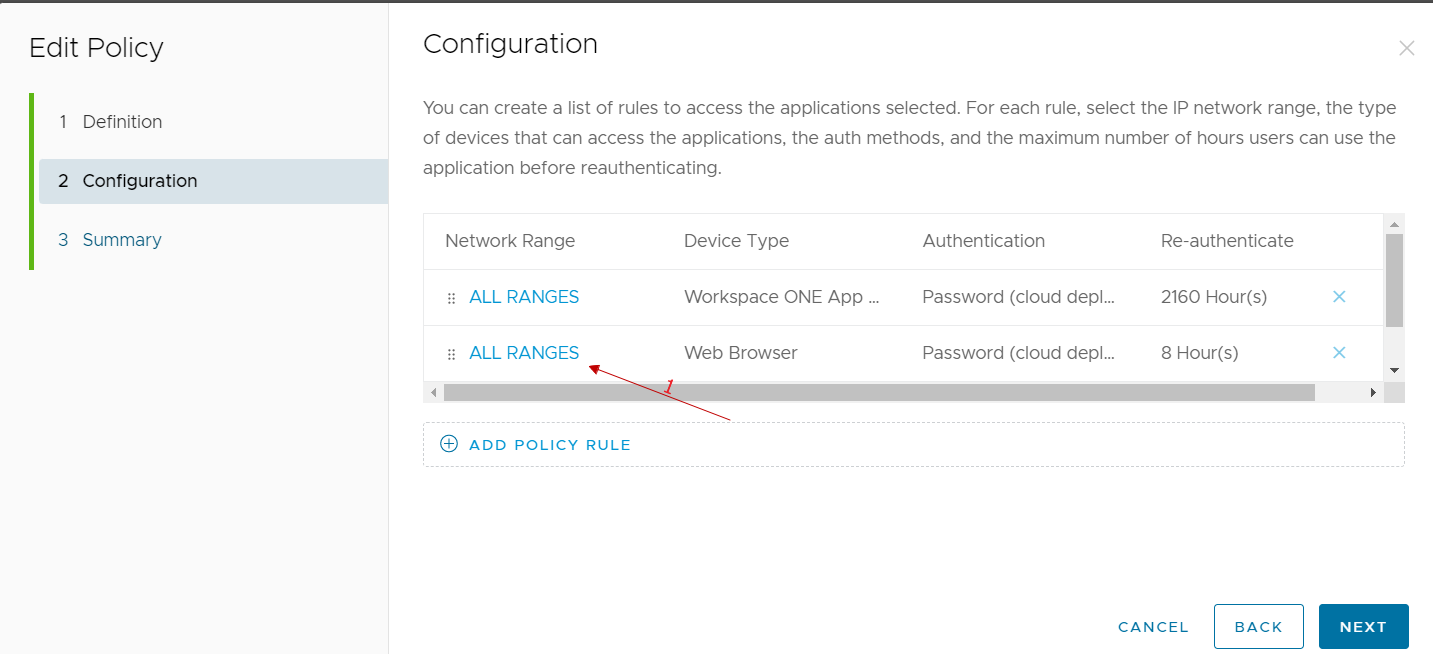
We go to the Resources, policies menu, select our policy and modify it

Graphical user interface, text, application, email

Description automatically generated

Graphical user interface, text, application, email

Description automatically generated

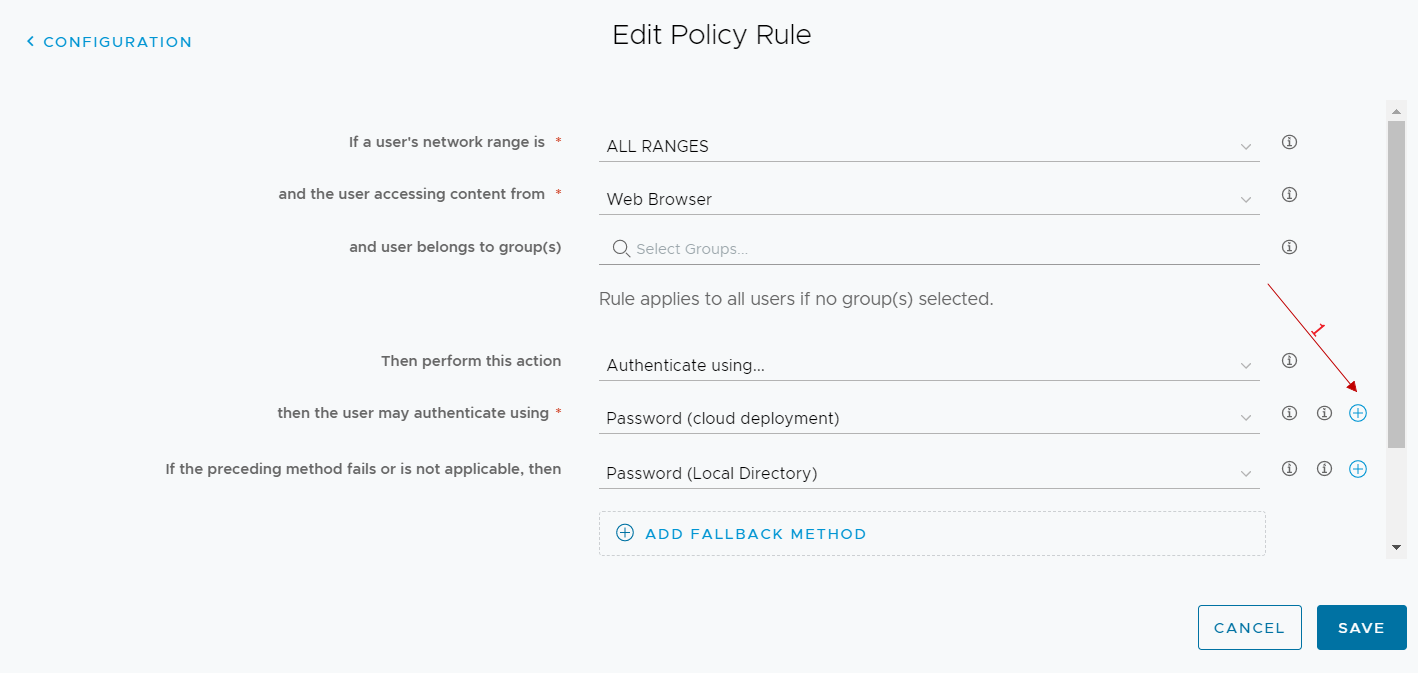
We select the rule of our interest (normally we select the one relating to access from public networks because we could reason that those who access from the company network have already done other methods of secure authentication …)

Graphical user interface, text, application, email

Description automatically generated

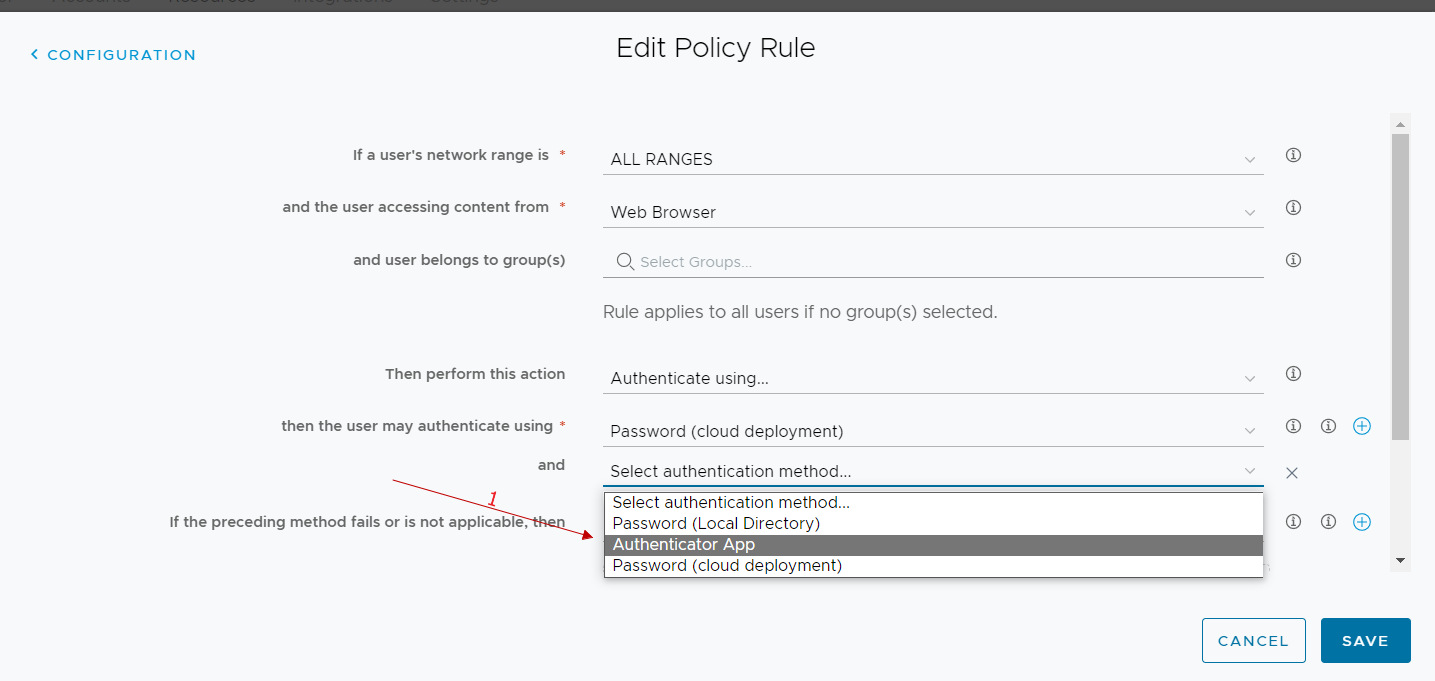
In the authentication methods used, we add the authenticator app

Graphical user interface, text

Description automatically generated with medium confidence

Graphical user interface, text, application, email

Description automatically generated

From now on, all users who log in to workspace one access and run with the rule we have modified we have the following user experience at the first login:

User experience at login

Go to WorkSpace One Access public URL.

If prompted, they will have to select the domain.

Graphical user interface, application

Description automatically generated

Then they will have to enter username and password

Graphical user interface, application

Description automatically generated

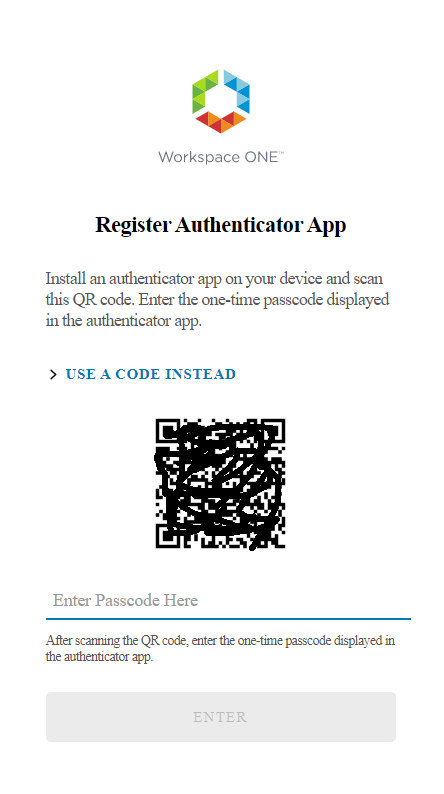
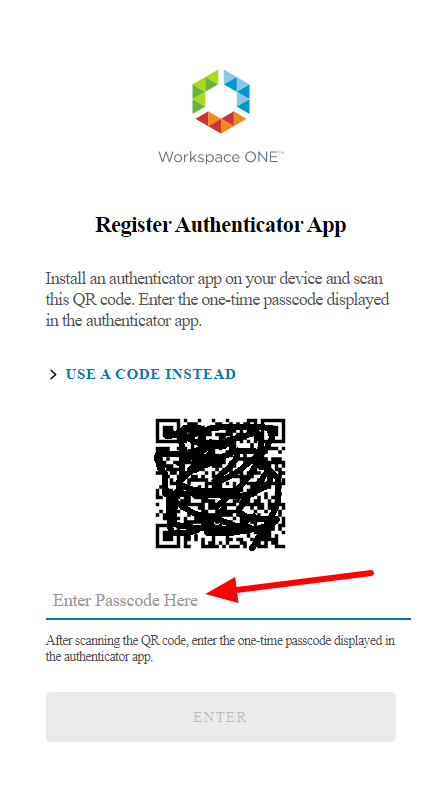
Finally, they will have a QRcode that they will have to use to configure their Authenticator APP (Microsoft or Google). So, in the selected phone app they will have to add an account by reading the QRCODE

Qr code

Description automatically generated

We access our smartphone and launch the authentication application that we will use (in my case I launch Google Authenticator)

Icon

Description automatically generated

We add the new account

Graphical user interface, text, application

Description automatically generated

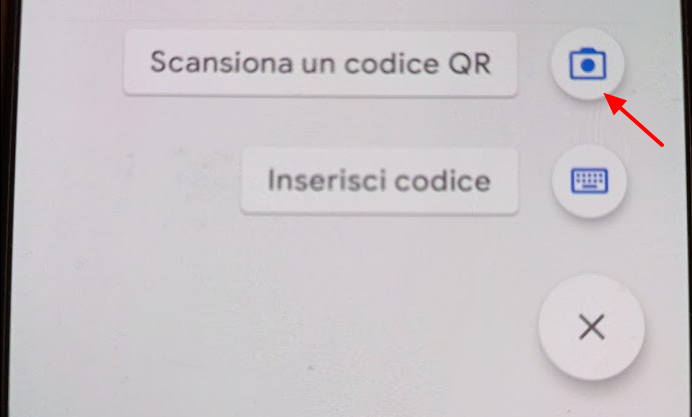
We select the option to scan a QRCODE and scan it

Enter the passcode generated after scanning the QRCODE in the space provided under the QRcode code on the page WEB

Qr code

Description automatically generated

We will now have an account named WSA (Woekspace One:WSA) linked to our authenticator app

Graphical user interface, text, application

Description automatically generated

From the next login after entering your username and password you will be asked for the access code generated by the user application

Authenticator APP and Workspace One Access

Azure MFA, UAG, Horizon and TRUE SSO – Step 5

Import XML on Horizon Connection Servers and configure it

Now we import the XML content in to all Horizon Connection Server, for all server on

Select Edit and after authentication

Select in delegation of authentication ….. the value ALLOWED open

and a new authenticator

Static

Name type Azure

And copy the content of XML file  on the SAML Metadata

Enable truesso for Horizon Authentication method

On a Connection server enable the TRUESSO for a Authentication Method

vdmUtil –authAs admin-role-user –authDomain domain-name –authPassword admin-user-password –truesso –authenticator –edit –name authenticator-fqdn –truessoMode {ENABLED|ALWAYS}

vdmUtil –authAs administrator –authDomain pollaio –authPassword 121212121 –truesso –authenticator –edit –name azure  –truessoMode ENABLED

And now the configuration is done.

Thank You

Fabio Storni fabio1975@gmail.com

REFERENCE

Tutorial: Azure Active Directory single sign-on (SSO) integration with VMware Horizon – Unified Access Gateway | Microsoft Docs

Setting Up True SSO (vmware.com)

Azure MFA, UAG, Horizon and TRUE SSO – Step 5

Azure MFA, UAG, Horizon and TRUE SSO – Step 4

Configure a enterprise application on Azure AD, configure it and export XML

Insert:

 Identifier  -> https://<public-FQDN-UAG>/portal

Reply URL -> https://<public-FQDN-UAG>/portal/samlsso

Sign on URL -> https://<public-FQDN-UAG>/portal/samlsso

Download the  XML

Assign Users or Groups permission to Enterprise application

Import XML on UAG and configure it

Import Identity Provider Metadata, select the file XML downloaded from the Enterprise Application data

Select the identity provider

 Select More Option

And select SAML e the correct Identity provider (with SAML+PASSTROUGHT the identity token  will not passed to horizon Server and it will required a new autentication)

Azure MFA, UAG, Horizon and TRUE SSO – Step 4

Azure MFA, UAG, Horizon and TRUE SSO – Step 3

Export Horizon Enrollment Certificate from Horizon installation and install it in to Enrollment Horizon Server

Connect to Horizon Server and export the Horizon View Certificate  (The certificate with  vdm.ec friendly name)

Now we import the enrollment certificate in to Horizon Enrollment server,  we need import in to Certificate Computer store and add the friwndly name vdm.ec

Configure TrueSSO on Horizon Connection Server

Configure Enrollement server

vdmUtil –authAs admin-role-user –authDomain domain-name –authPassword admin-user-password –truesso –environment –add –enrollmentServer enroll-server-fqdn

vdmUtil –authAs administrator –authDomain pollaio –authPassword qwerty1234567890! –truesso –environment –add –enrollmentServer Enroll.pollaio.lan

Verifica le informazioni

vdmUtil –authAs admin-role-user –authDomain domain-name –authPassword admin-user-password –truesso –environment –list –enrollmentServer enroll-server-fqdn –domain domain-fqdn

vdmUtil –authAs administrator –authDomain pollaio –authPassword qwerty1234567890! –truesso –environment –list –enrollmentServer Enroll.pollaio.lan –domain pollaio.lan

Creare la connessione per il true sso

vdmUtil –authAs admin-role-user –authDomain domain-name –authPassword admin-user-password –truesso –create –connector –domain domain-fqdn –template TrueSSO-template-name –primaryEnrollmentServer enroll-server-fqdn –certificateServer ca-common-name –mode enabled

vdmUtil –authAs administrator –authDomain pollaio –authPassword qwerty1234567890! –truesso –create –connector –domain pollaio.lan –template TRUESSOHORIZON  –primaryEnrollmentServer enroll.pollaio.lan –certificateServer pollaio-NPSSRV-CA  –mode enabled

Verify from the Horizon Connection server dashboard thee TrueSSO status, if it is all green the trueSSO is Ready

Azure MFA, UAG, Horizon and TRUE SSO – Step 3

Integrazione VMware Unified Access Gateway con autenticazione Azure MFA

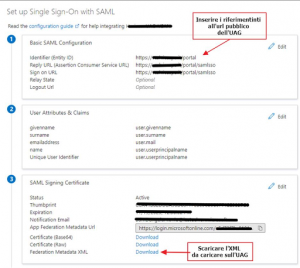
 Per procedere all’integrazione  con Azure MFA è necessario eseguire delle configurazioni su Azure Active Directory  (non entrerò nel dettaglio di queste configurazioni) ma per procedere nell’abilitazione dell’autenticazione a più fattori sull’UAG è necessario accedere all’Enterprise Application creata e scarica il file XML con i metadata. Inoltre verificare che nella Basic SAML Configuration ci siano i riferimenti alla mia infrastruttura UAG pubblica.


Scarico il file XML con i metadata da utilizzare per configurare l’UAG

Importo il file XML nella infrastruttura UAG nelle configurazioni manuali in Identity Bridging Settings


Importo il file XML contenente i metadata selezionado Select


Una volta caricato sull’UAG il file XML con i metadata vado negli edge service settings ed entro nei nelle configurazioni

E configuro l’Auth Methods e l’identity Provider (che mi compare in automatico dopo aver caricato il file XML)


A questo punto posso procedere ad accedere e testare l’accesso con MFA.

Integrazione VMware Unified Access Gateway con autenticazione Azure MFA