VMware Workspace One Access, VMware Horizon, and FIDO2 device

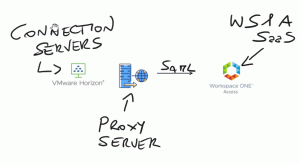
Publishing VDI outside our company network is an activity that has become a necessity for many companies since COVID-19 (employee smart working, workstations dedicated to consultants, etc.). In all the implementations, that I have done in recent years, one of the key points of my installations is the need to implement MFA solutions to increase the level of security.

In this post, I want to explain how to configure the integration of Workspace One Access WS1A, Horizon, and FIDO2 devices (I use a Yubikey 5 Series with NFC and Fingerprint)

A black usb flash drive with a yellow circle and a gold circle

Description automatically generated A hand holding a phone with a sign in the screen

Description automatically generated A hexagon with arrow

Description automatically generated A green computer with a white cloud in the screen

Description automatically generated

What is VMware WorkSpace One Access?

A screenshot of a computer

Description automatically generated

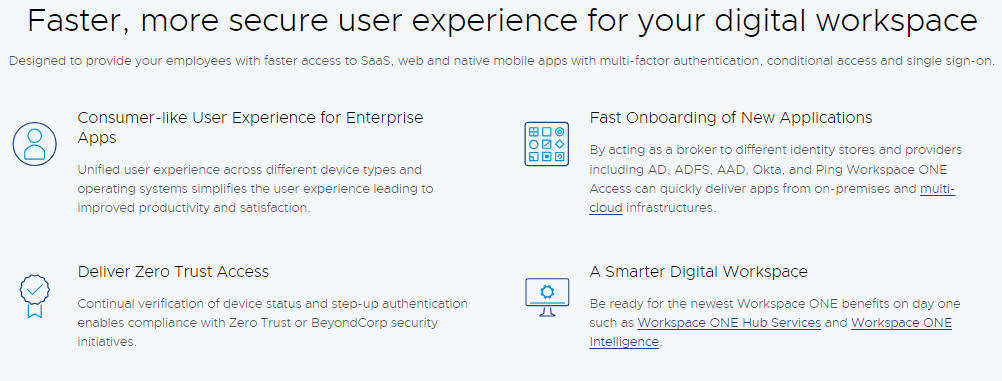
Workspace ONE Access (vmware.com)

What is VMware Horizon?

A screenshot of a computer

Description automatically generated

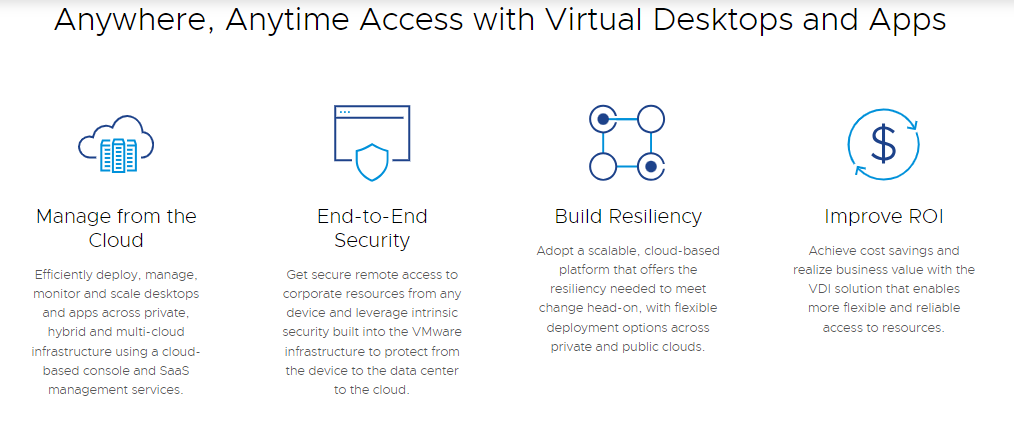
VMware Horizon | VDI Software Solutions | VMware
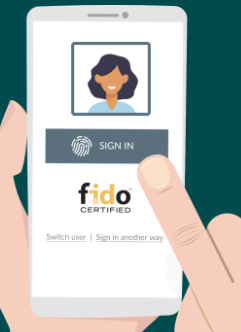
What is FIDO2?

FIDO2 enables users to leverage common devices to easily authenticate to online services in both mobile and desktop environments.

The FIDO2 specifications are the World Wide Web Consortium’s (W3C) Web Authentication (WebAuthn) specification and FIDO Alliance’s corresponding Client-to-Authenticator Protocol (CTAP).

FIDO2 – FIDO Alliance

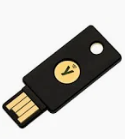
What is Yubikey 5 Series?

Multi-protocol security key, eliminate account takeovers with strong two-factor, multi-factor, and passwordless authentication, and seamless touch-to-sign. Multi-protocol support allows for strong security for legacy and modern environments. A full range of form factors allows users to secure online accounts on all of the devices that they love, across desktops and mobile.

  • Multi-protocol support; FIDO2, U2F, Smart card, OTP, OpenPGP 3
  • USB-A, USB-C, NFC, Lightning
  • IP68 rated, crush resistant, no batteries required, no moving parts

USB-A YubiKey 5 NFC Two Factor Security Key | Yubico

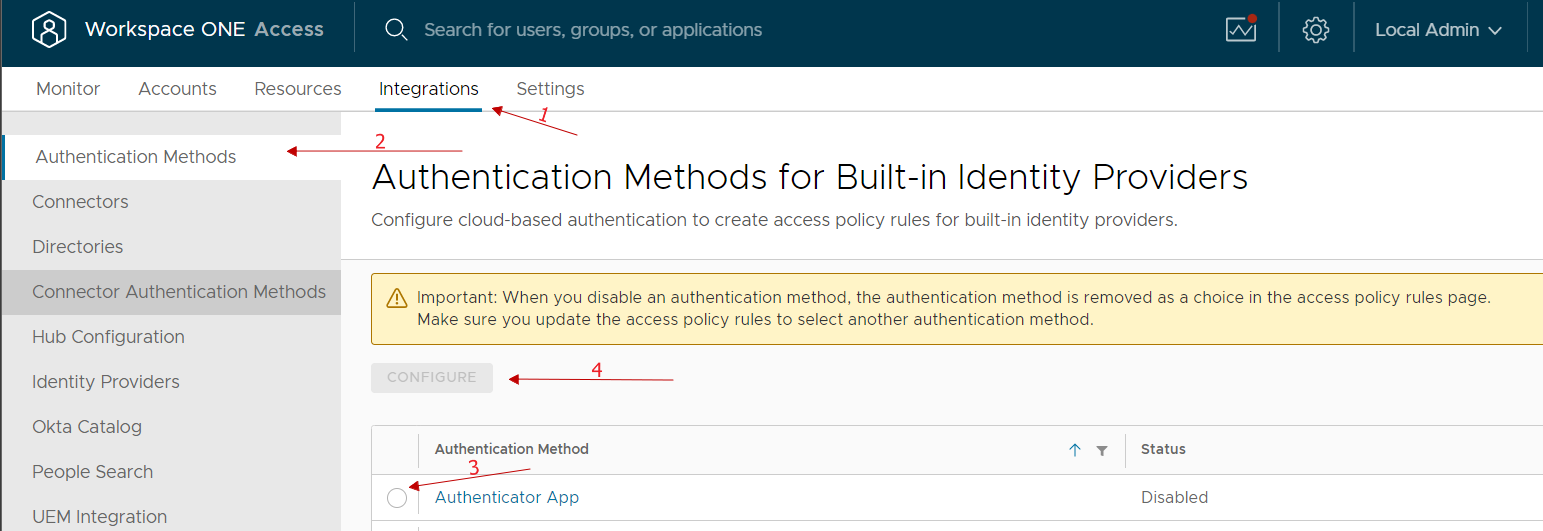
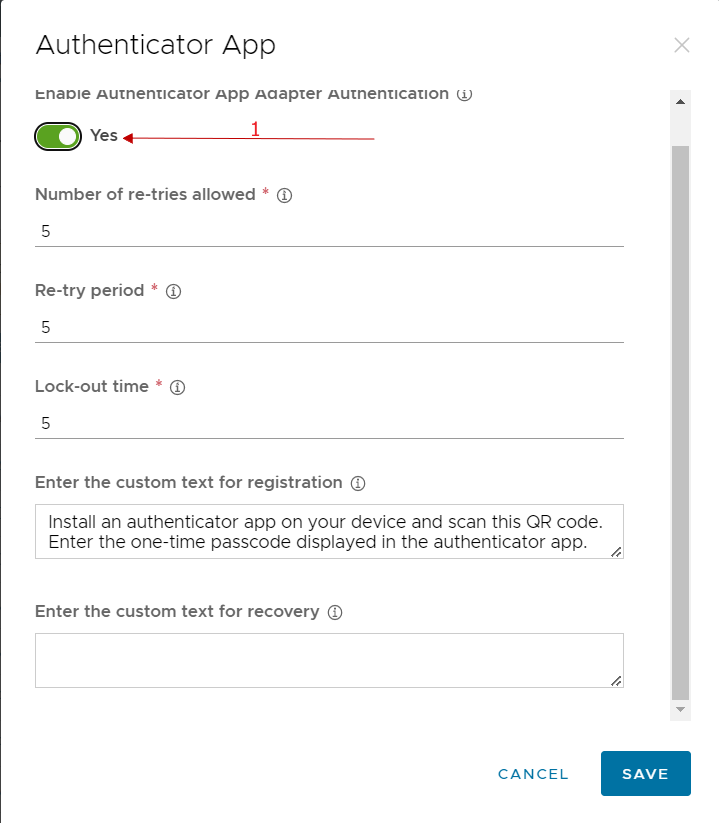
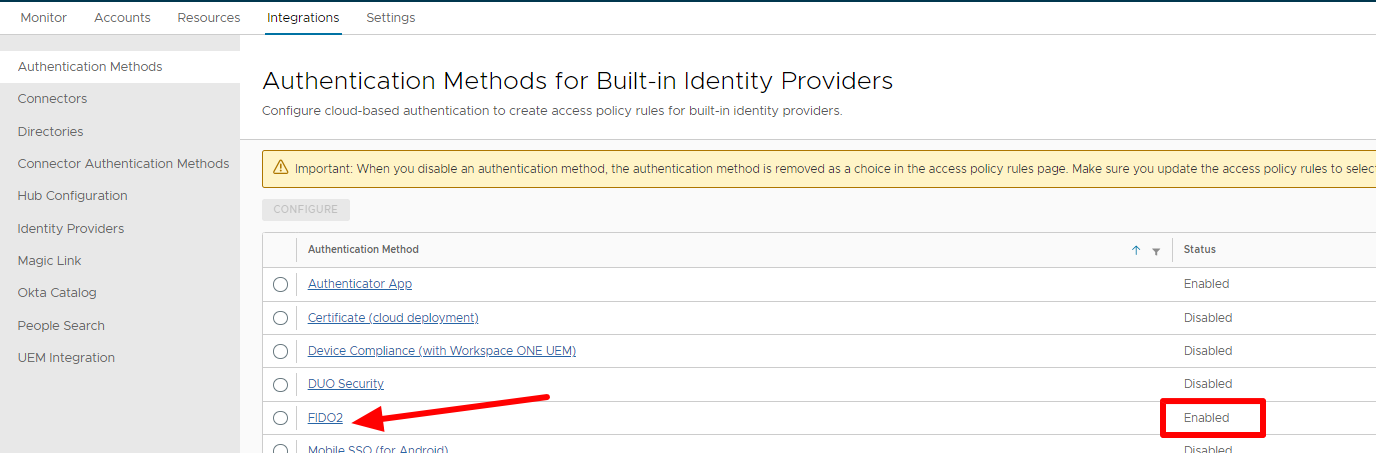
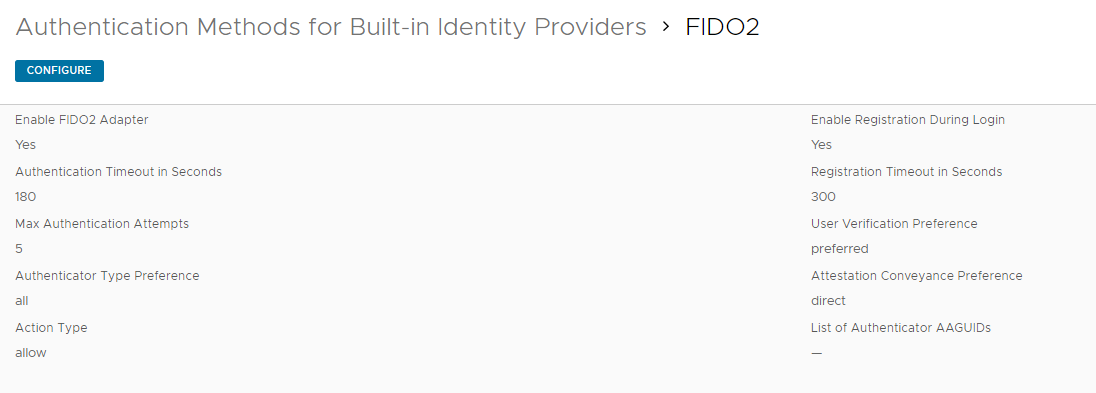
Configure Workspace one Access(WS1A) SaaS for use FIDO2 authentication

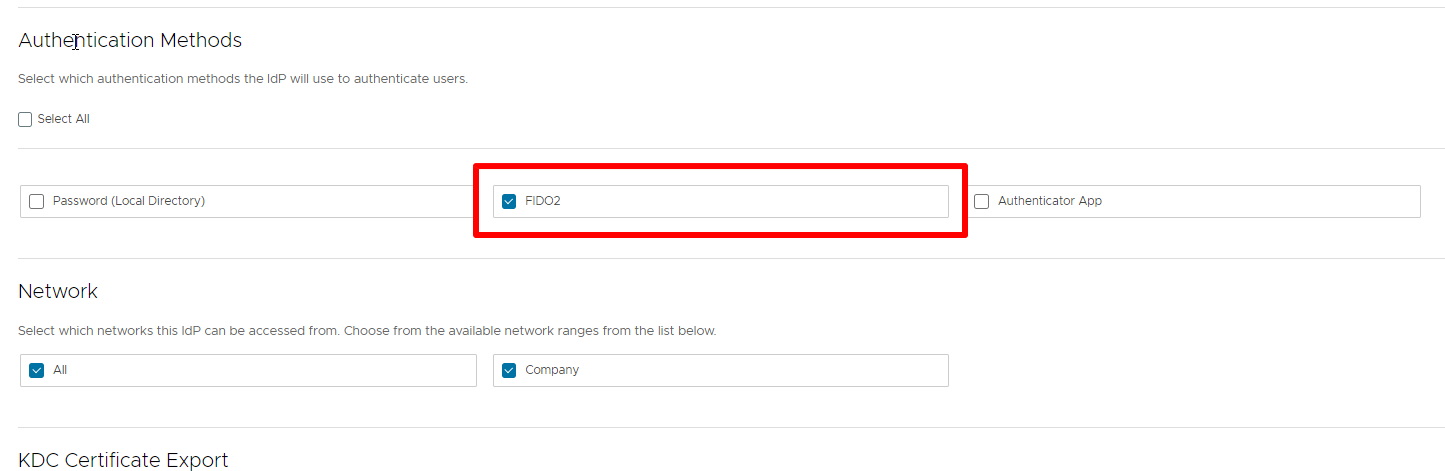
Enable Authentication methods on WS1A.

Go to integrations -> Authentication Methods -> Click on FIDO2 -> Enable FIDO2 Adapter

A screenshot of a computer

Description automatically generated

A screenshot of a computer

Description automatically generated

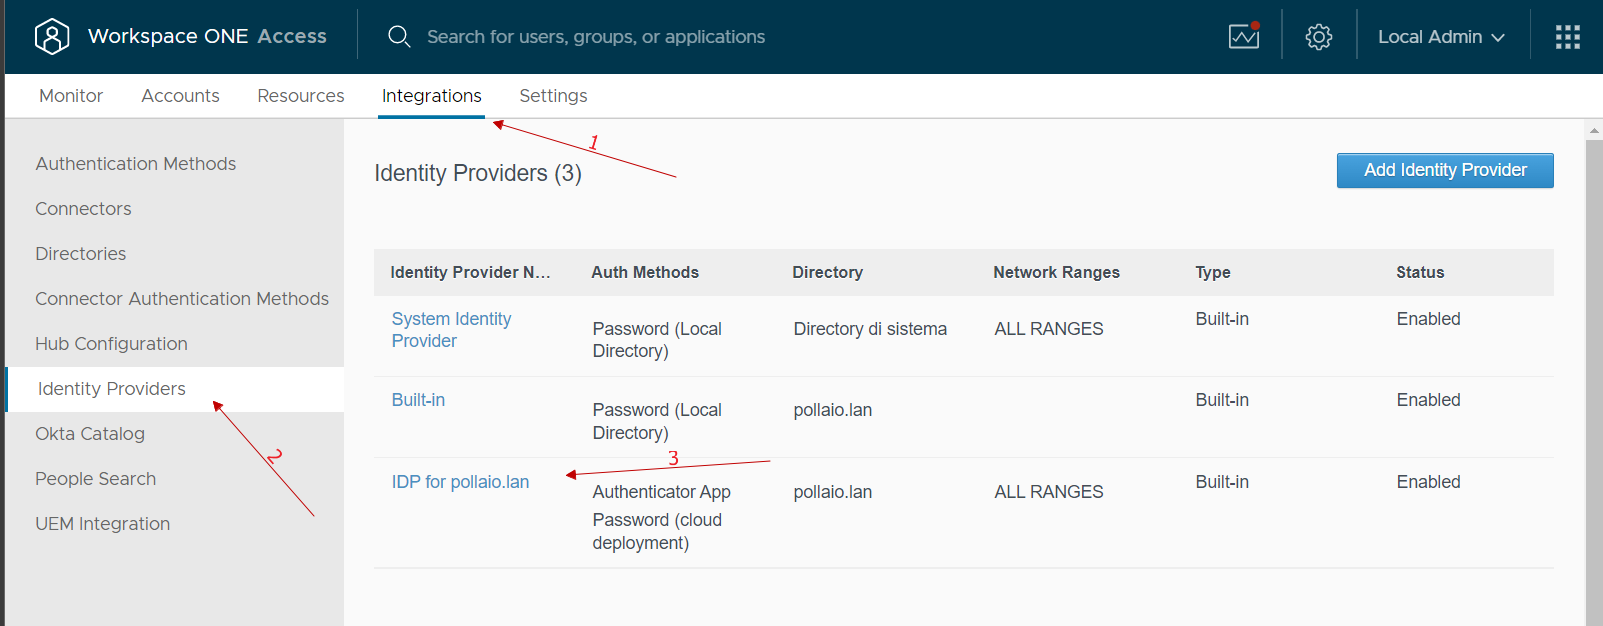
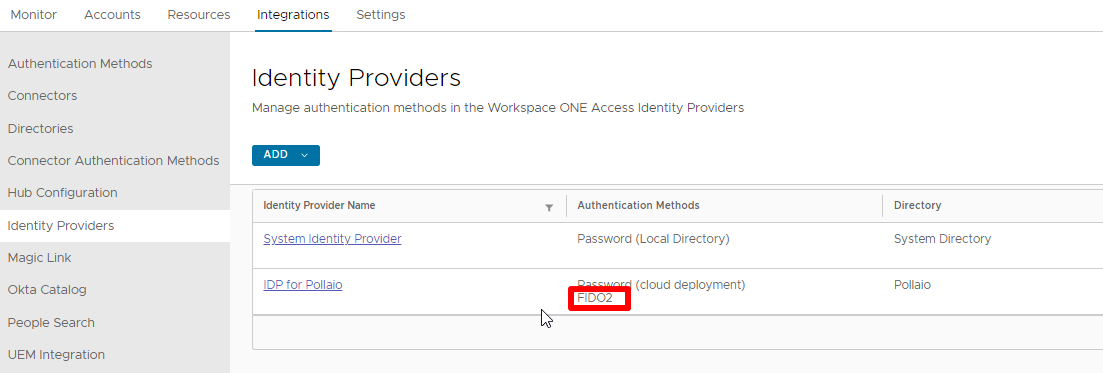
Now we need to associate the authentication method to Identity provider (created to integrate WS1A with Active Directory)

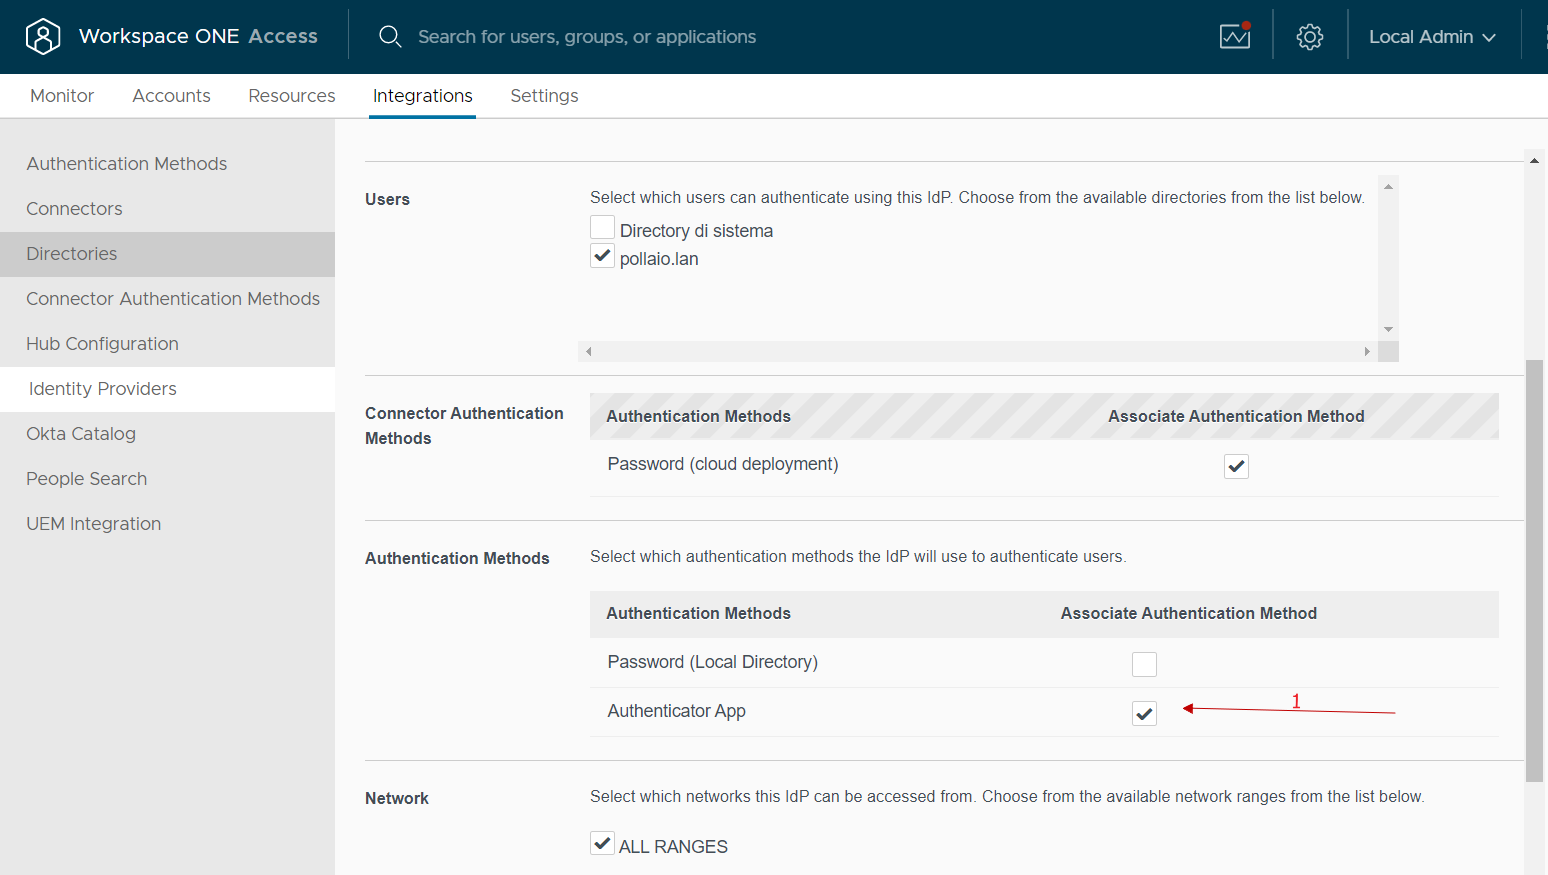
Go to integrations -> Identity providers -> Click on correct IdP -> Flag FIDO2

A screenshot of a computer

Description automatically generated

A screenshot of a computer

Description automatically generated

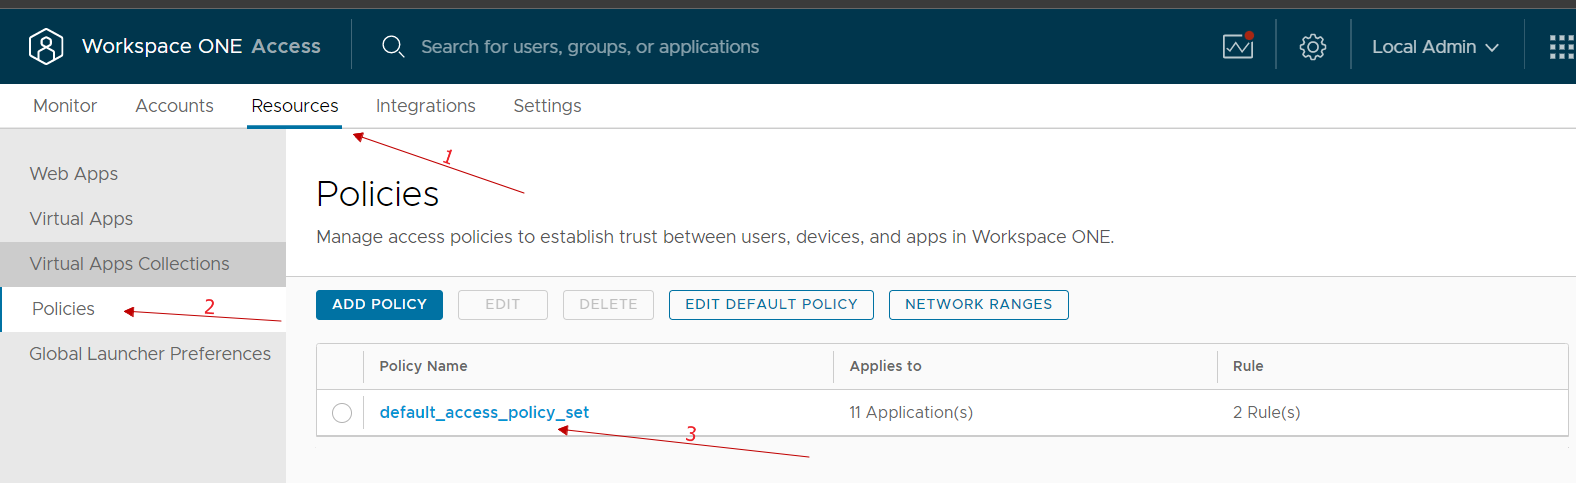
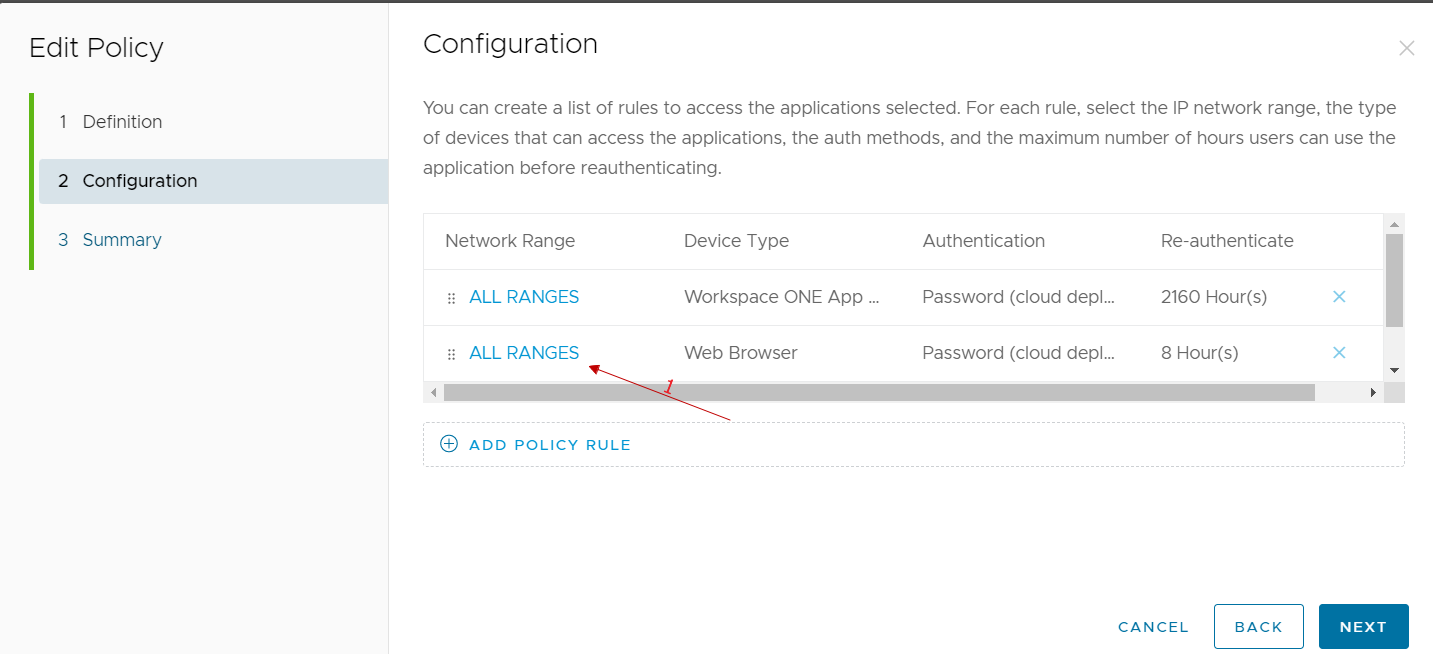
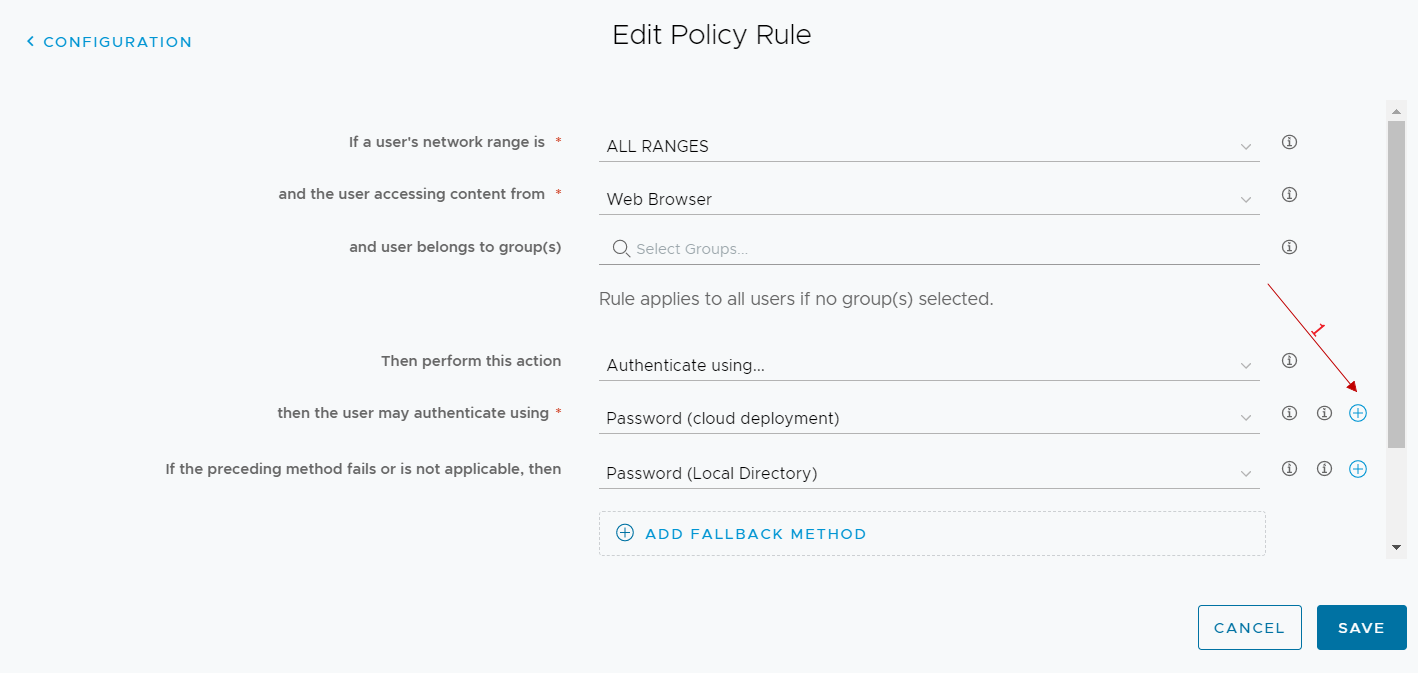
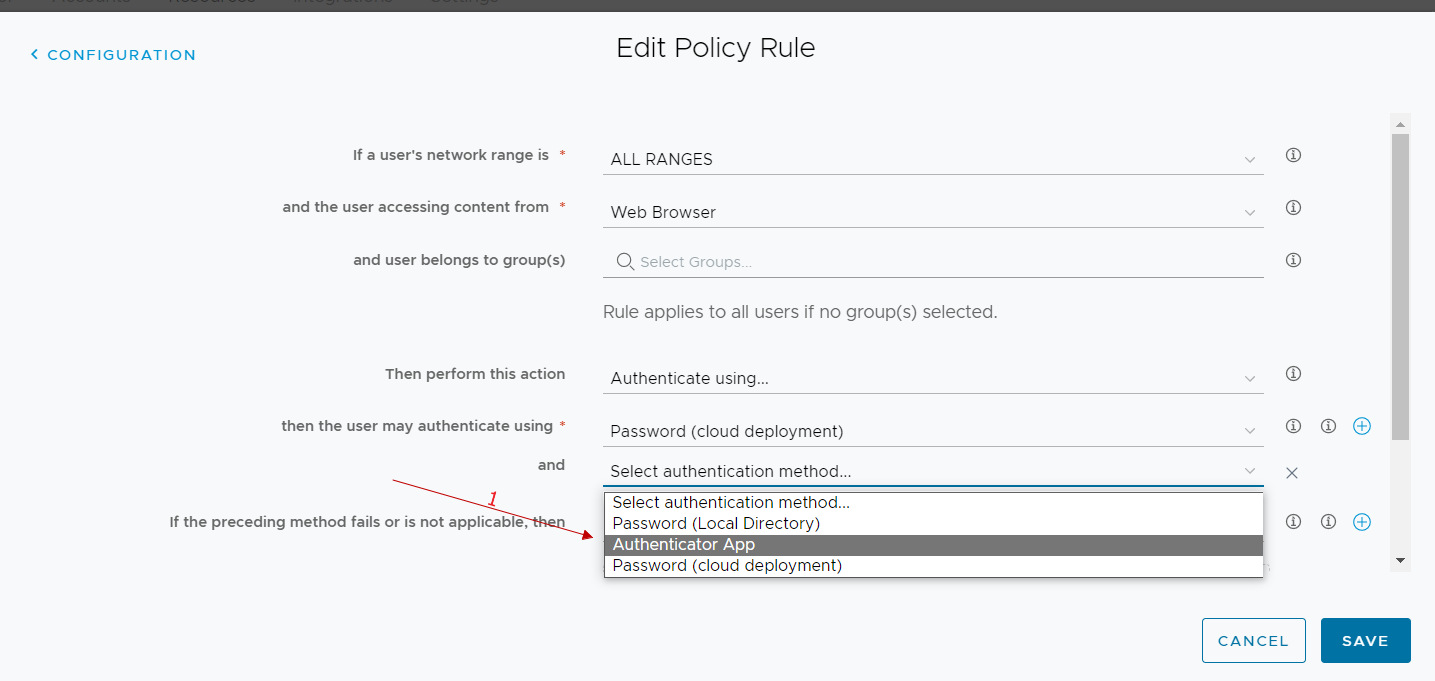
After associating the FIDO2 to IdP we need to create the policy to enable self-services FIDO2 device registration (it is possible to pre-configure the FIDO2 device registration)

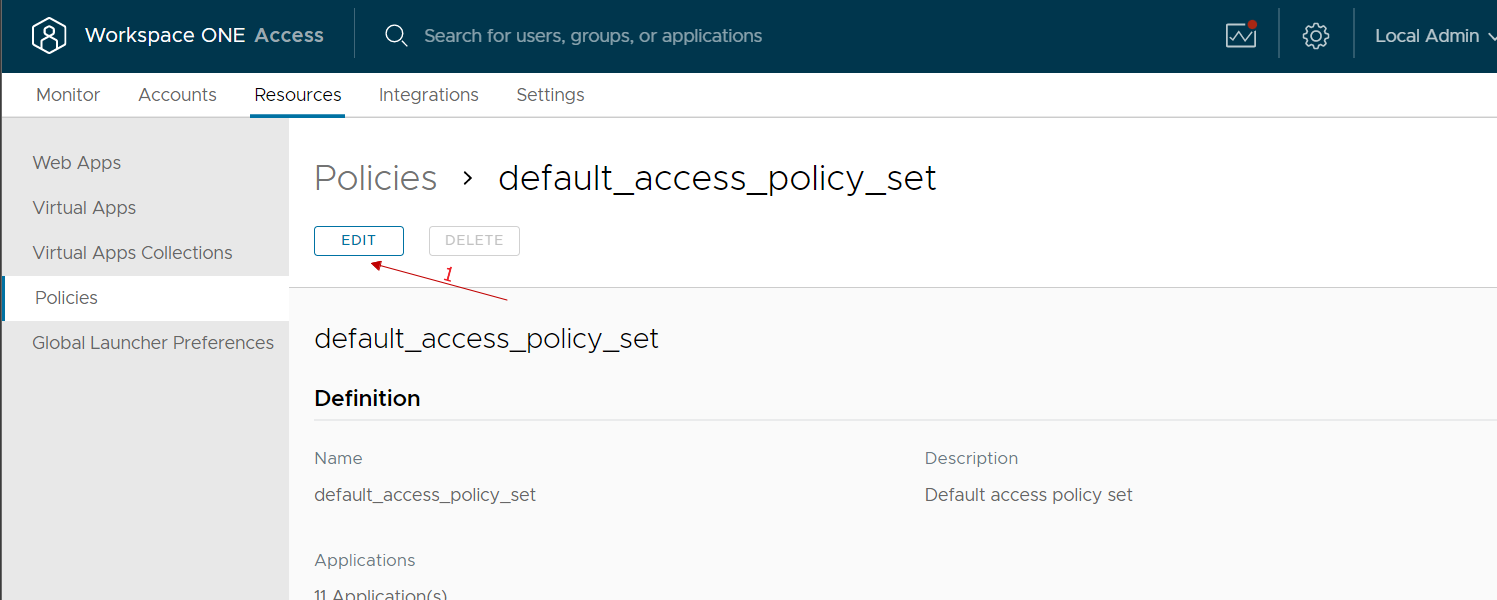
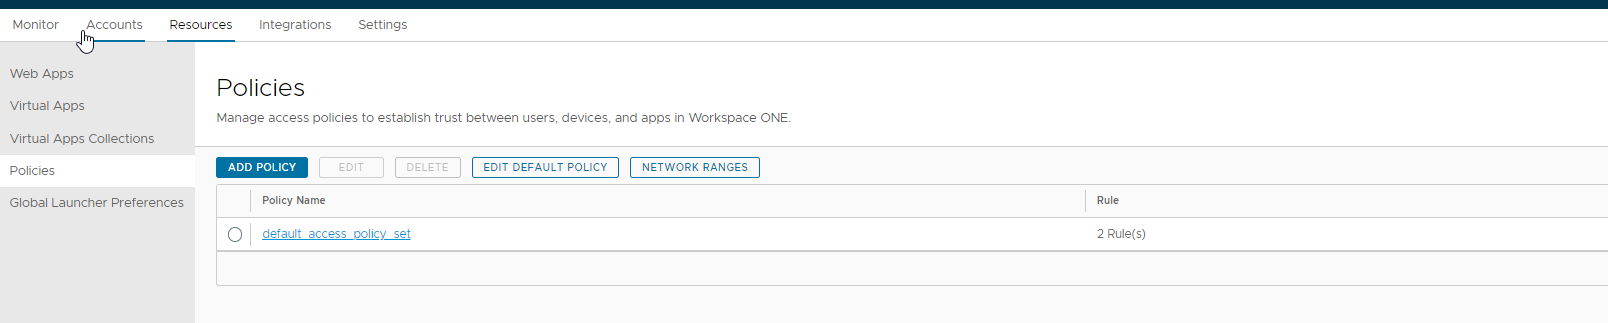
Go to resources -> Policies -> Click on default_access_policy_set -> Edit
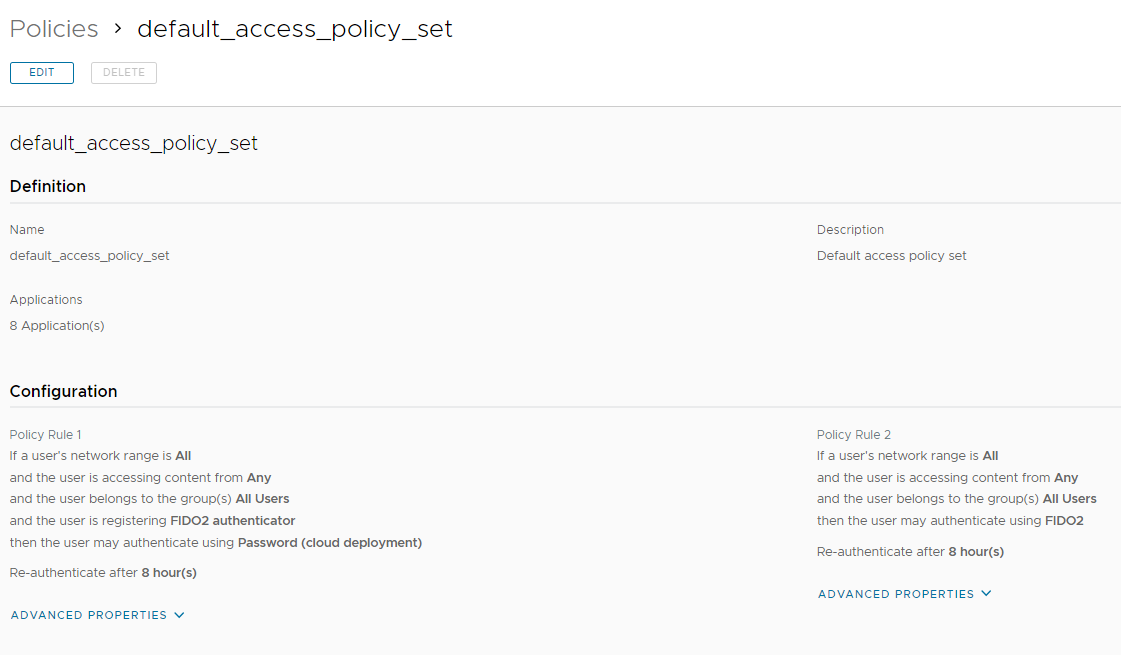
A screenshot of a computer

Description automatically generated

Create to rule:

Rule 1 -> enable self-service registration FIDO2 Device

Rule 2 -> enable the login with only FIDO2 Device

In the next image, there are the Policy Rule configurations

A screenshot of a computer

Description automatically generated

Self-service registration key

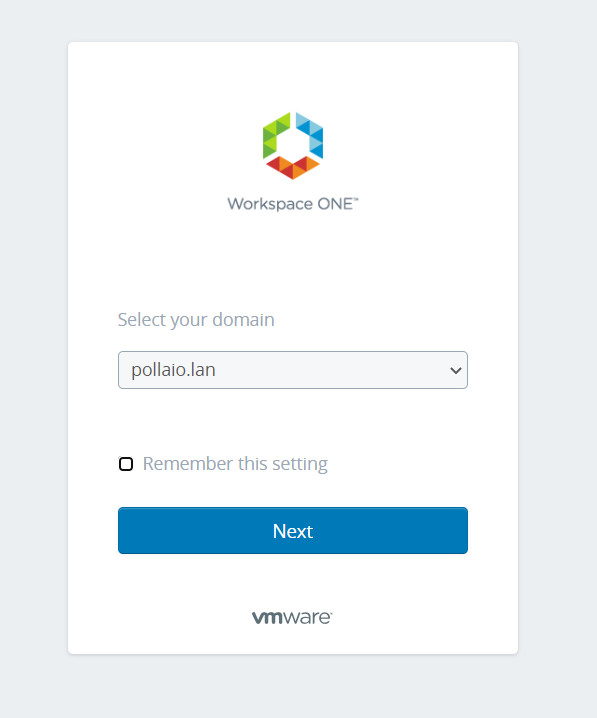
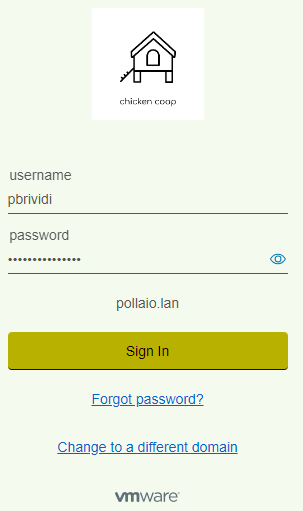
Insert the Yubikey 5 into to USB port and log to the Workspace One Access portal.

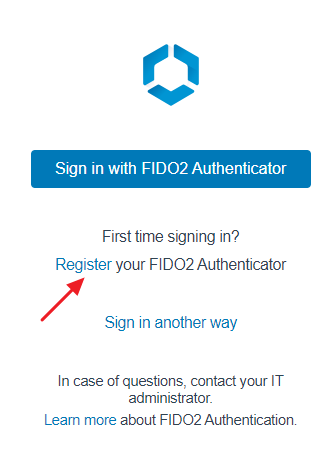
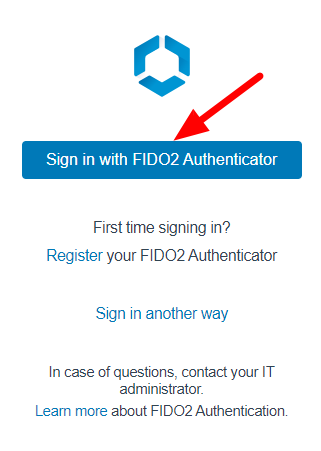
Now the web portal requires two choices:

  • Sign in with Fido2 Authenticator
  • Register your Fido2 Authenticator

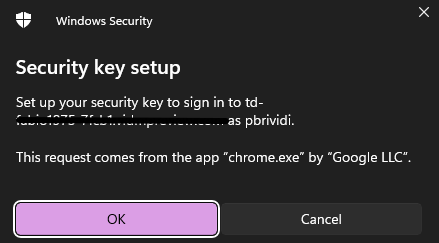
To register the device we need to select Register

Login with the correct domain name account

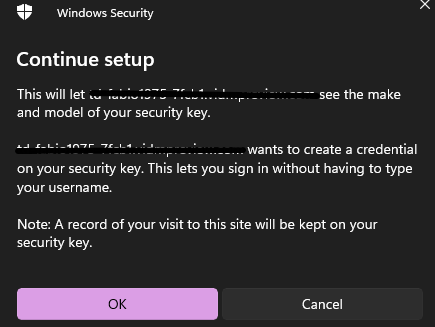
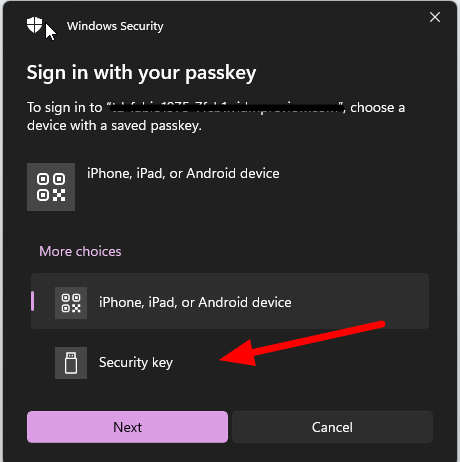
Now we need to select the authenticator

A screen shot of a computer

Description automatically generated

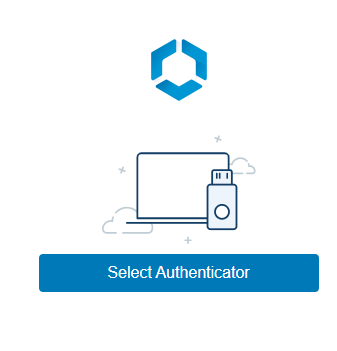
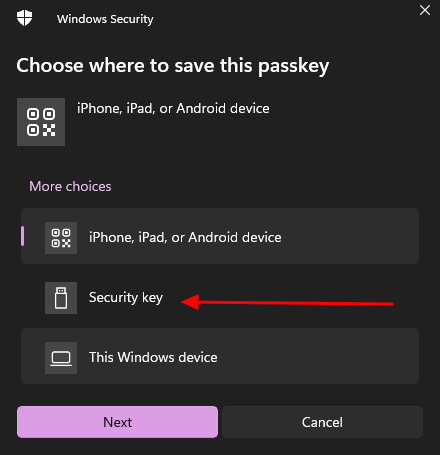
Select another device

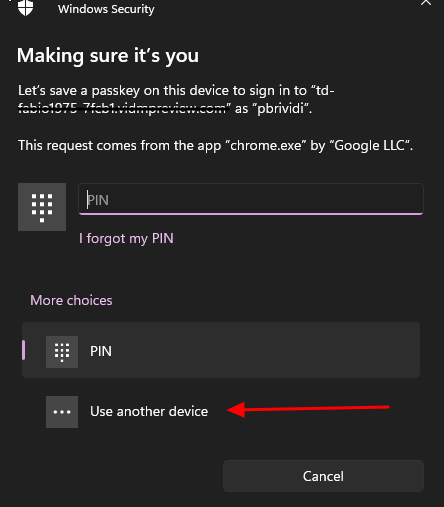
Select Security Key where store the passkey

A screenshot of a computer security system

Description automatically generated

A screenshot of a computer security system

Description automatically generated

A screenshot of a computer security system

Description automatically generated

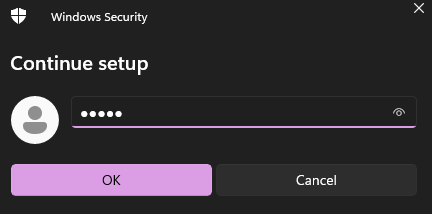
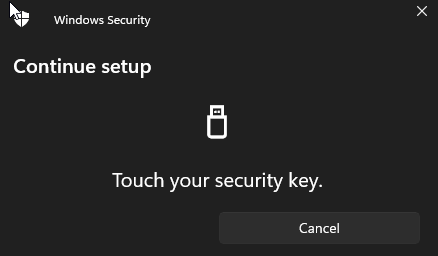
Insert the security pin

A screenshot of a computer

Description automatically generated

Touch the key (there is a fingerprint ….)

A screenshot of a computer

Description automatically generated

A screen shot of a computer security

Description automatically generated

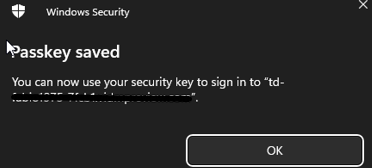
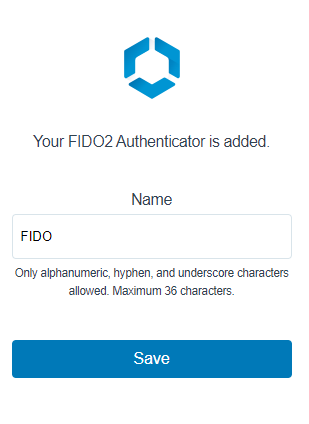
Add a name for the Security Key

A screenshot of a phone

Description automatically generated

Now you are ready to log in with the security key

User Experience login

Access to company workspace one access website

A screen shot of a sign

Description automatically generated

A screenshot of a computer security

Description automatically generated

Insert PIN number associated with FIDO2

A screenshot of a computer security

Description automatically generated

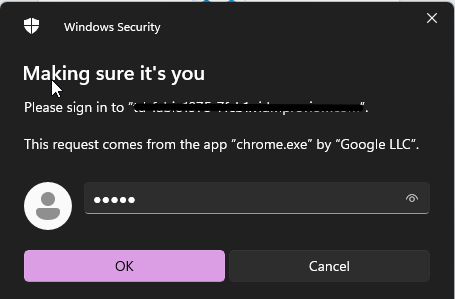
Now touch the key for fingerprint authentication Chiara2013!

A black and white screen with white text

Description automatically generated

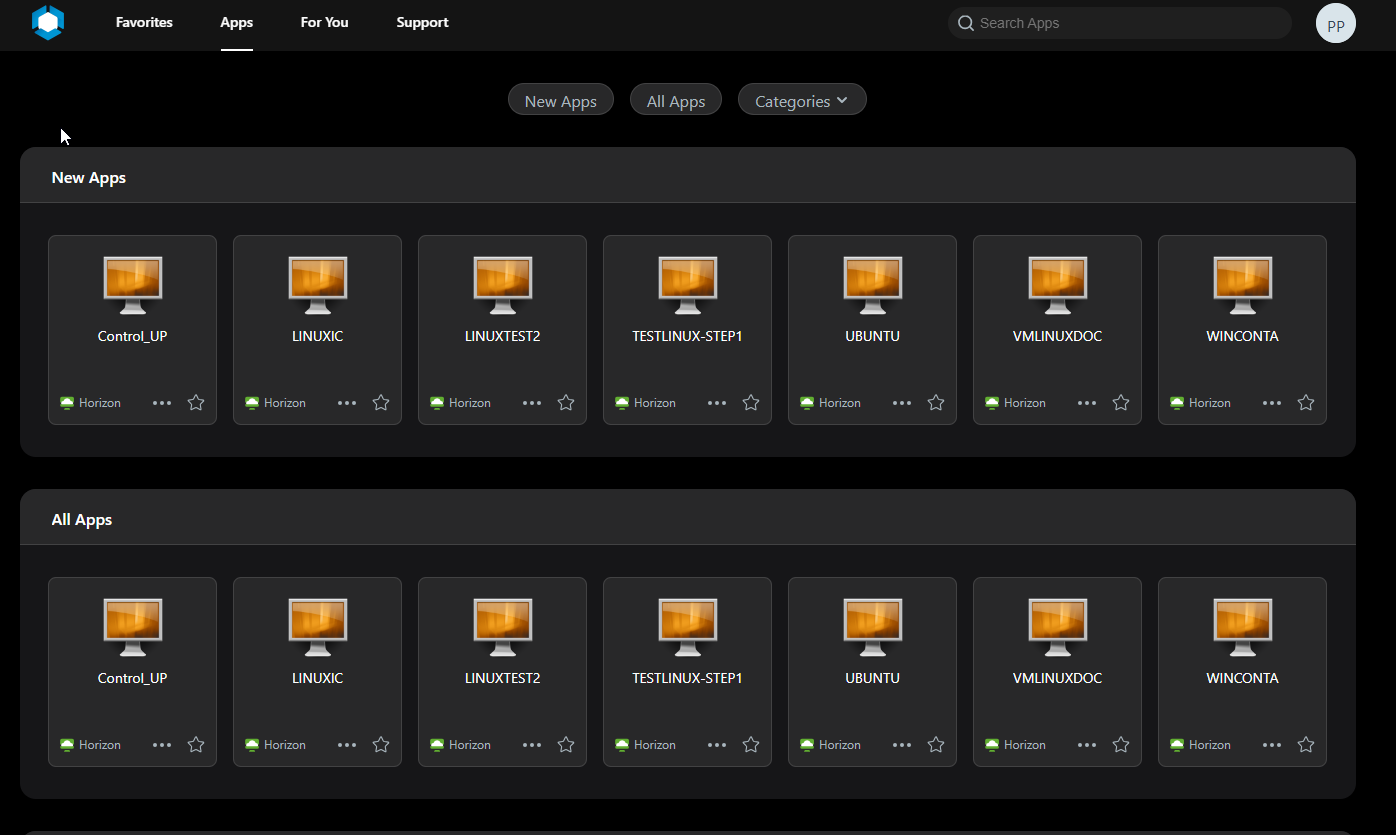
You are redirected to Workspace One catalog portal

A screenshot of a computer

Description automatically generated

If you want to show and reset the User FIDO2 device you need to:

Login to Workspace One Access SaaS admin console, go to Accounts, Users and click on the user that you want to reset the device association

A screenshot of a login page

Description automatically generated

Select two-factor authentication

A red arrow pointing to a white background

Description automatically generated

A white and blue rectangle

Description automatically generated

And delete the FIDO2 security key

A screenshot of a computer security key

Description automatically generated

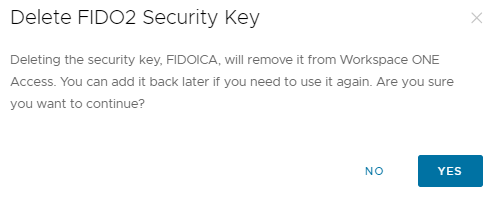
Otherwise, the administrator can associate the new device with the user.

VMware Workspace One Access, VMware Horizon, and FIDO2 device

Configure Proxy Server for Horizon for SAML integration

When we need to integrate a Horizon infrastructure to the cloud identity provider (like Workspace One Access SaaS solution) sometimes we need to manage firewall and proxy configuration.

For the Firewall rule, there is much information (KB link) while for the proxy server, we are not able to use Windows server configuration because Horizon ignores it.

To use a proxy server to permit communication to the IdP URL from Horizon Connection servers we need to configure some values on ADAM DB:

pae-SAMLProxyName

pae-SAMLProxyPort

To connect to ADAM DB and where modify the correct value

  • Connect with RDP session to Connection Server OS
  • Start from PowerShell adsedit

A close-up of a computer screen

Description automatically generated

  • In the console tree select Connect to..

A screenshot of a computer

Description automatically generated

  • Configure the connection with this information.

dc=vdi,dc=vmware,dc=int

localhost:389

A screenshot of a computer

Description automatically generated

  • Expand ADAM ADSI tree under the object path: dc=vdi,dc=vmware,dc=int,ou=Properties,ou=Global
  • Click on value Common and modify the following value

pae-SAMLProxyName -> With Proxy URL

pae-SAMLProxyPort -> With Proxy Port

Now we can configure the SAML integration from Horizon and IdP

Some information about why we need to integrate and use Workspace One Access with Horizon:

Integration between VMware Horizon and VMware Workspace ONE Access (formerly called Workspace ONE) uses the SAML 2.0 standard to establish mutual trust, which is essential for single sign-on (SSO) functionality. When SSO is enabled, users who log in to VMware Workspace ONE Access or Workspace ONE with Active Directory credentials can launch remote desktops and applications without having to go through a second login procedure.

Configure Proxy Server for Horizon for SAML integration

Failed to save domains. Resolving domains with the directory server failed with reason: [MyDomain – Kerberos authentication failed for domain.]

If we have a problem with the Identity directory on Workspace One Access like that:

Failed to save domains. Resolving domains with the directory server failed with reason: [fienile.lan – Kerberos authentication failed for domain.]

A close-up of a computer screen

Description automatically generated

In the situation where we have an Active Directory with Multi-Forest Active Directory Environment with Trust Relationships (The trust needs to be two-way and direct (non-transitive)).

There may be a problem with the Trust configuration, and you can find this error on DC (the DC of the user configuration for the connection)

The solution is to change the trust configuration and add:

A screenshot of a computer

Description automatically generated

Failed to save domains. Resolving domains with the directory server failed with reason: [MyDomain – Kerberos authentication failed for domain.]

Enabling Break-Glass URL Endpoint in Workspace ONE Access

A customer during the integration of Workspace One Access with Azure AD for MFA activation “locked out” the admin interface.

Prior to version 21.08, a URL was enabled by default on each Workspace One Access VSA for Break-glass URL Endpoint access.

https://< TENANT URL>/SAAS/login/0

from 21.08 onwards it was disabled because it was not security complaint for customer environments

To enable it, you must SSH or WEB GUI access one of the Workspace One Access VSA and run the following command:

hznAdminTool configureBreakGlassLogin enable -loginZero

and restart the horizon-workspace service with the following command.

Service Horizon-workspace restart

Text

Description automatically generated

At this point the “Emergency” URL is enabled again

Graphical user interface, application, website

Description automatically generated

And you can access it to fix the necessary policies.

To turn it off:

hznAdminTool configureBreakGlassLogin disable -loginZero

Service Horizon-workspace restart

Enabling Break-Glass URL Endpoint in Workspace ONE Access

Authenticator APP and Workspace One Access

It is very important to activate MFA (Multi-factor authentication) using applications such as Google Authenticator on corporate services exposed on the internet that require access using credentials.

If we talk about VMware Workspace One Access, a solution that allows us to publish applications and business services on the internet, it is mandatory to activate the MFA.

Since Workspace One Access version 22.09, you can use Authentication Applications such as Microsoft or Google.

Enabling MFA requires a few steps:

  • Enable the “Authenticator APP” authentication method on Workspace One Access
  • Ask the end user to install the APP on their phone or the company one (possibly we can use services that allow us to enrol automatically)
  • At the first access, the user will have to scan the QRcode that appears on the login page of Workspace One Access (in my case we try the access via WEB to workspace one access)

Enable the “Authenticator APP” authentication method on Workspace One Access

Access the Integration menu, select Authentication Methods, enable Authenticator App and select Configure.

Graphical user interface, text, application, email

Description automatically generated

We enable and possibly can change any classic account lock parameters etc …

Graphical user interface, text, application, email

Description automatically generated

At this point, we go to integrations, select identity provider and select our IDP related to the integration with AD

Graphical user interface, text, application, email

Description automatically generated

In the Authentication Methods menu select Authenticator APP

Graphical user interface, text, email

Description automatically generated

At this point, we just need to go and modify the policy used by our users by adding MFA for authentication

We go to the Resources, policies menu, select our policy and modify it

Graphical user interface, text, application, email

Description automatically generated

Graphical user interface, text, application, email

Description automatically generated

We select the rule of our interest (normally we select the one relating to access from public networks because we could reason that those who access from the company network have already done other methods of secure authentication …)

Graphical user interface, text, application, email

Description automatically generated

In the authentication methods used, we add the authenticator app

Graphical user interface, text

Description automatically generated with medium confidence

Graphical user interface, text, application, email

Description automatically generated

From now on, all users who log in to workspace one access and run with the rule we have modified we have the following user experience at the first login:

User experience at login

Go to WorkSpace One Access public URL.

If prompted, they will have to select the domain.

Graphical user interface, application

Description automatically generated

Then they will have to enter username and password

Graphical user interface, application

Description automatically generated

Finally, they will have a QRcode that they will have to use to configure their Authenticator APP (Microsoft or Google). So, in the selected phone app they will have to add an account by reading the QRCODE

Qr code

Description automatically generated

We access our smartphone and launch the authentication application that we will use (in my case I launch Google Authenticator)

Icon

Description automatically generated

We add the new account

Graphical user interface, text, application

Description automatically generated

We select the option to scan a QRCODE and scan it

Enter the passcode generated after scanning the QRCODE in the space provided under the QRcode code on the page WEB

Qr code

Description automatically generated

We will now have an account named WSA (Woekspace One:WSA) linked to our authenticator app

Graphical user interface, text, application

Description automatically generated

From the next login after entering your username and password you will be asked for the access code generated by the user application

Authenticator APP and Workspace One Access