In this guide, we will analyze how to configure ControlUP COP (ControlUP on-Premise) to monitor a VMware Horizon 2309 infrastructure with Instant Clone Desktop Pools (we will not cover the installation part of the product)

The following steps are required:
- Control UP COP Server Component Installation (Optionally use an external SQL instance or SQL EXPRESS present in the Server component installation)
- Installing the Control UP Console (Can also be installed on the same server)
- Installing Agent Control Up on the GoldImage
- Horizon Infrastructure Inventory
- VirtualMachine Inventory (For this step we can also implement an automatism)
Requirements for the server part:
COP Server |
COP Server | Console Machine |
| Machine | Windows Server | Windows Server orWindows |
| Operating System | Windows Server supported versions:2022,2019,2016 | Windows Server supported versions:2022,2019,2016 OR Windows 11, 10 |
| CPU* | 2 CPUs | 2 CPUs |
| Memory* | 8 GB RAM | 8 GB RAM |
| Disk Space* | 10 GB | 10 GB |
| Required Software & Permissions |
|
.NET Framework 4.5 or later |
Requirements for Part DB:
| MSSQL Versions (Standard, Enterprise, or Express) | Maximum Database Size | Collation |
| 2022,2019,2017,2016,2014 | 10 GB | SQL_Latin1_General_CP1_CI_AS |
Requirements for the VDI part:
ControlUp Agent |
ControlUp Agent |
| Machine | No server installation necessary. Deployed onto Windows machines that are monitored by ControlUp(Linux monitored via API). |
| Operating system | Windows Server supported versions: 202220192016 (Core or Full)ORWindows 11, 10 |
| Required installed software | .NET 4.5 or later |
| TCP PORT | 40705 |
A Service Account to access the Horizon infrastructure:
The Read-Only role is sufficient for all monitoring purposes. If you want to perform built-in Horizon actions, then the service account needs the following permissions:
- Enable Farm and Desktop Pools
- Manage Machine
- Manage Sessions
- Manage Global Sessions (Cloud Pod architecture only)
So what is needed is:
Download the version of ControlUP COP from the VMware site
Log in to the customer portal and in the product area under Desktop & End-User Computing

Log in to OEM Addons

Download the on-premise version
Perform the basic installation
Once the COP version is installed and the console is installed, log in to our ControlUP installation

How to install the agent on the GoldImage:
- The agent MSI file is on the downloaded file zip from VMware Portal
- Open the Real-Time Console and go to Agent Settings and copy your Agents Authentication Key. The key is used to connect the Agent to your ControlUp environment.

- Run the installation of the MSI package on the machine where you want to install the Agent.
- During the installation, paste the authentication key that you copied from the Real-Time Console.

- Complete the installation. The Agent is installed on the machine and the machine can be monitored from the Real-Time Console.
- Take the snapshot
- Deploy the new master image on Desktop Pool
Now from the ControlUp Management console, we are able to:
- Connect our Vmware Horizon infrastructure
- Connect the instant clone machine
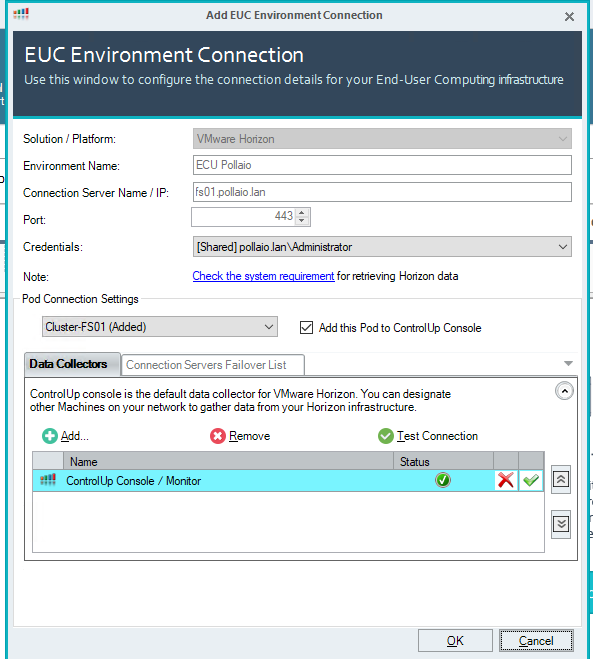
Add Horizon infrastructure:

Add the infrastructure info

Click on OK
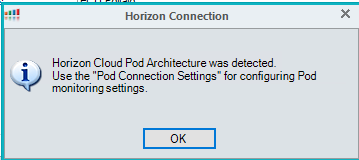
Add the pod to the console
Now on the left panel, we have our Horizon infrastructure added.

To monitor correctly our instant clone (after adding the agent) we need to discover the VM like a Machine
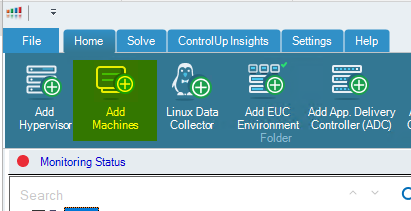
Search with the partial name of the VDI machines
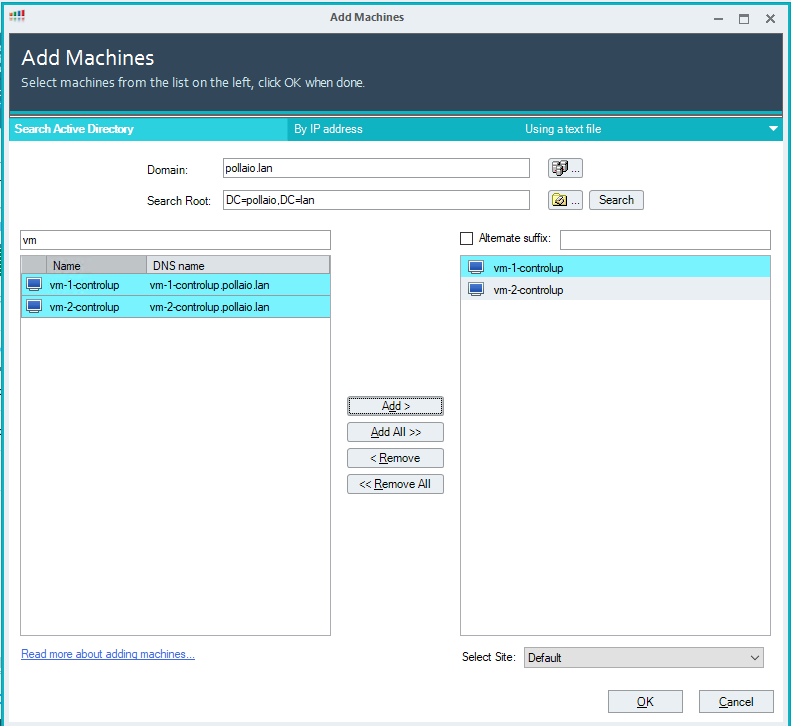
Select cancel
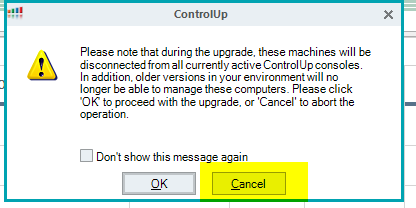
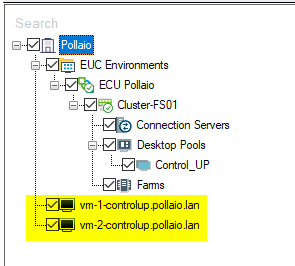
We are VM on the left control panel in black status
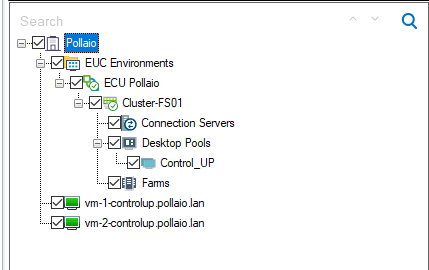
After a few seconds the VDI VM Goes to Green
Auto connect state must be enabled (this function is important when the instant clone VDI is removed and recreated).
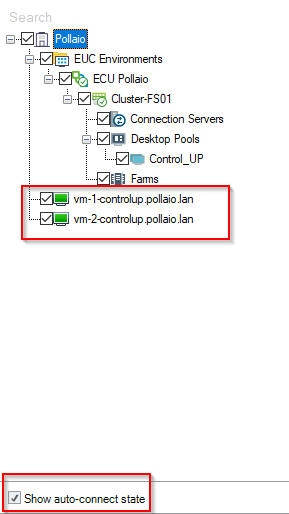
Now we can monitoring the Instant-Clone VDI
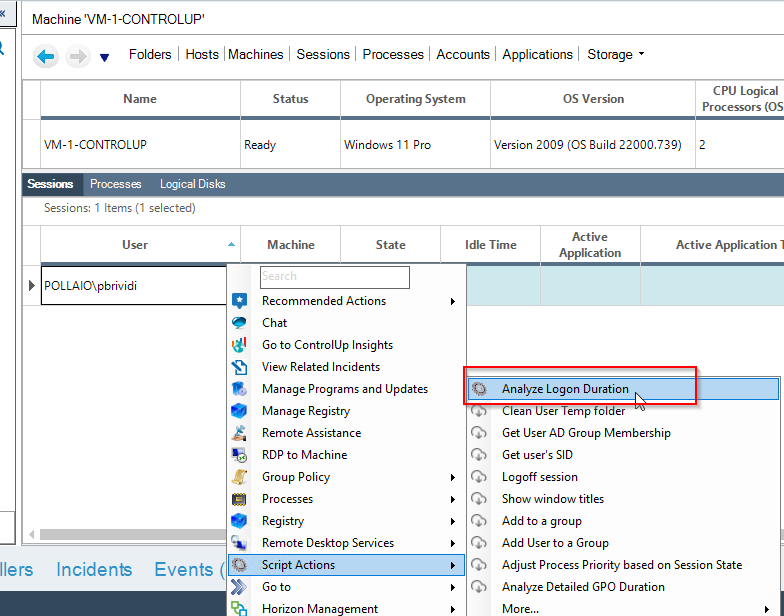
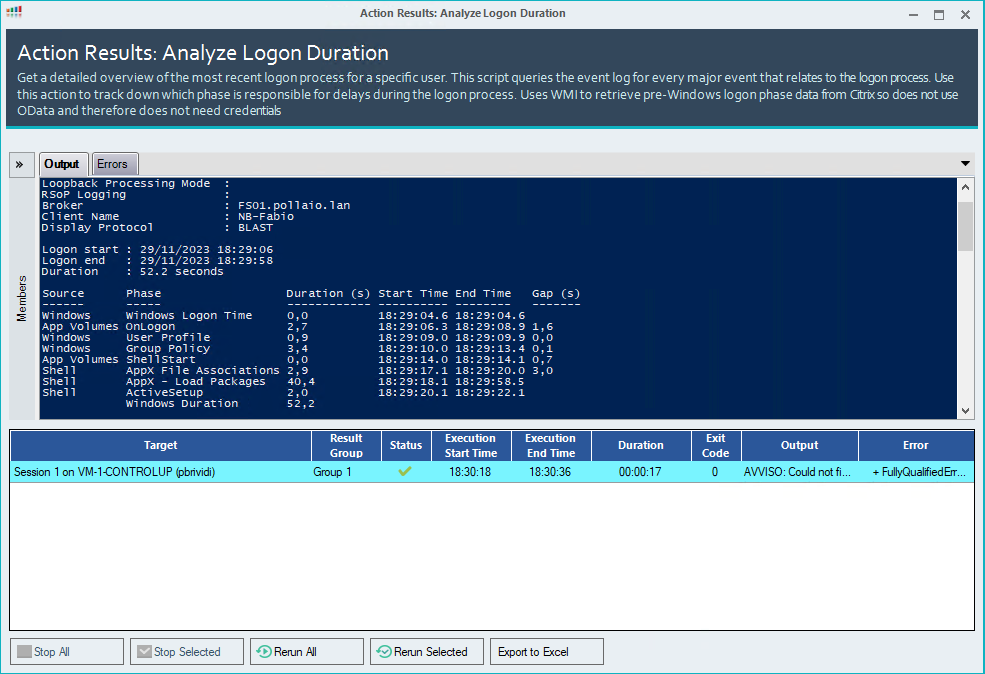
Check the VDI logon duration
Now we can manage and control the infrastructure, for example, to check the logon duration
What happens when VDI instant clones are regenerated?
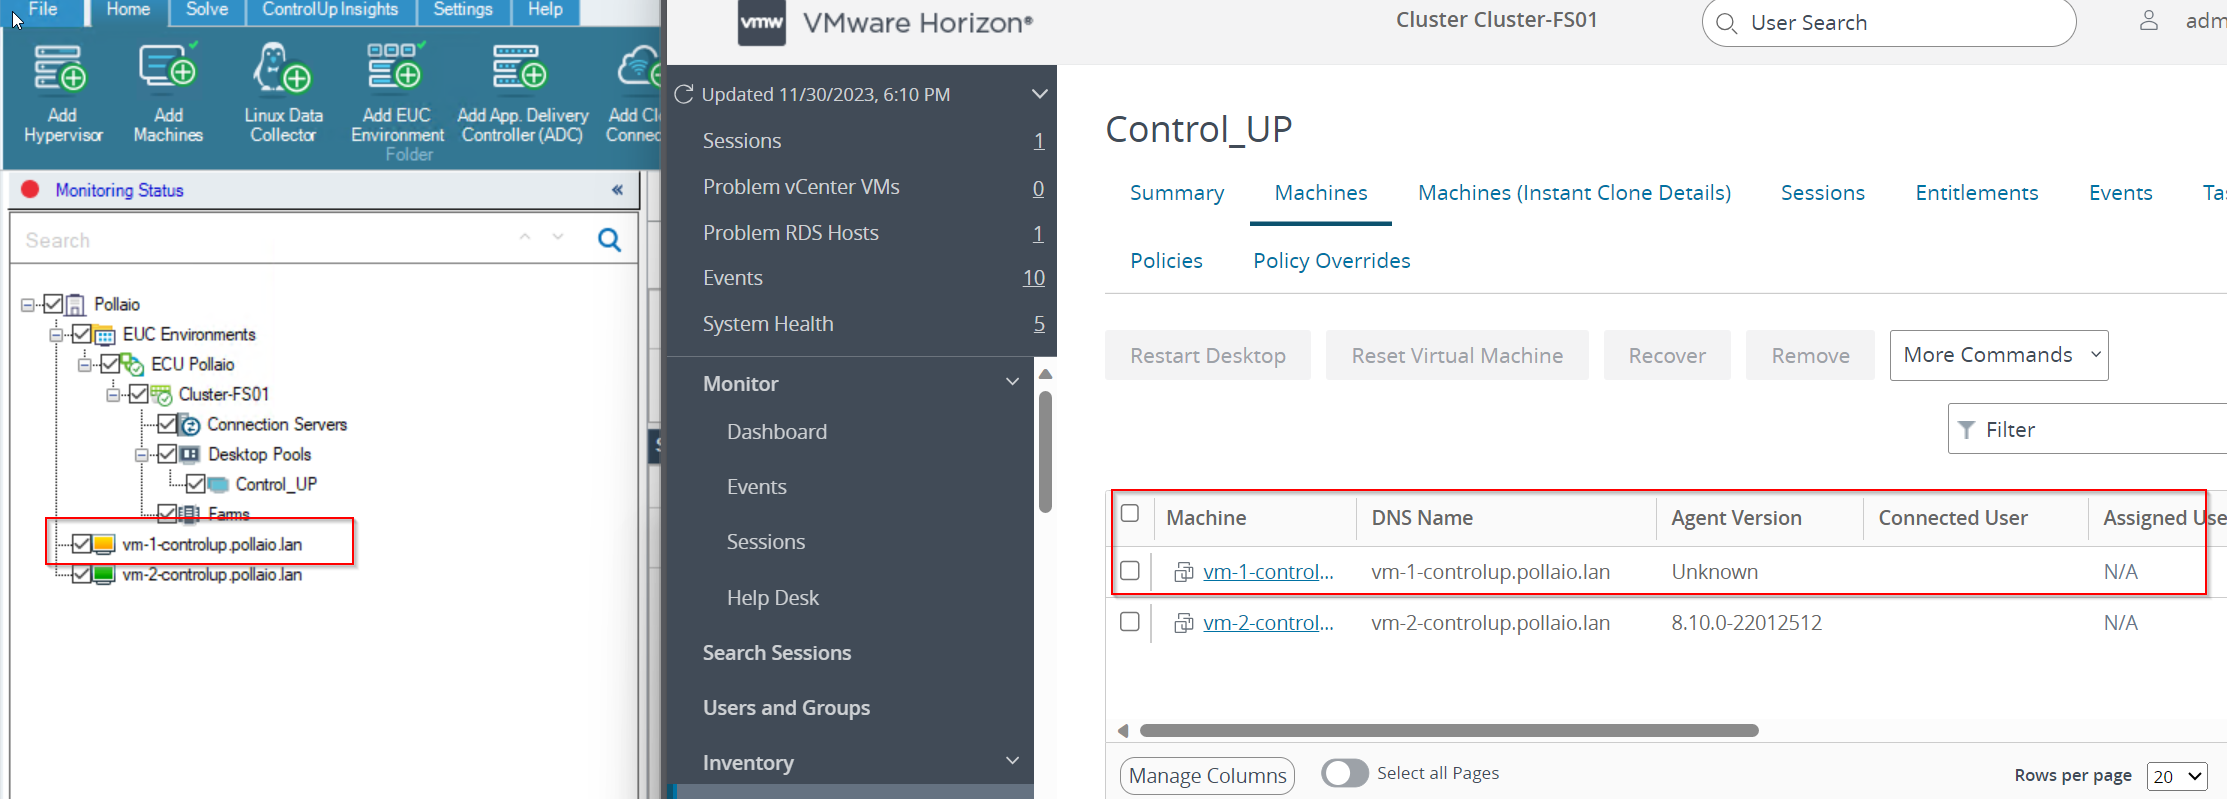
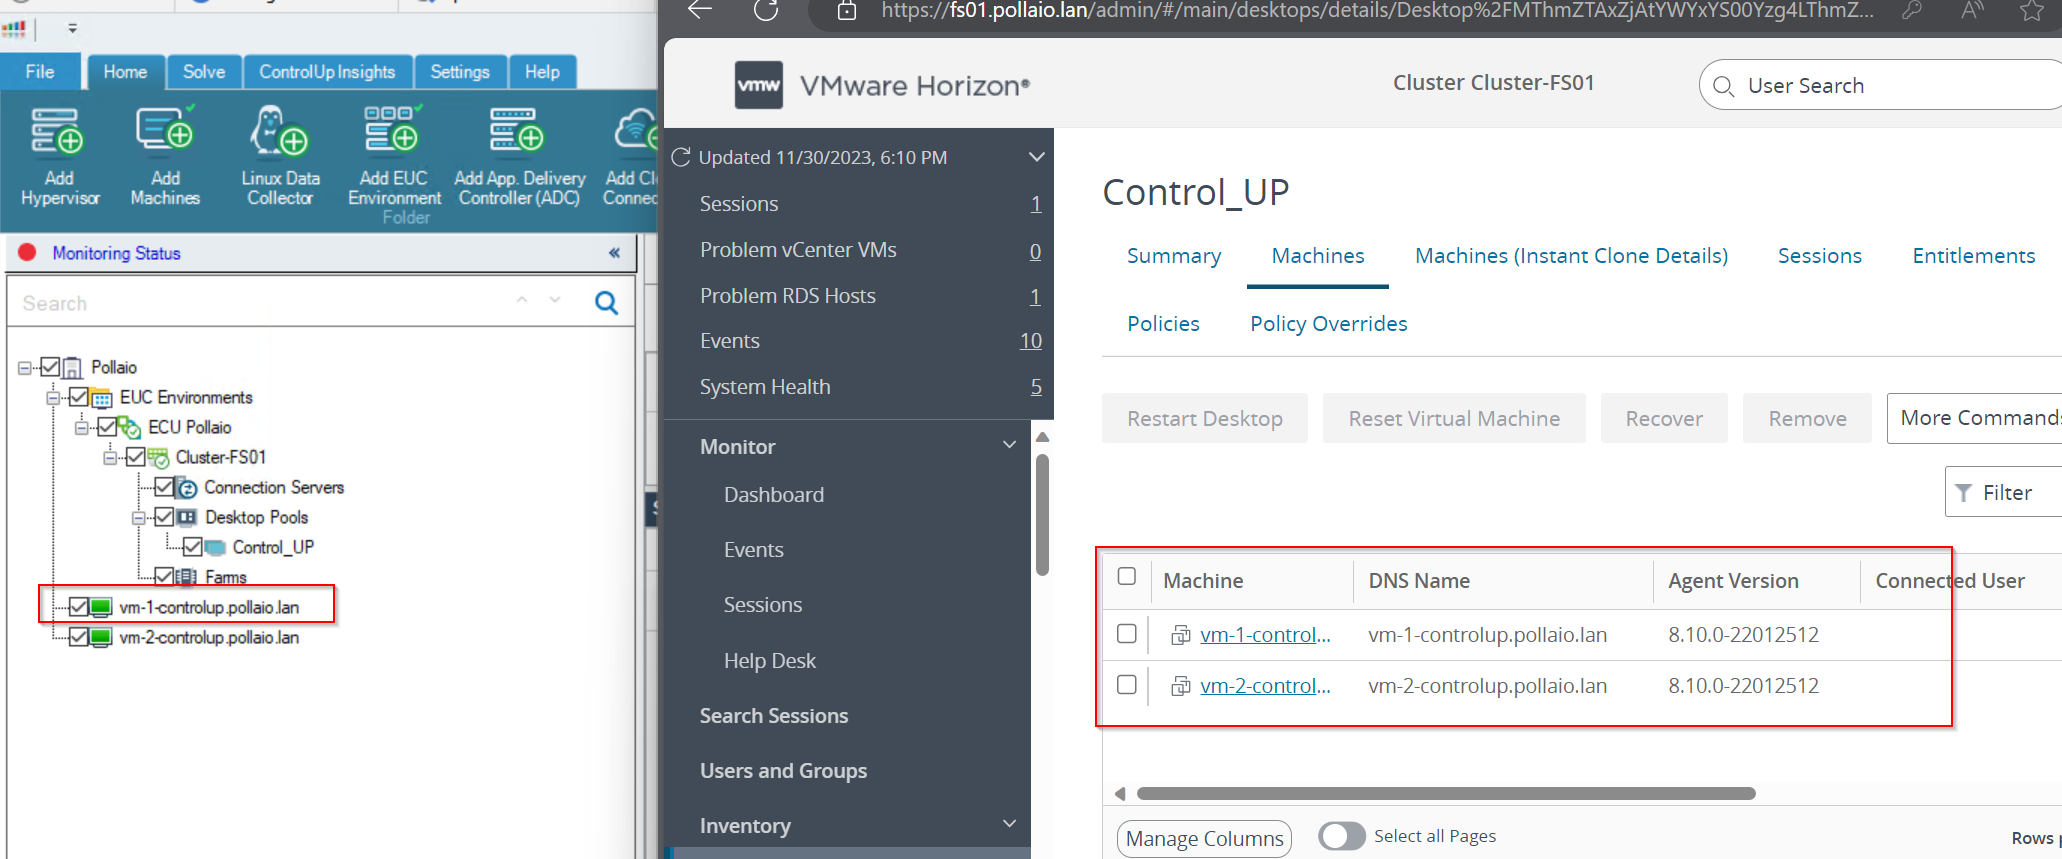
If a user disconnects from his VDI of the instant clone type, it is destroyed and recreated, on the ControlUp side this is put in the Red -> Yellow state until it returns to Green
When recreating
After recess
Dynamic inventory
For a dynamic inventory of VDI, we can use Synchronization with Universal Sync Script (I’ll talk about this in a future post)
EUC Synchronization with Universal Sync Script (controlup.com)
After installation, we can schedule or start manually the script to sync my ControlUP with my EUC infrastructure.
References:
How to Deploy the Agent on Your Master Image for PVS/MCS/Linked/Instant Clones (controlup.com)
EUC Synchronization with Universal Sync Script (controlup.com)