It is very important to activate MFA (Multi-factor authentication) using applications such as Google Authenticator on corporate services exposed on the internet that require access using credentials.
If we talk about VMware Workspace One Access, a solution that allows us to publish applications and business services on the internet, it is mandatory to activate the MFA.
Since Workspace One Access version 22.09, you can use Authentication Applications such as Microsoft or Google.
Enabling MFA requires a few steps:
- Enable the “Authenticator APP” authentication method on Workspace One Access
- Ask the end user to install the APP on their phone or the company one (possibly we can use services that allow us to enrol automatically)
- At the first access, the user will have to scan the QRcode that appears on the login page of Workspace One Access (in my case we try the access via WEB to workspace one access)
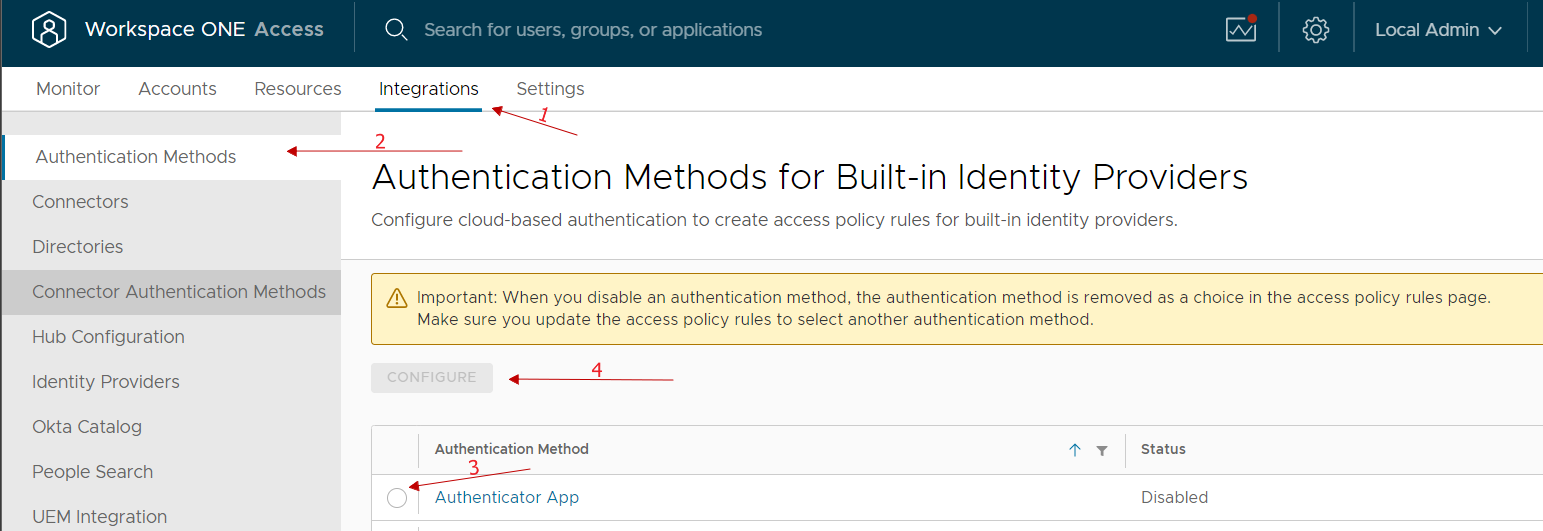
Enable the “Authenticator APP” authentication method on Workspace One Access
Access the Integration menu, select Authentication Methods, enable Authenticator App and select Configure.
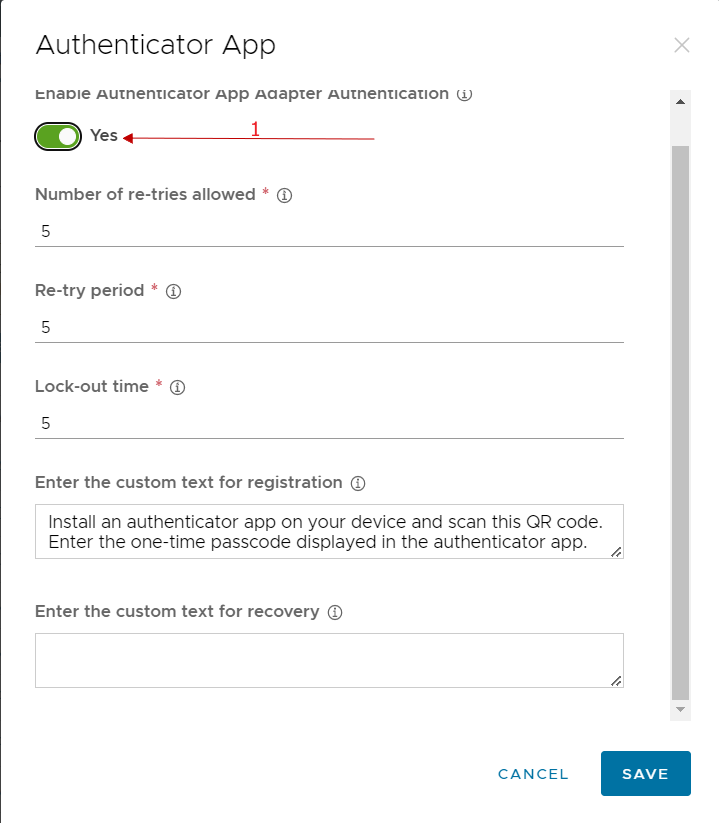
We enable and possibly can change any classic account lock parameters etc …
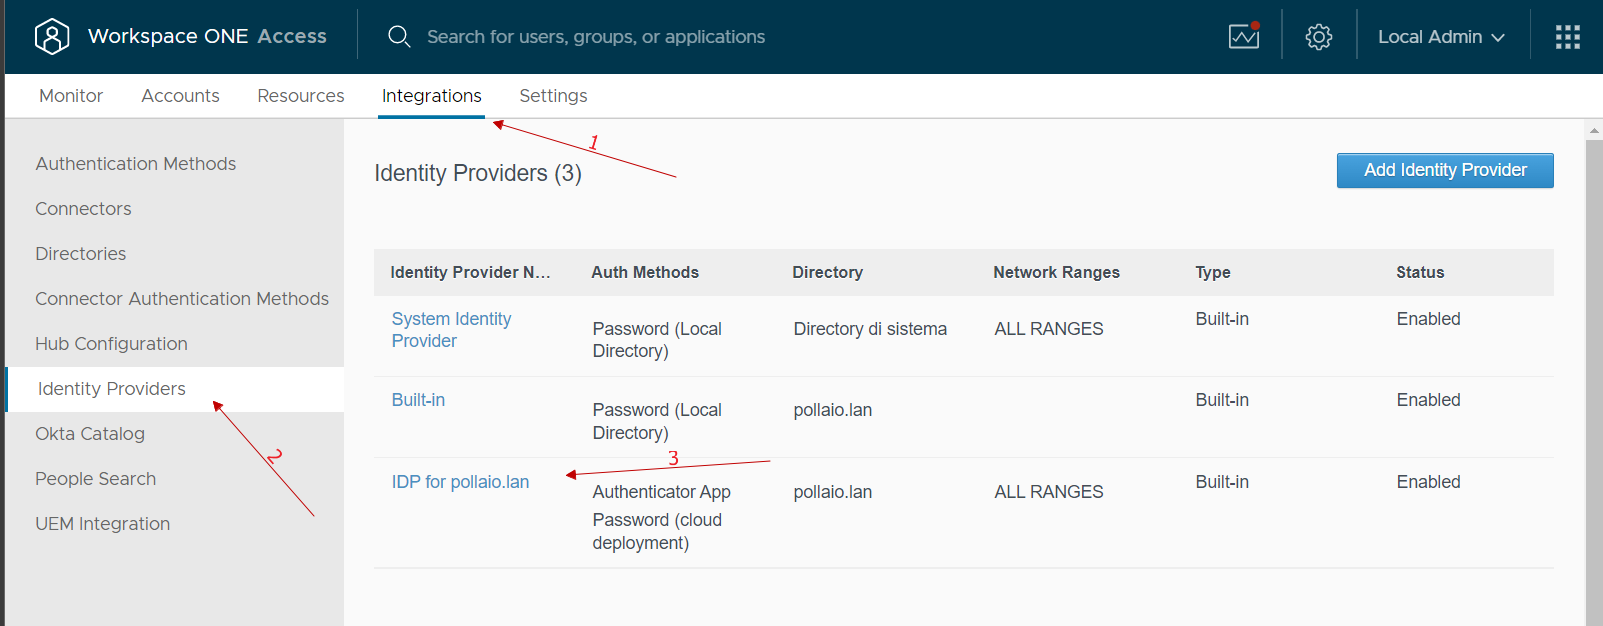
At this point, we go to integrations, select identity provider and select our IDP related to the integration with AD
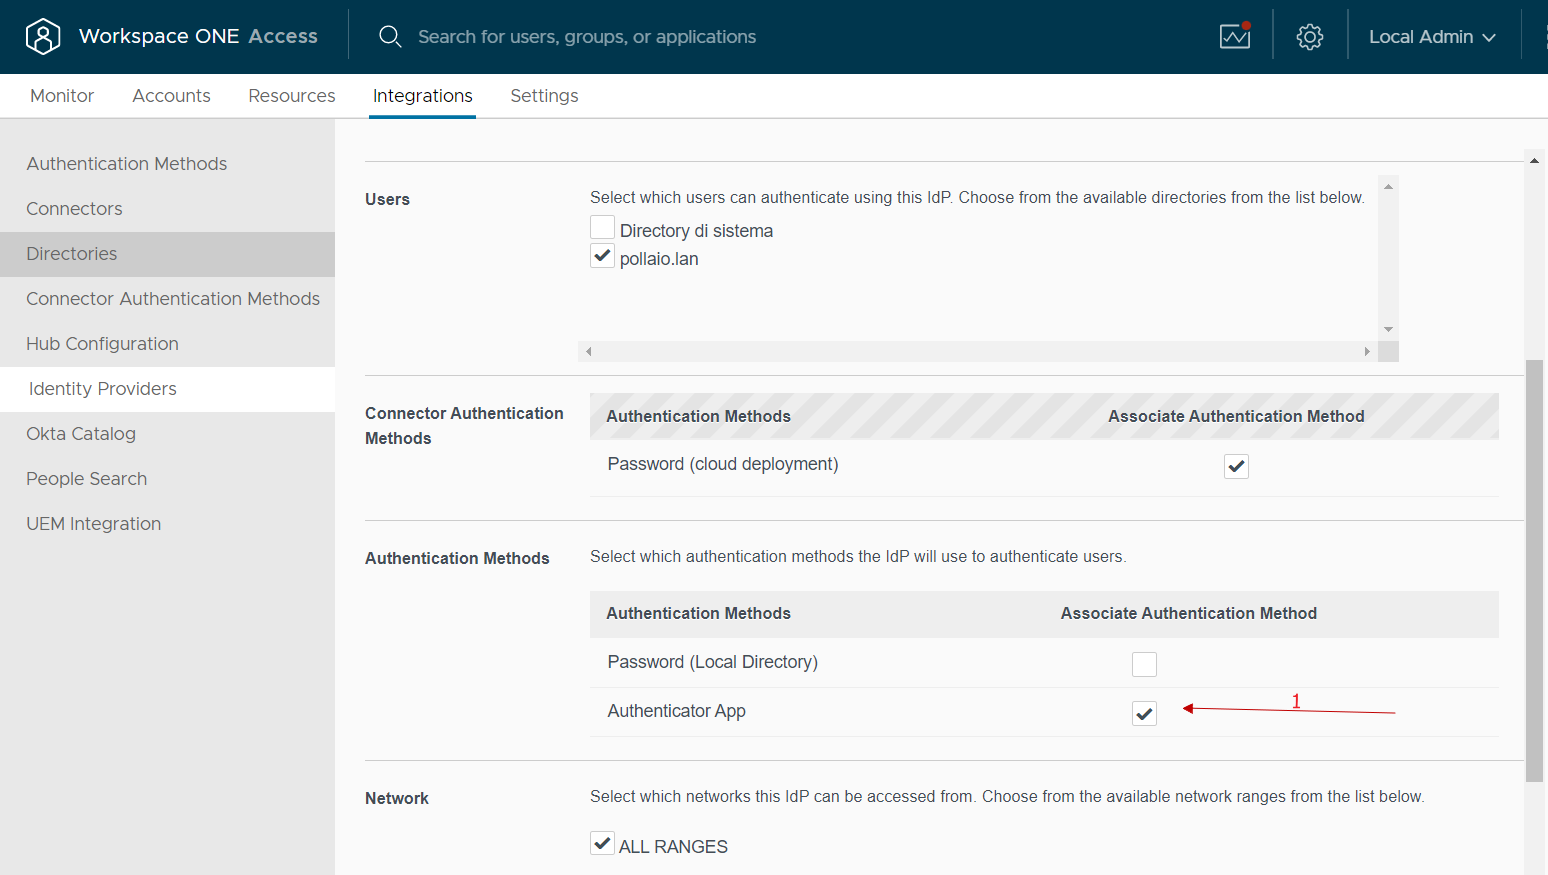
In the Authentication Methods menu select Authenticator APP
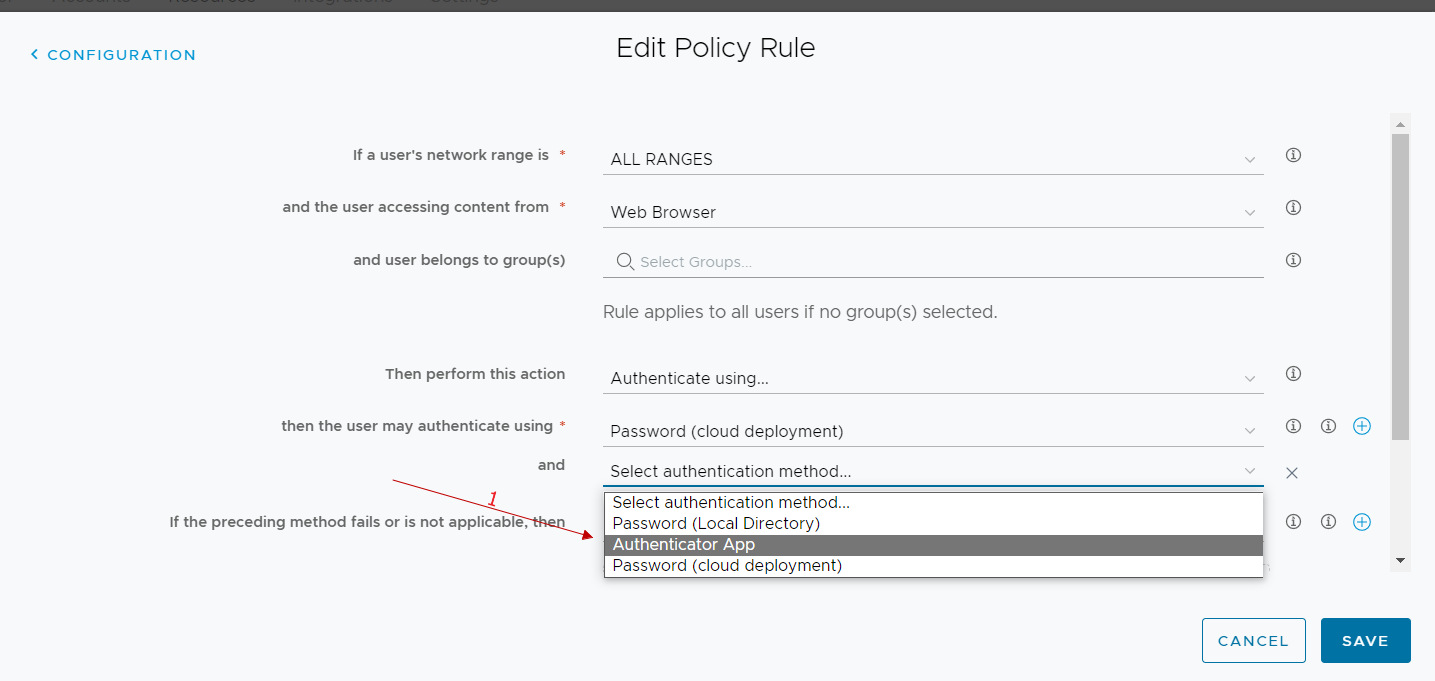
At this point, we just need to go and modify the policy used by our users by adding MFA for authentication
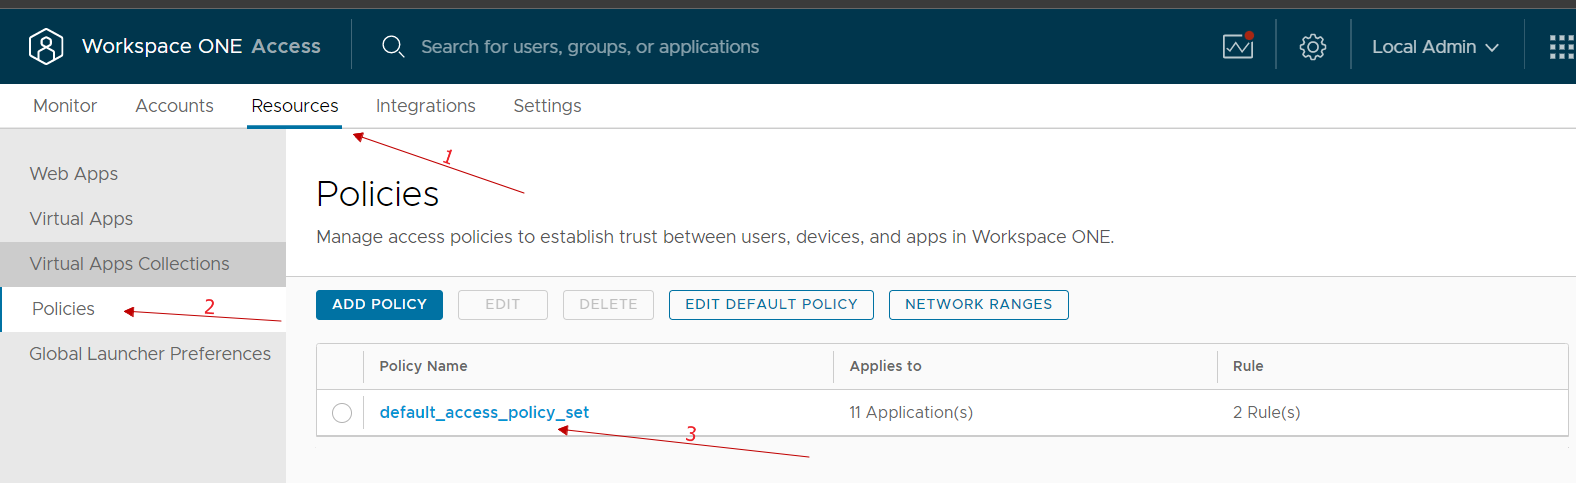
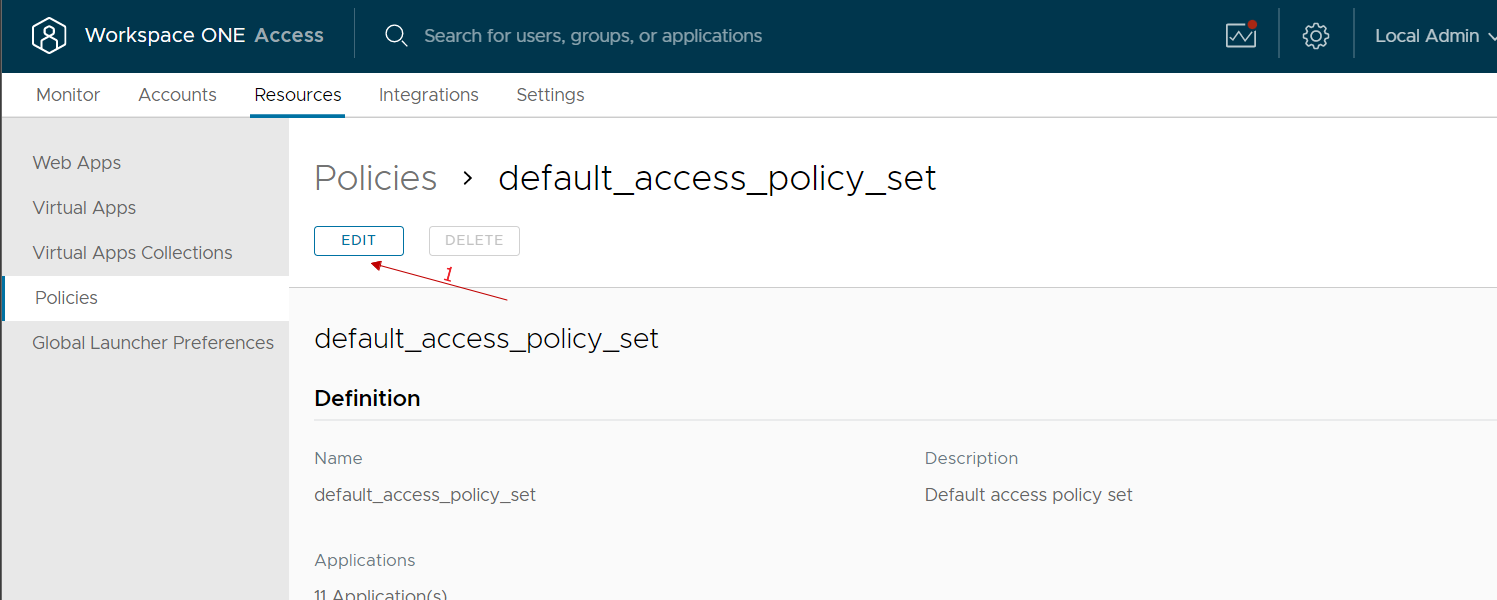
We go to the Resources, policies menu, select our policy and modify it
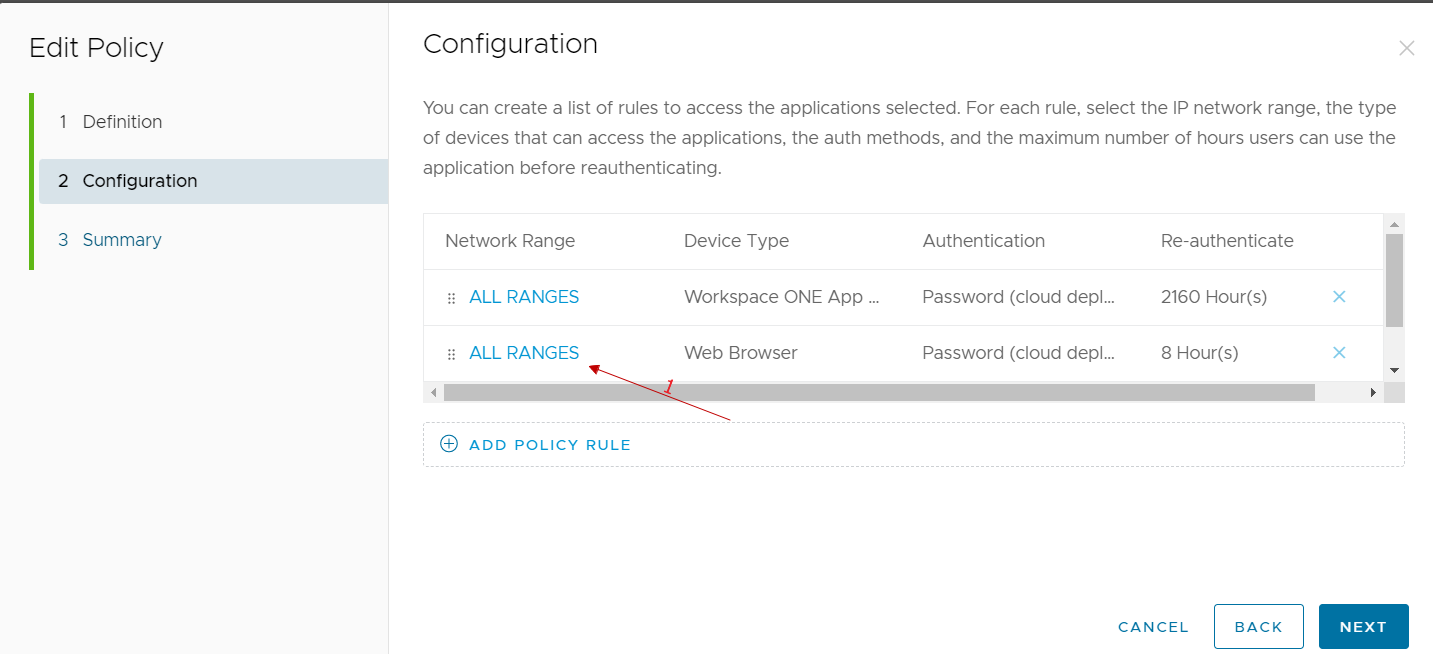
We select the rule of our interest (normally we select the one relating to access from public networks because we could reason that those who access from the company network have already done other methods of secure authentication …)
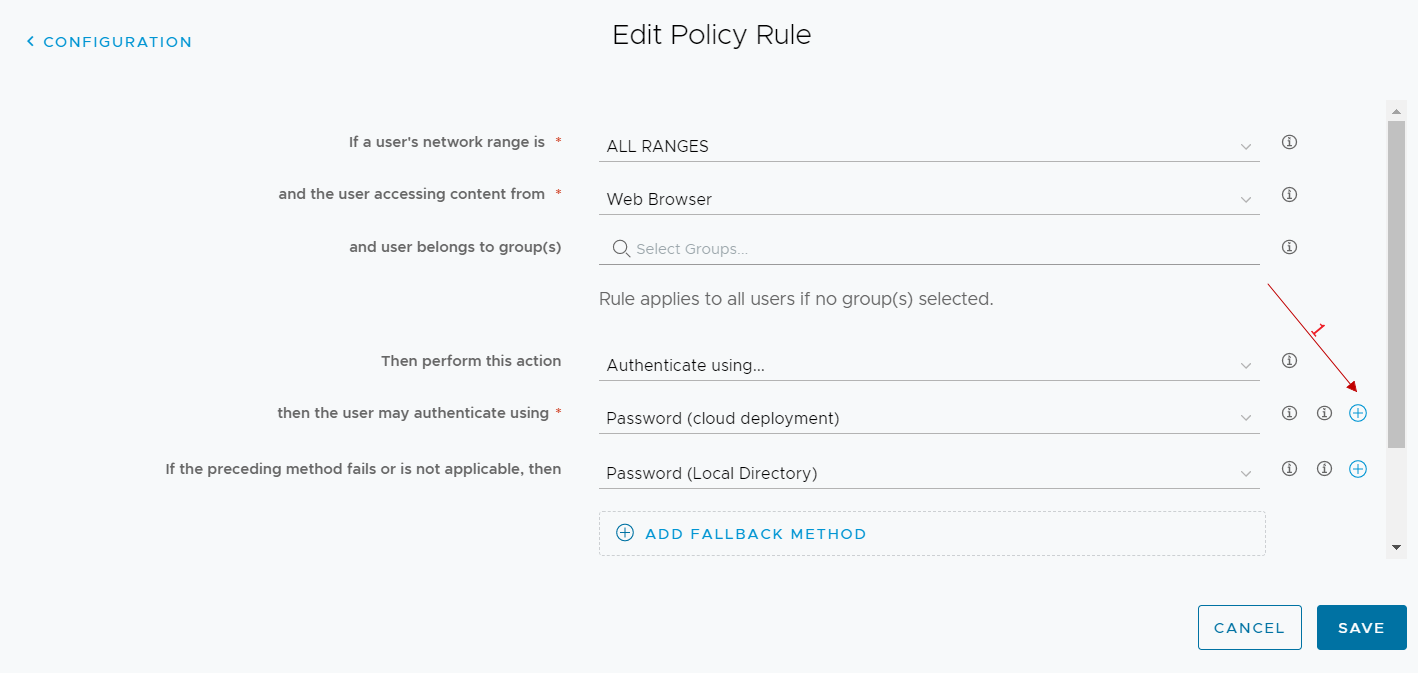
In the authentication methods used, we add the authenticator app
From now on, all users who log in to workspace one access and run with the rule we have modified we have the following user experience at the first login:
User experience at login
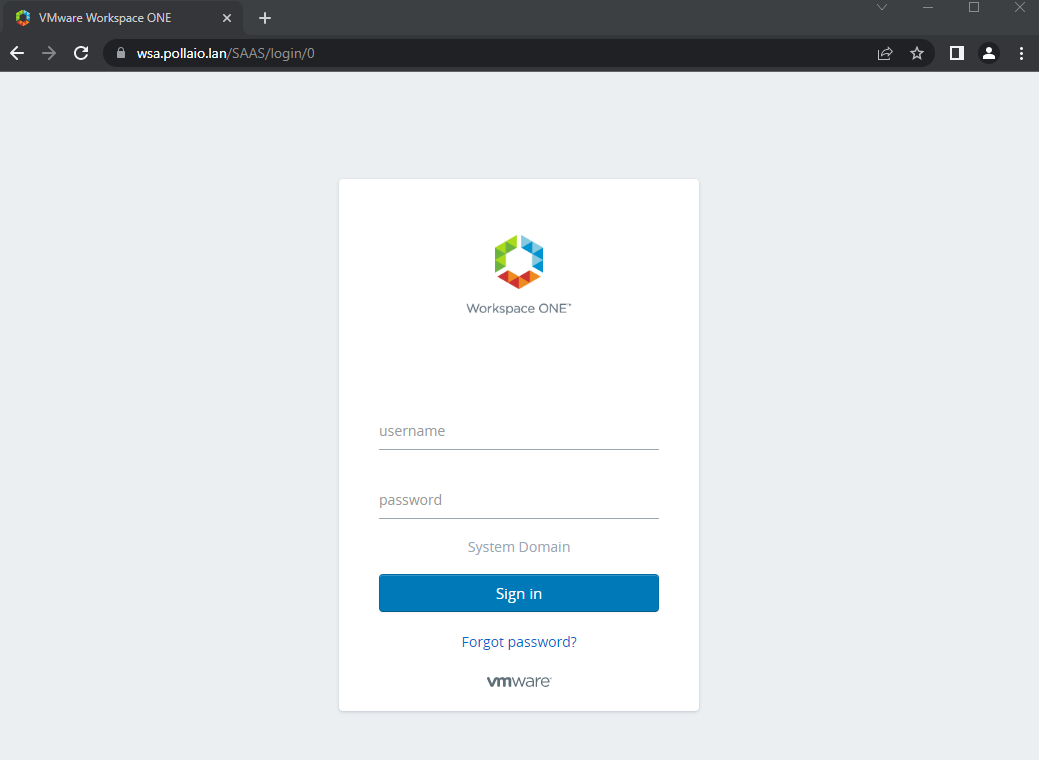
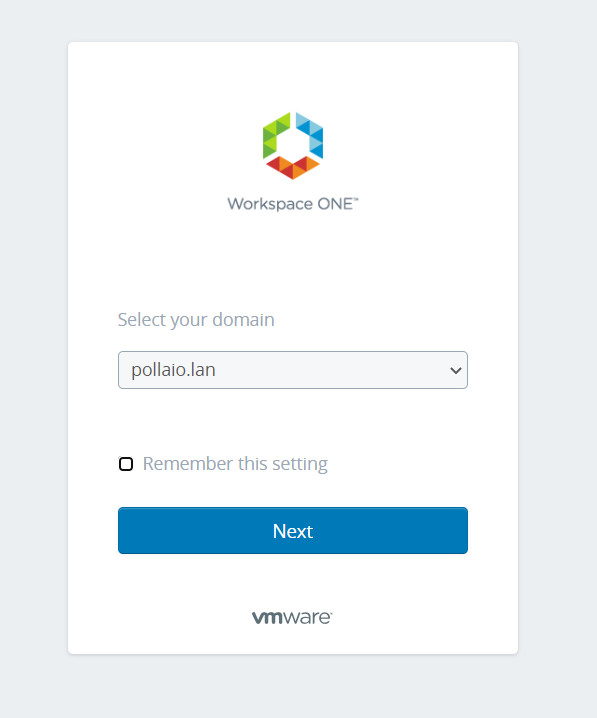
Go to WorkSpace One Access public URL.
If prompted, they will have to select the domain.
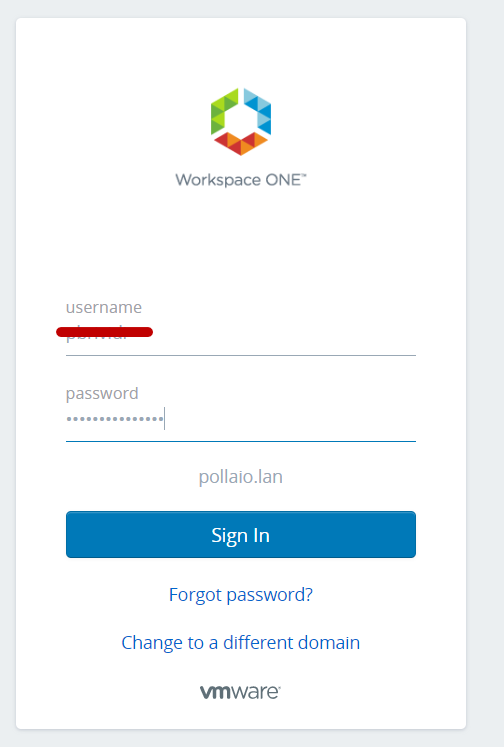
Then they will have to enter username and password
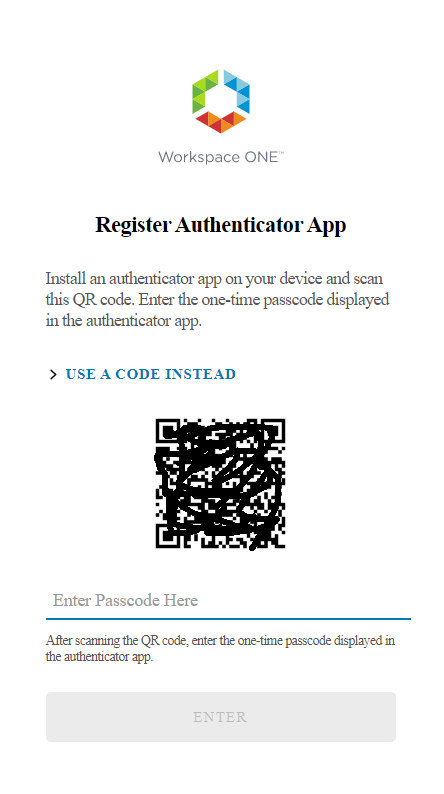
Finally, they will have a QRcode that they will have to use to configure their Authenticator APP (Microsoft or Google). So, in the selected phone app they will have to add an account by reading the QRCODE
We access our smartphone and launch the authentication application that we will use (in my case I launch Google Authenticator)

We add the new account

We select the option to scan a QRCODE and scan it 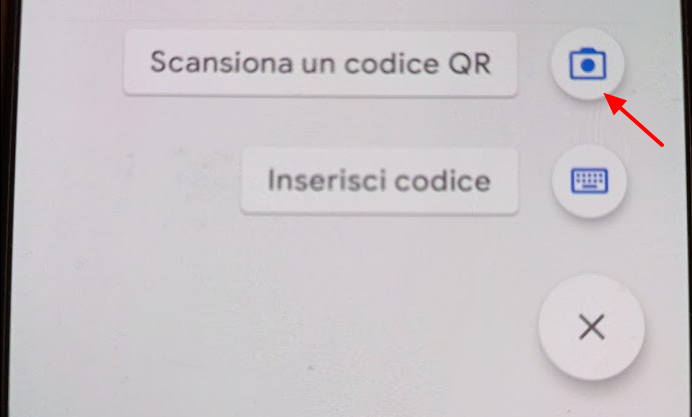
Enter the passcode generated after scanning the QRCODE in the space provided under the QRcode code on the page WEB

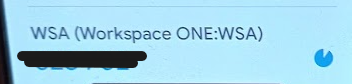
We will now have an account named WSA (Woekspace One:WSA) linked to our authenticator app
From the next login after entering your username and password you will be asked for the access code generated by the user application