In my previous post, I walked through the process of deploying VMware vSphere Foundation (VVF) in my Home Lab using the VCF Installer, from infrastructure preparation to the initial bring-up of the environment. [If you missed it, you can find it here:
Start a New vSphere Foundation Deployment by Using the VCF Installer Deployment Wizard – BIOLNX
With the deployment up and running, the next step is licensing the environment. In this post, I cover how I activated the VVF licenses, the options available, and a few gotchas I ran into along the way — useful if you’re following the same path in your own lab and want to move from a freshly deployed environment to a fully licensed one.
Log in to VCF Operations
From the navigation bar at the top, click Manage and in the left navigation pane, click Licensing -> Licenses & Registration
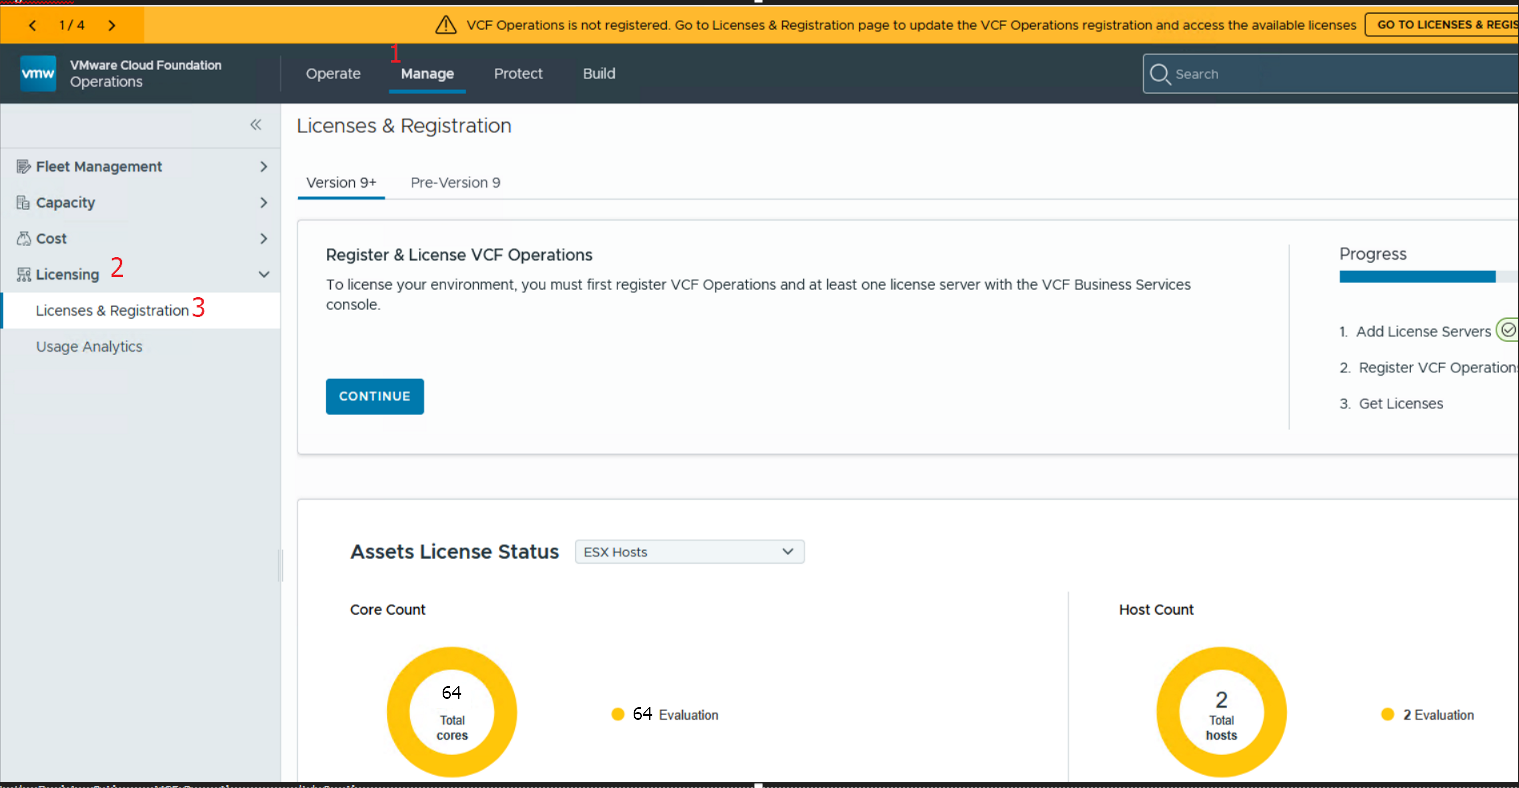
In the Register & License VCF Operations pane, click Continue
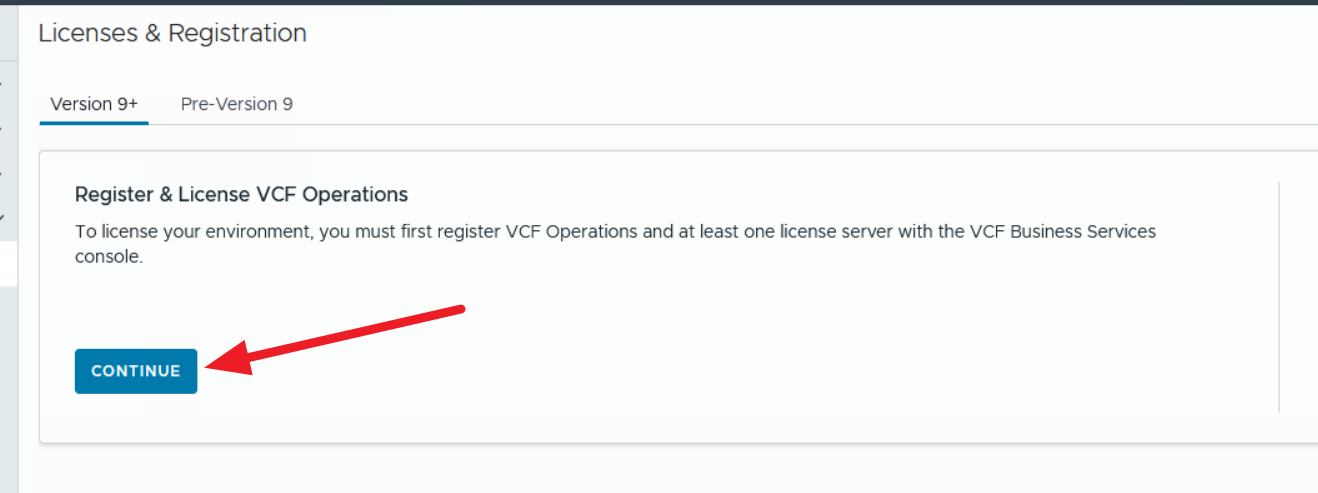
The Register and License VCF Operations workflow appears.
The first step of the procedure is complete because a license server is automatically deployed during a new VCF Operations 9.1 deployment and an upgrade to VCF Operations 9.1.
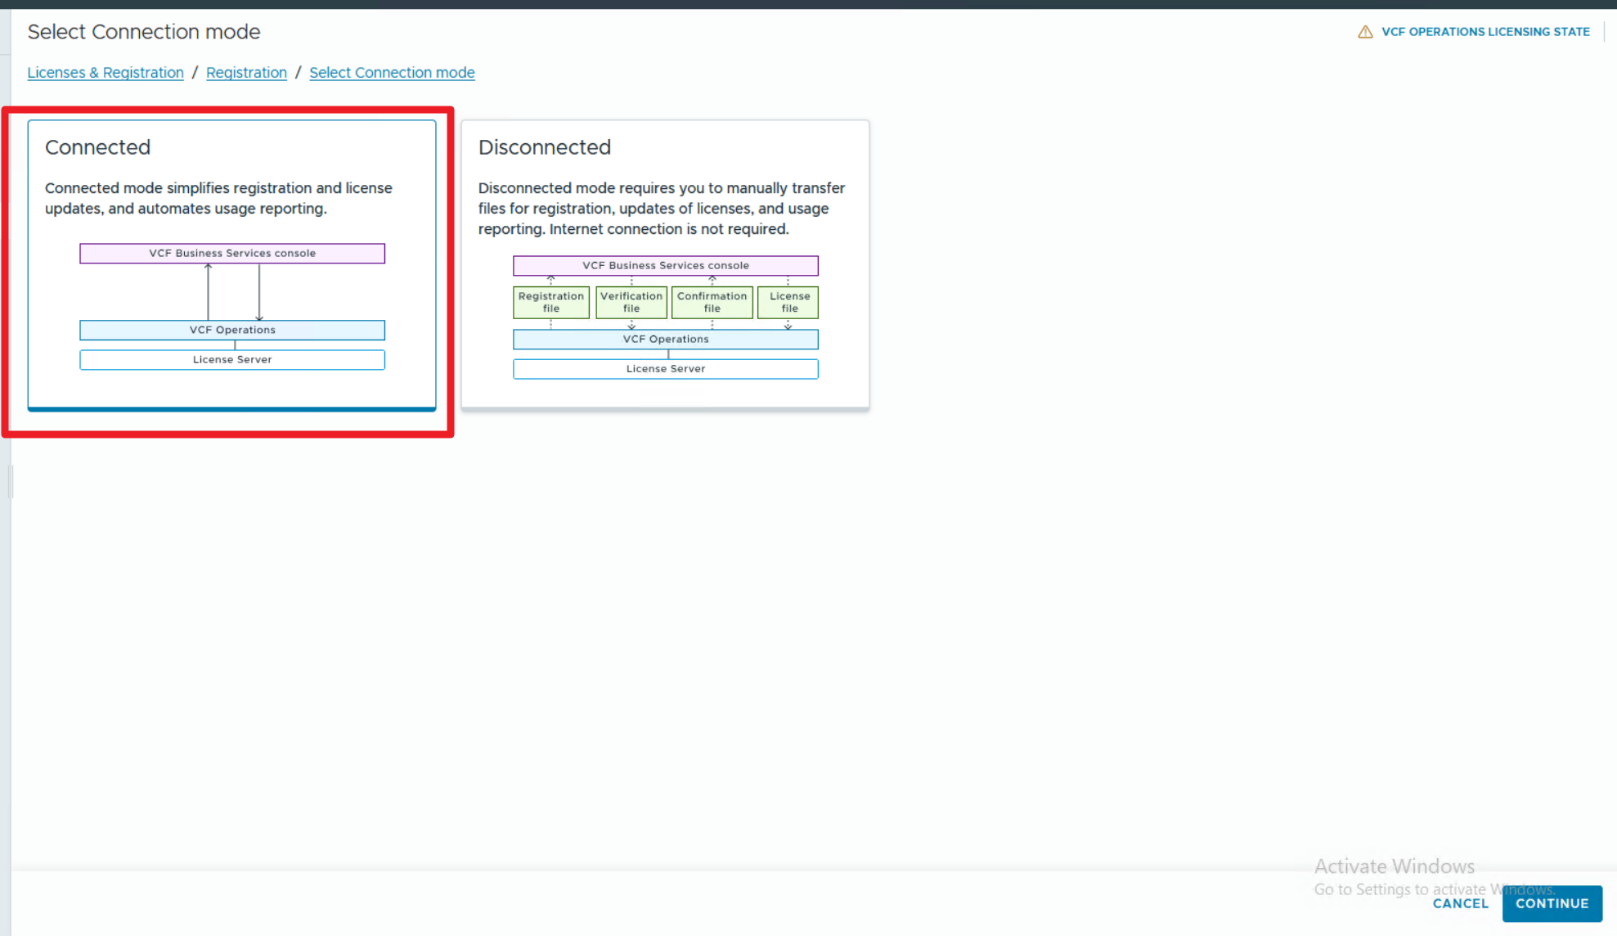
In the Select Connection Mode card, select
Start, and click Continue.
Navigate to the Registration section.
Get an activation code for your registration. In the Get Activation Code from VCF Business Services console card, click Start
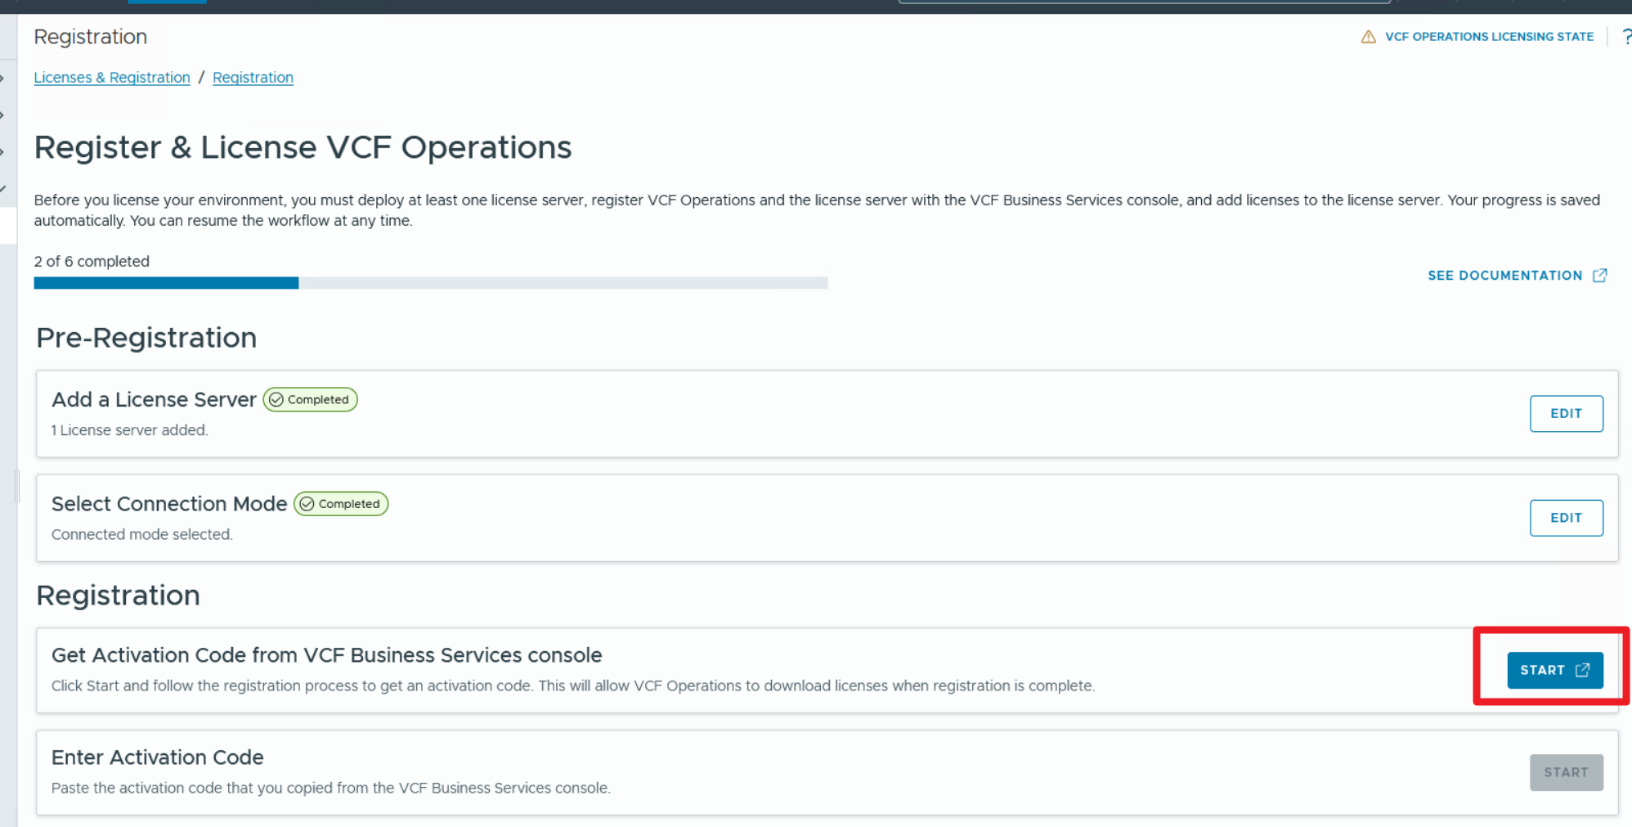
The VCF Business Services console opens in a new tab.
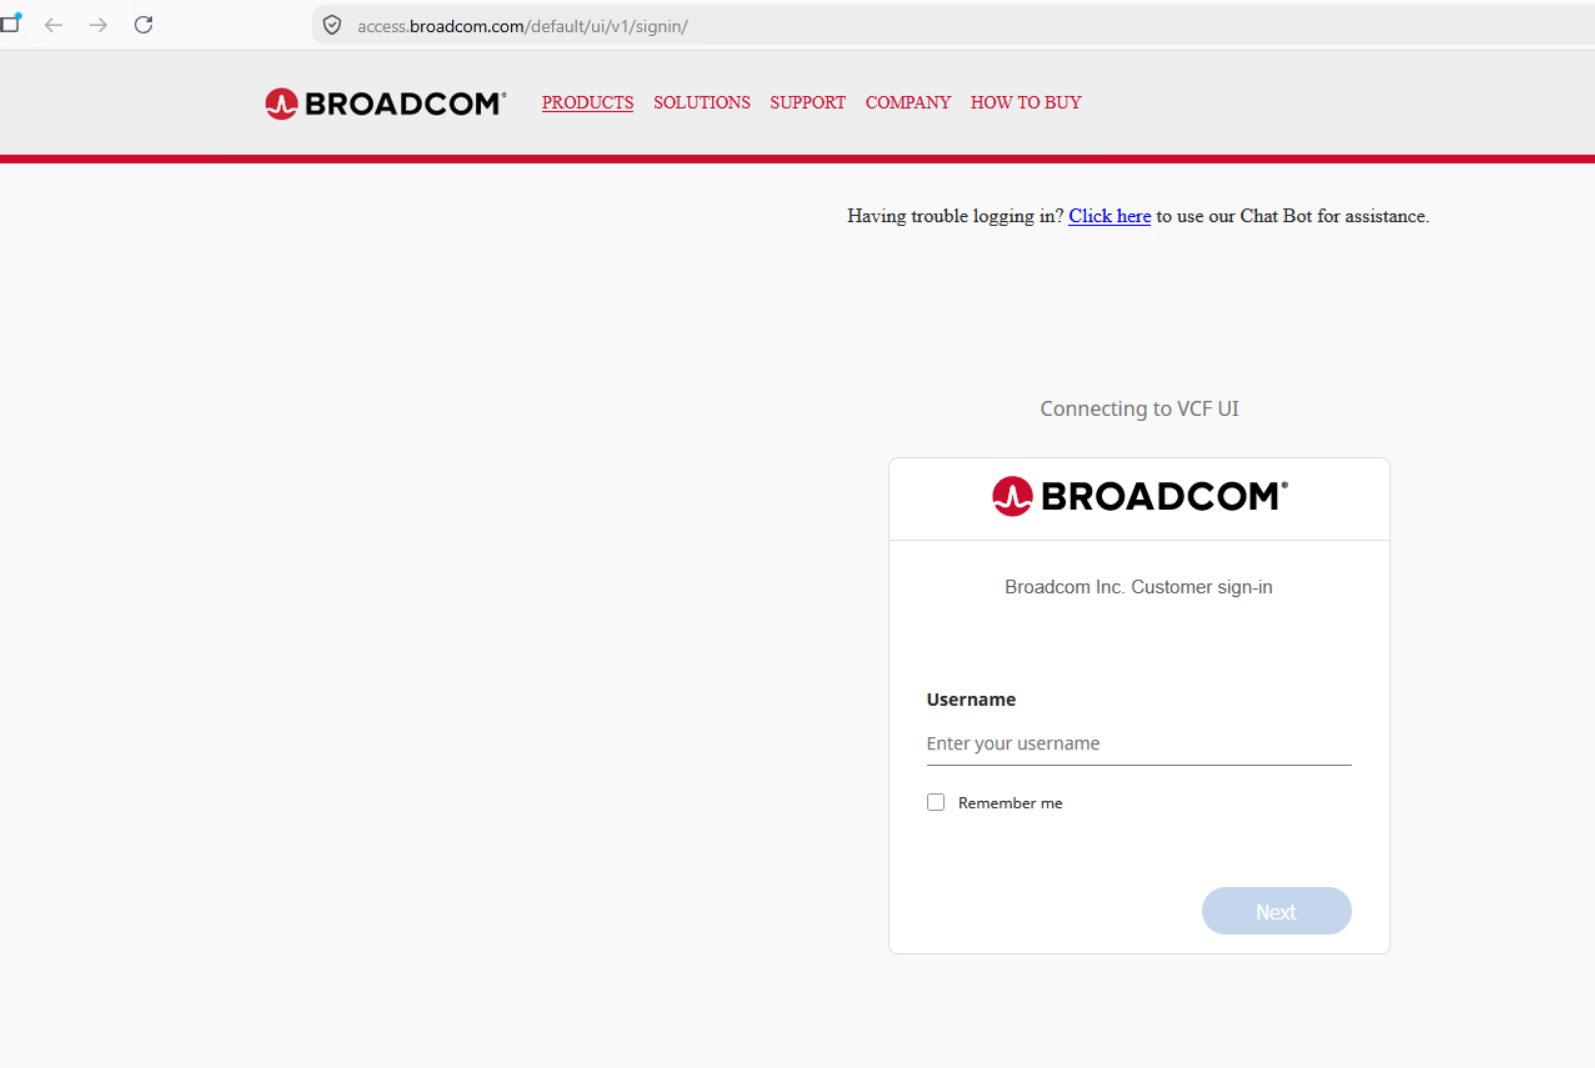
Log in to the VCF Business Services console by using your Broadcom Support Portal credentials.
Select the Site ID to which you want to register this VCF Operations instance, and click
Next. If you have only one site, it is selected by default.
In the VCF Business Services console, оn the Register & License VCF Operations page, navigate to the Registration part of the registration workflow.
In the Name VCF Operations pane, click Start, enter a unique display name for your
VCF Operations instance, and click Save
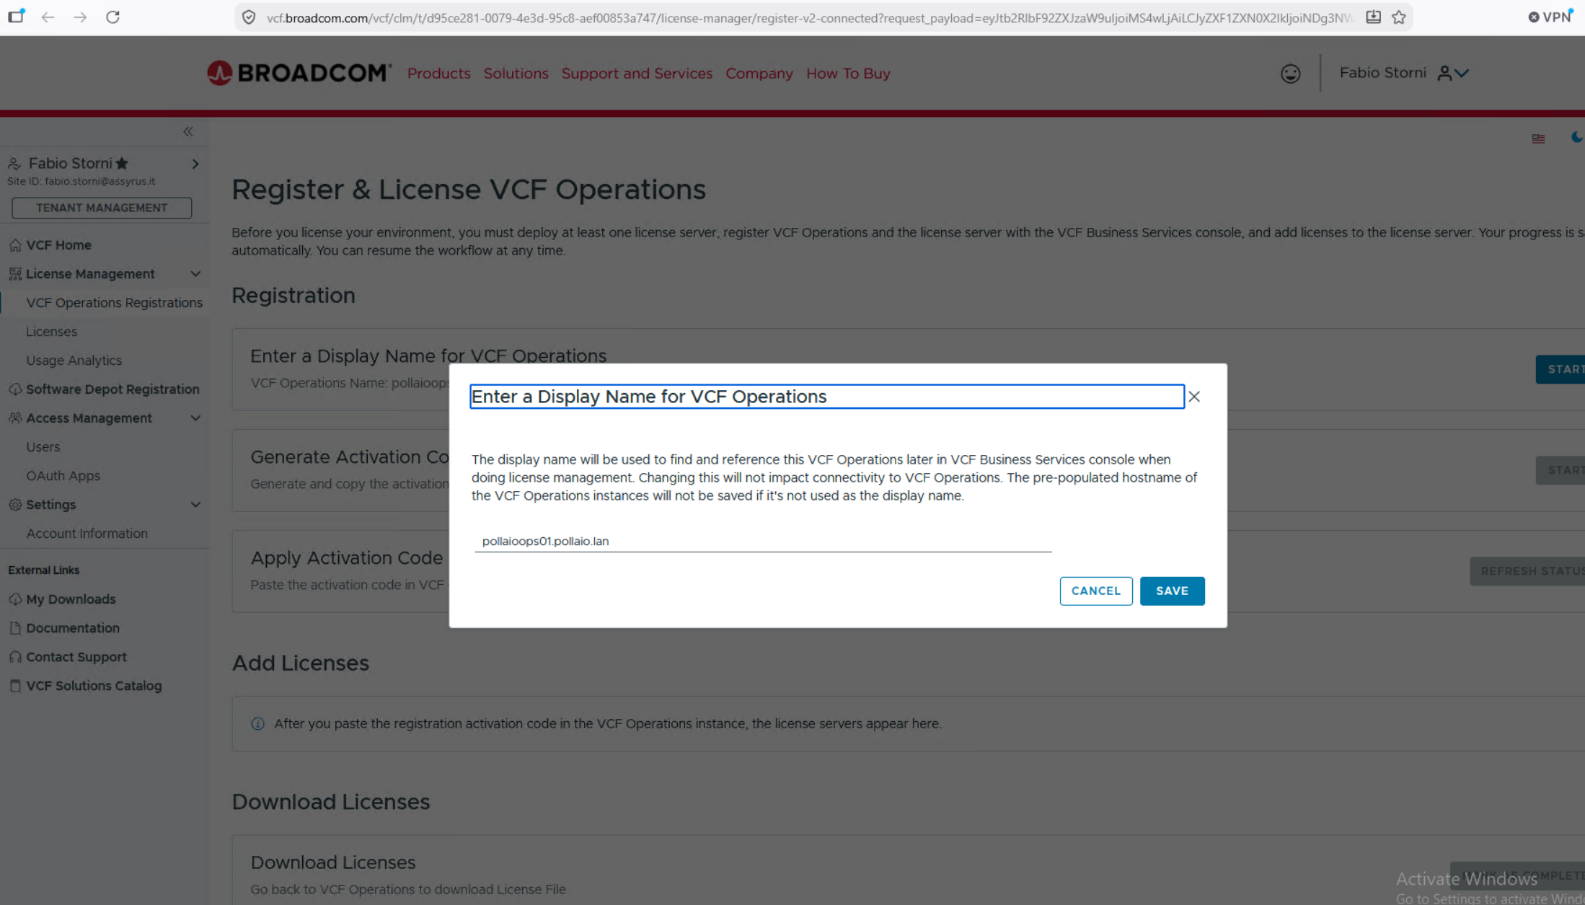
The FQDN is only saved if you do not enter another display name. If you change the FQDN with another display name, the connectivity between
VCF Operations
and the VCF Business Services console is not impacted. You can change the display name at any time after the registration.
In the Generate Activation Code card, click Start
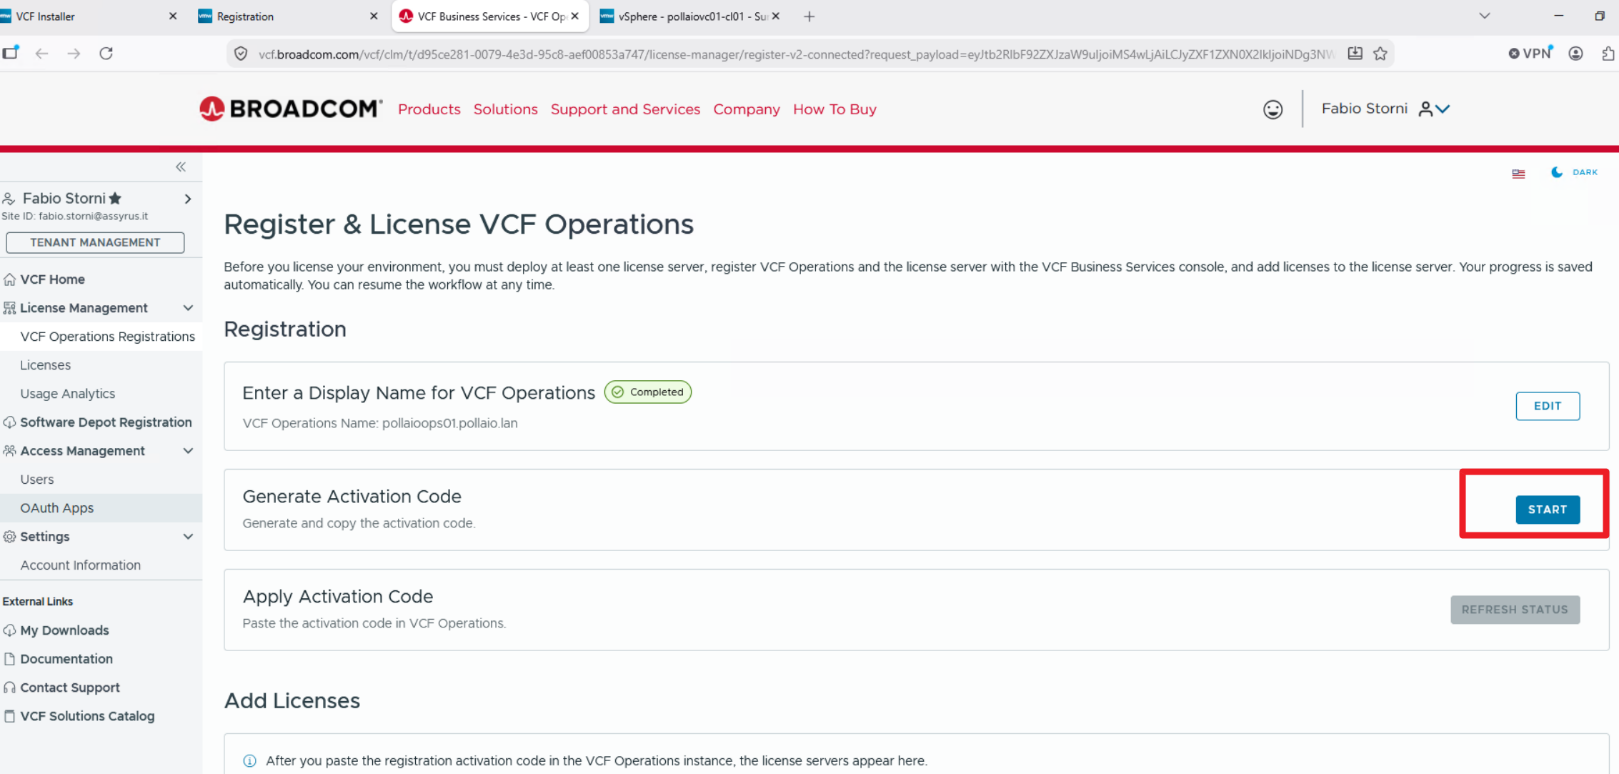
A dialog box with the activation code appears.
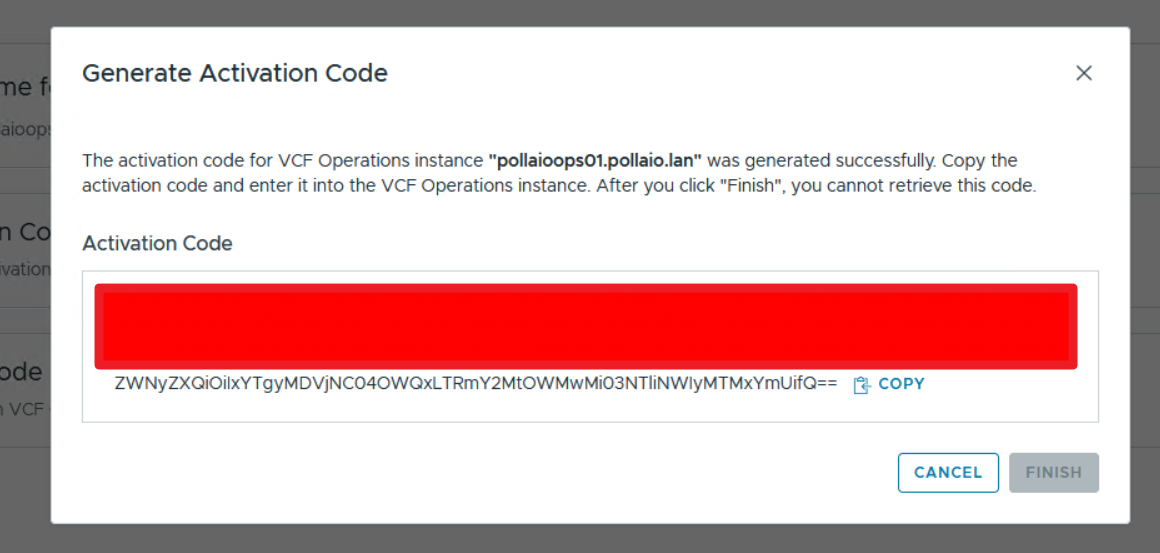
Click Copy (and save the info into a notepad file) Verify that you copied the code, and click Finish
Navigate to the VCF Operations instance, and upload the activation code. In VCF Operations, in the Enter Activation Code card, click Start
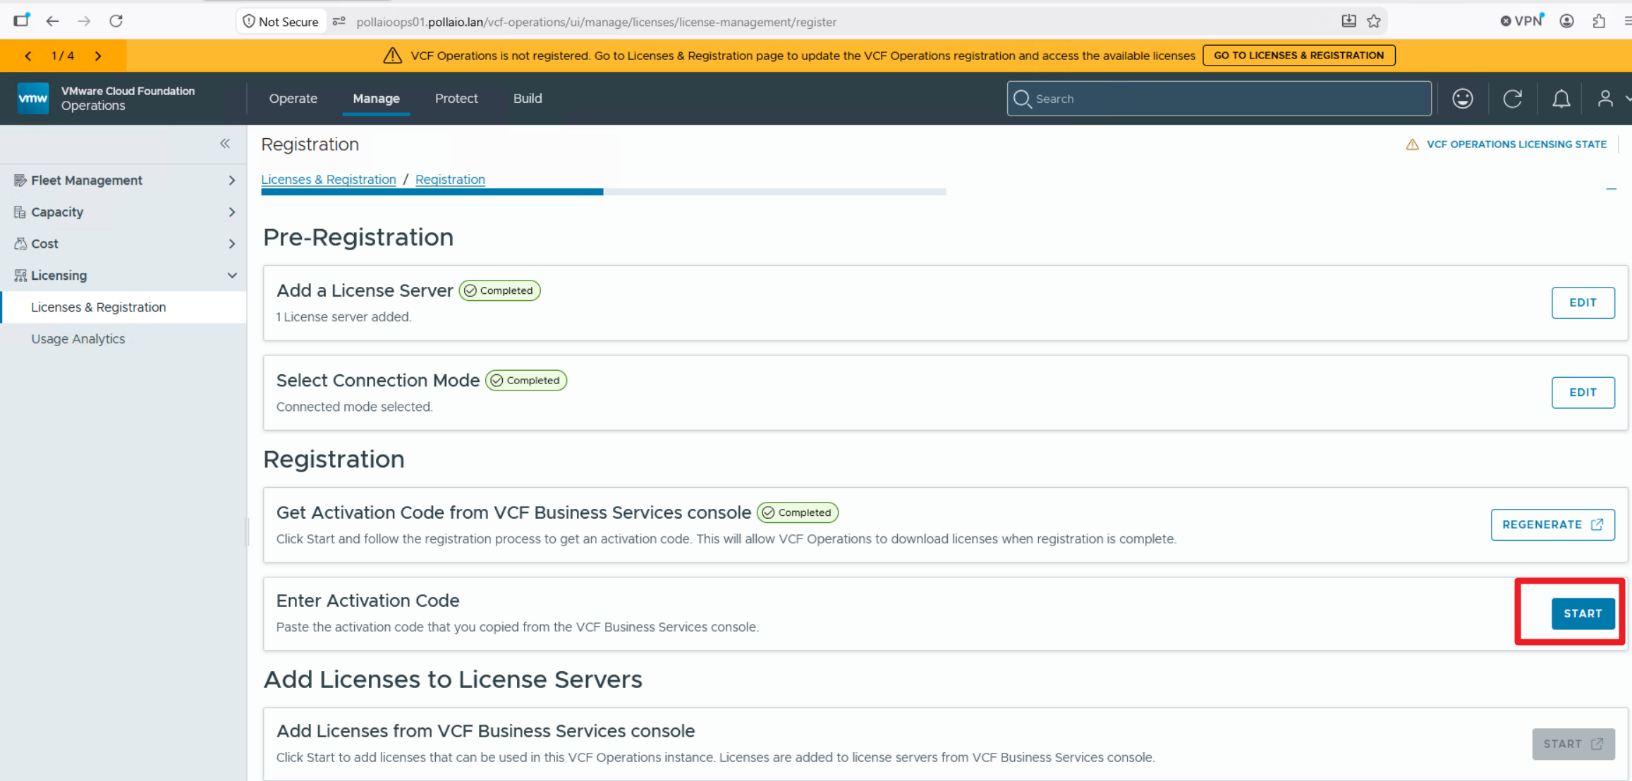
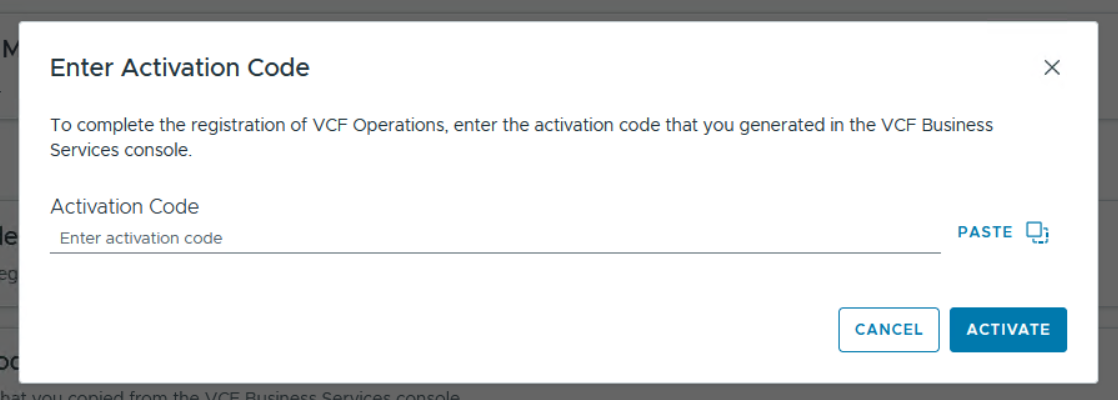
A dialogue box appears.
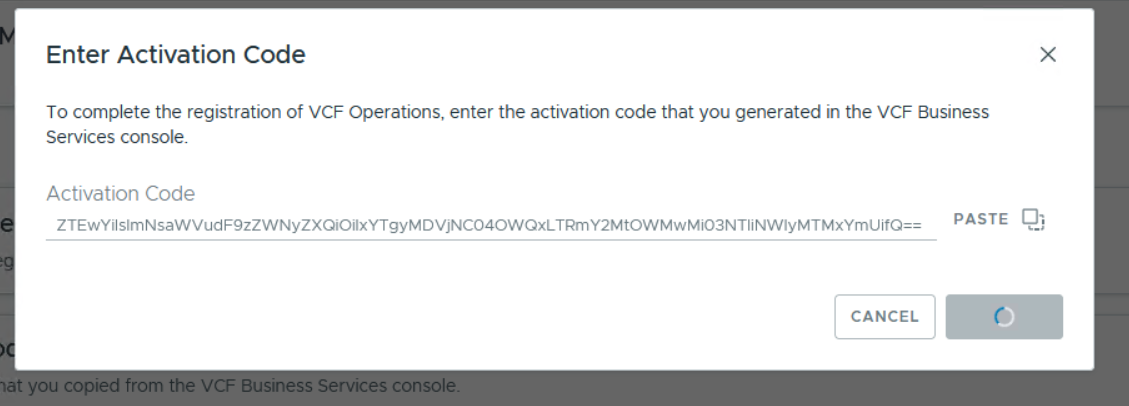
In the text field, paste the activation code, and click Activate
In the Add Licenses from VCF Business Services console card, click Start
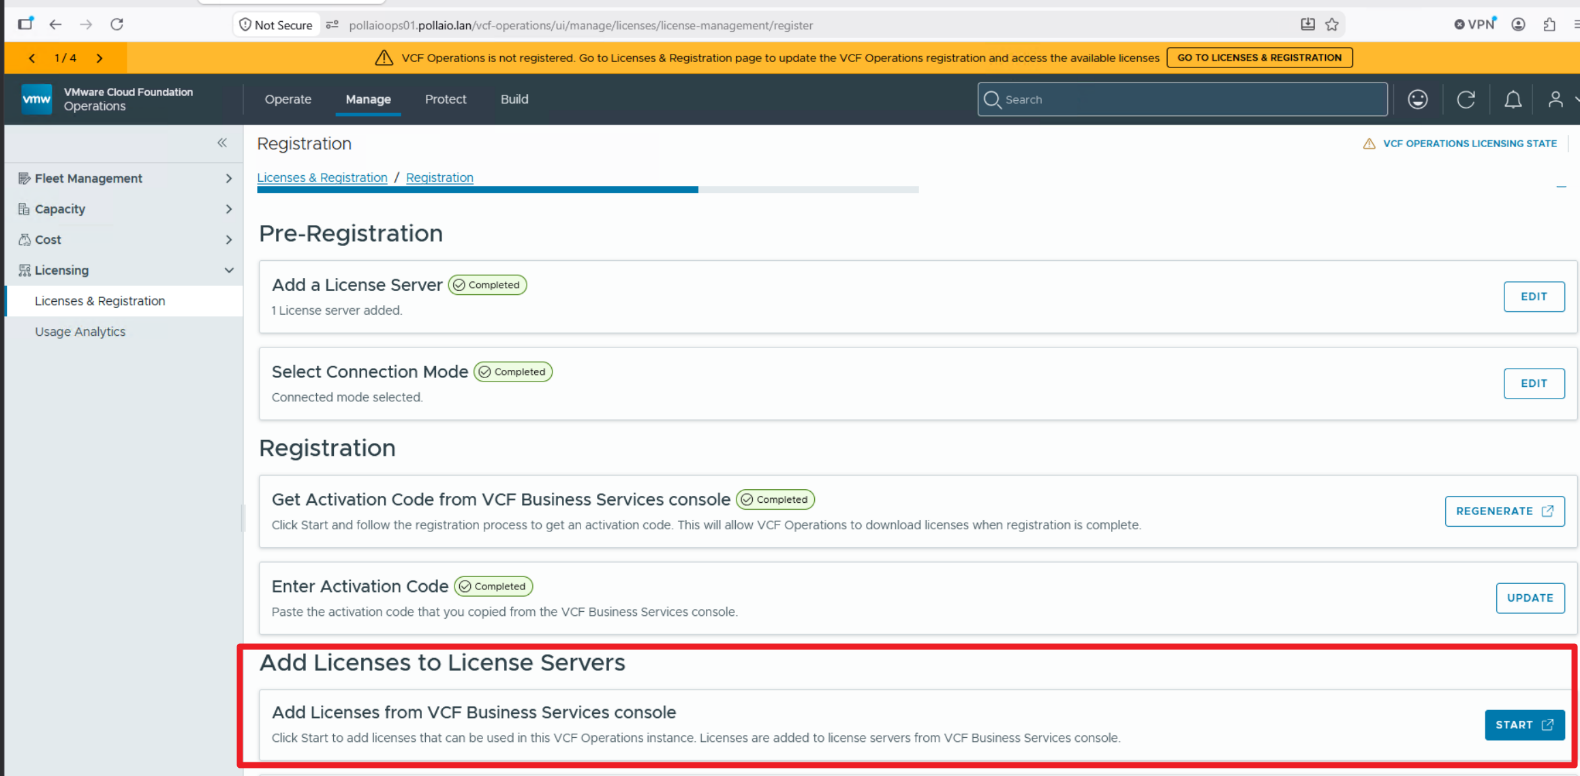
The VCF Business Services console opens in a new tab.
In the VCF Business Services console, add licenses to your license servers.

To complete the registration process, you must first add licenses to each license server.
In the Add Licenses section of the registration workflow, in the card for the respective license server, click Start
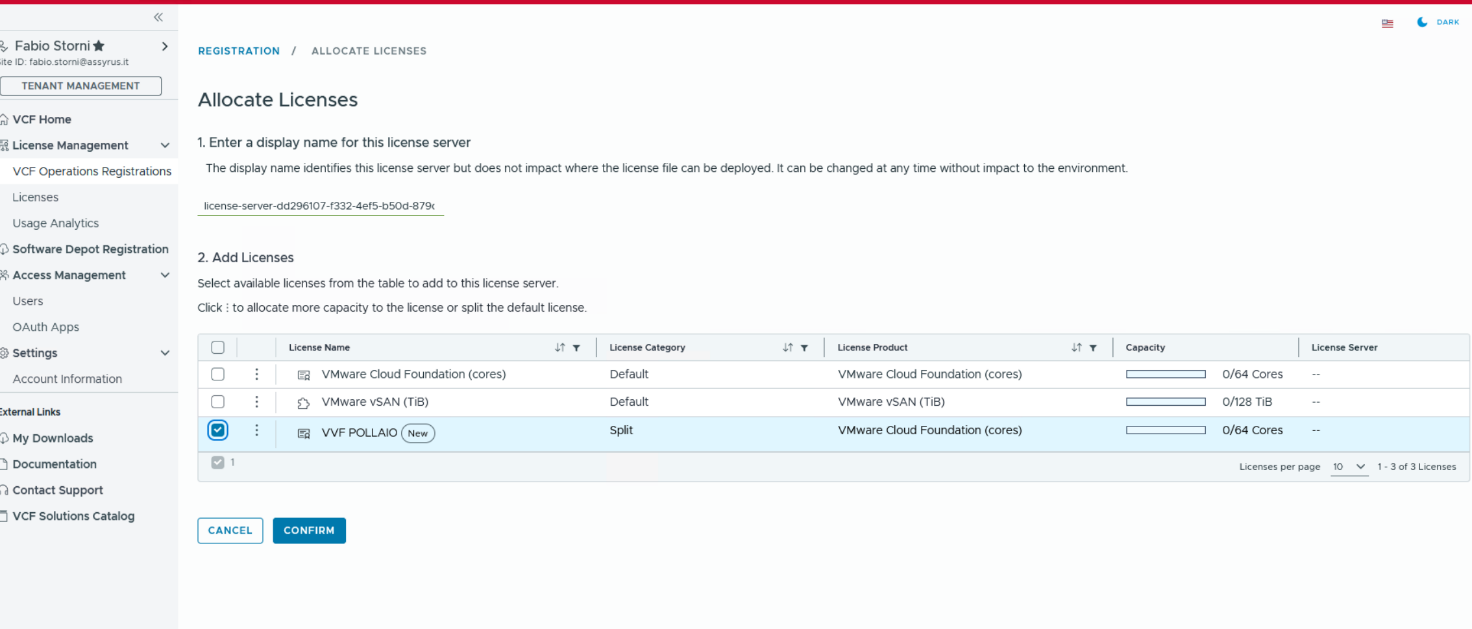
On the Allocate Licenses page, enter a display name for the license server.
If you want to split the default license or change a license’s capacity before assigning it, click the vertical ellipsis next to the license. To split the default license, select it from the list and click Create. Enter a name and license capacity for the split license. To change the capacity of a split license, enter the capacity for the license in the New Capacity column. Click Save.
Select licenses from the table to add to the license server, and click Confirm.
To license your environment, you must add at least one primary license to the license servers. You can add licenses during the registration process, or at any time after that.
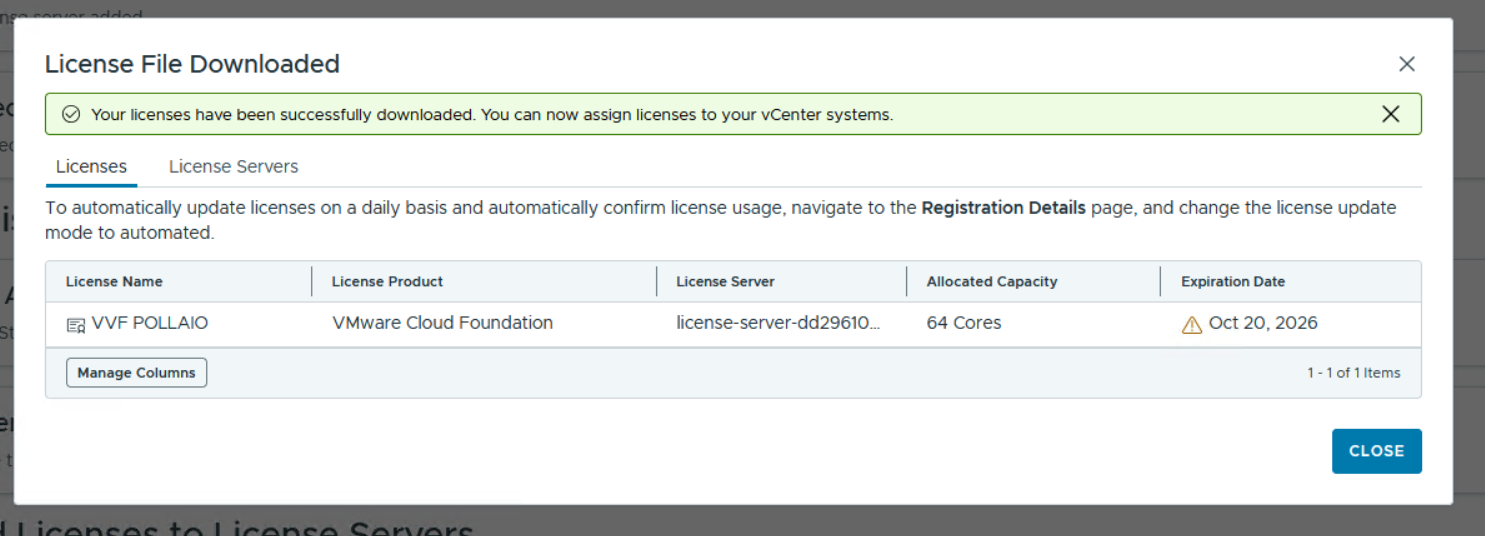
Download the license file in the VCF Operations instance.
Navigate to the Licenses page.
In the Add Licenses to License Servers section, in the Download card, click
Download.
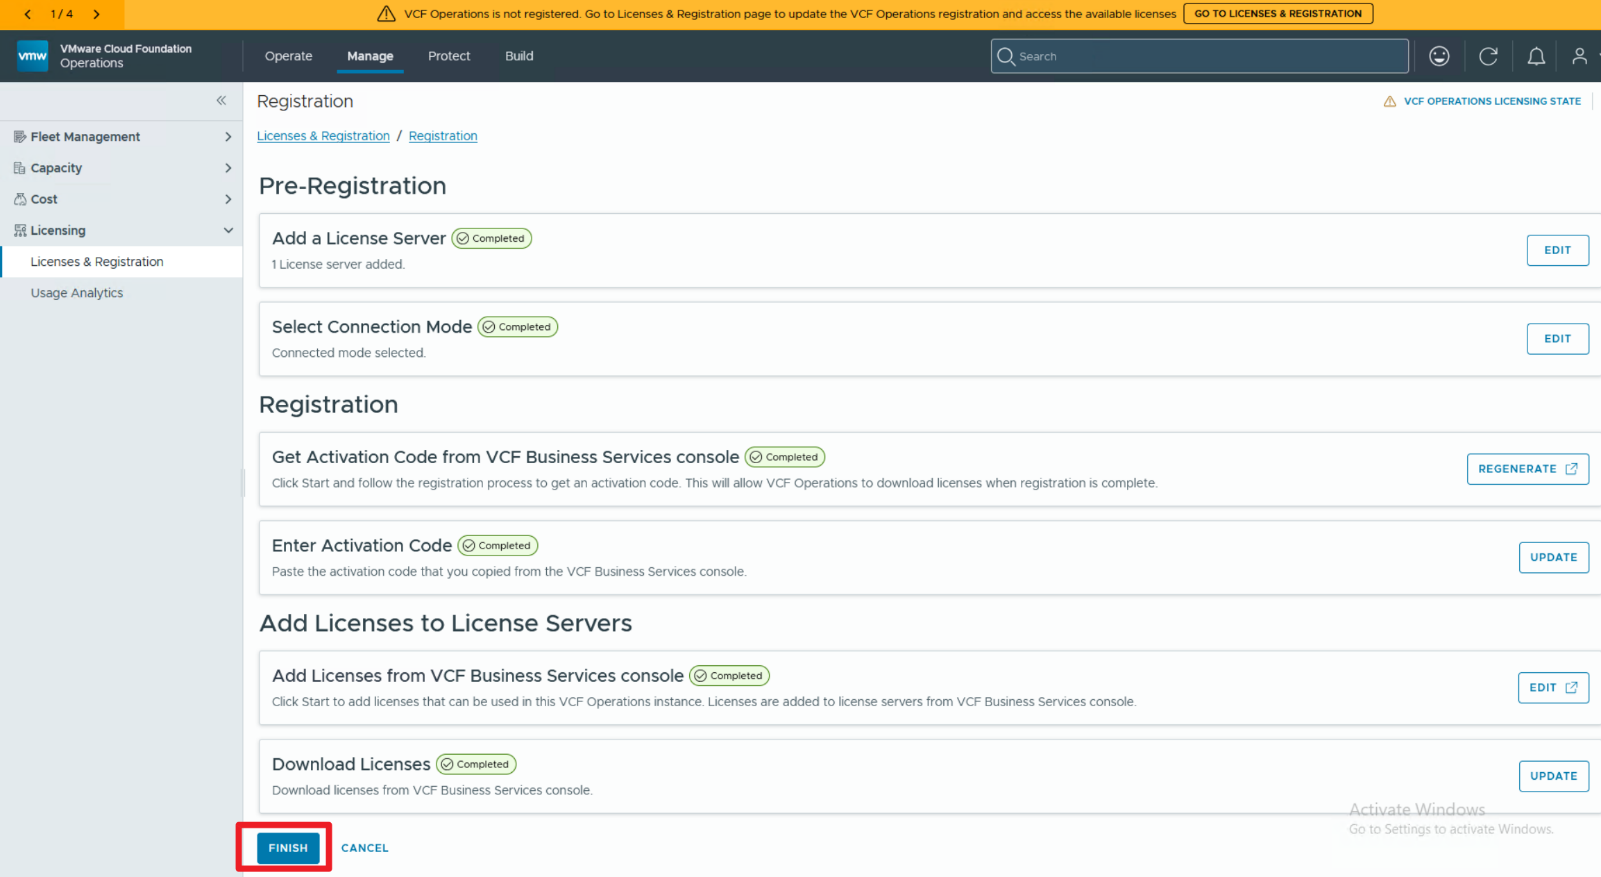
On the Register and License VCF Operations page, click Finish
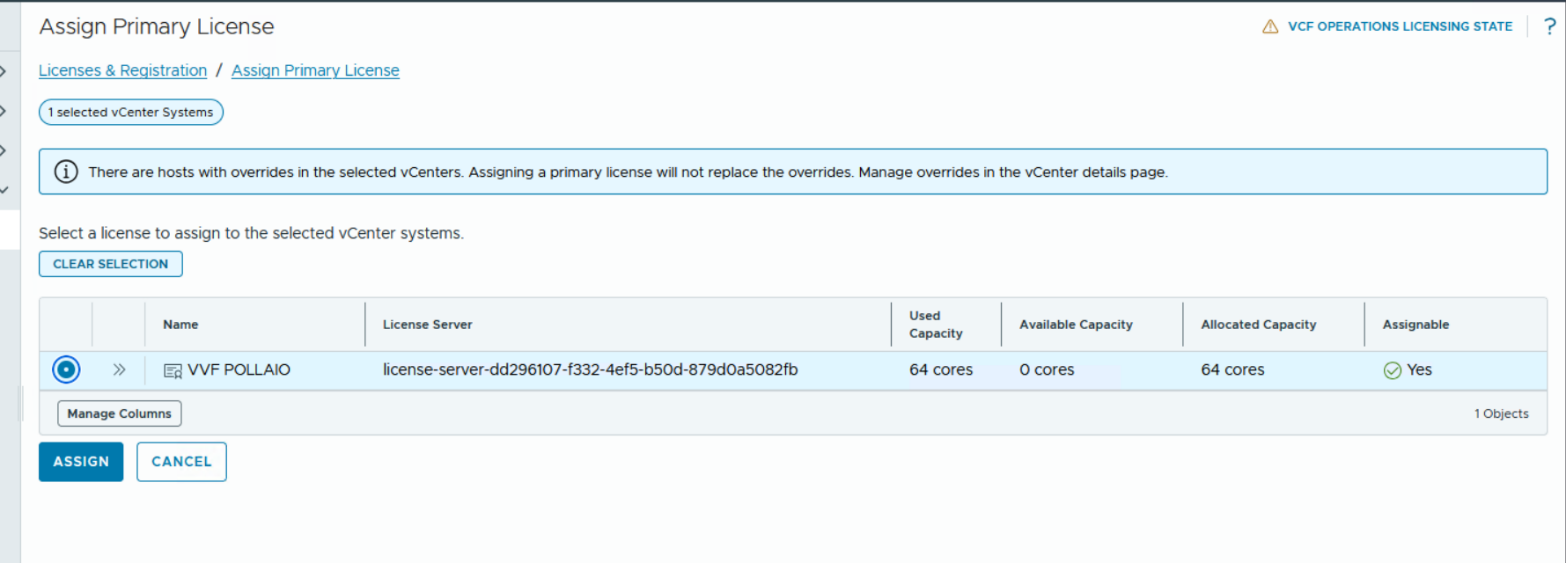
Now we can assign the license to vCenter. Select Assign Primary License after checking the vCenter instance to assign the license.
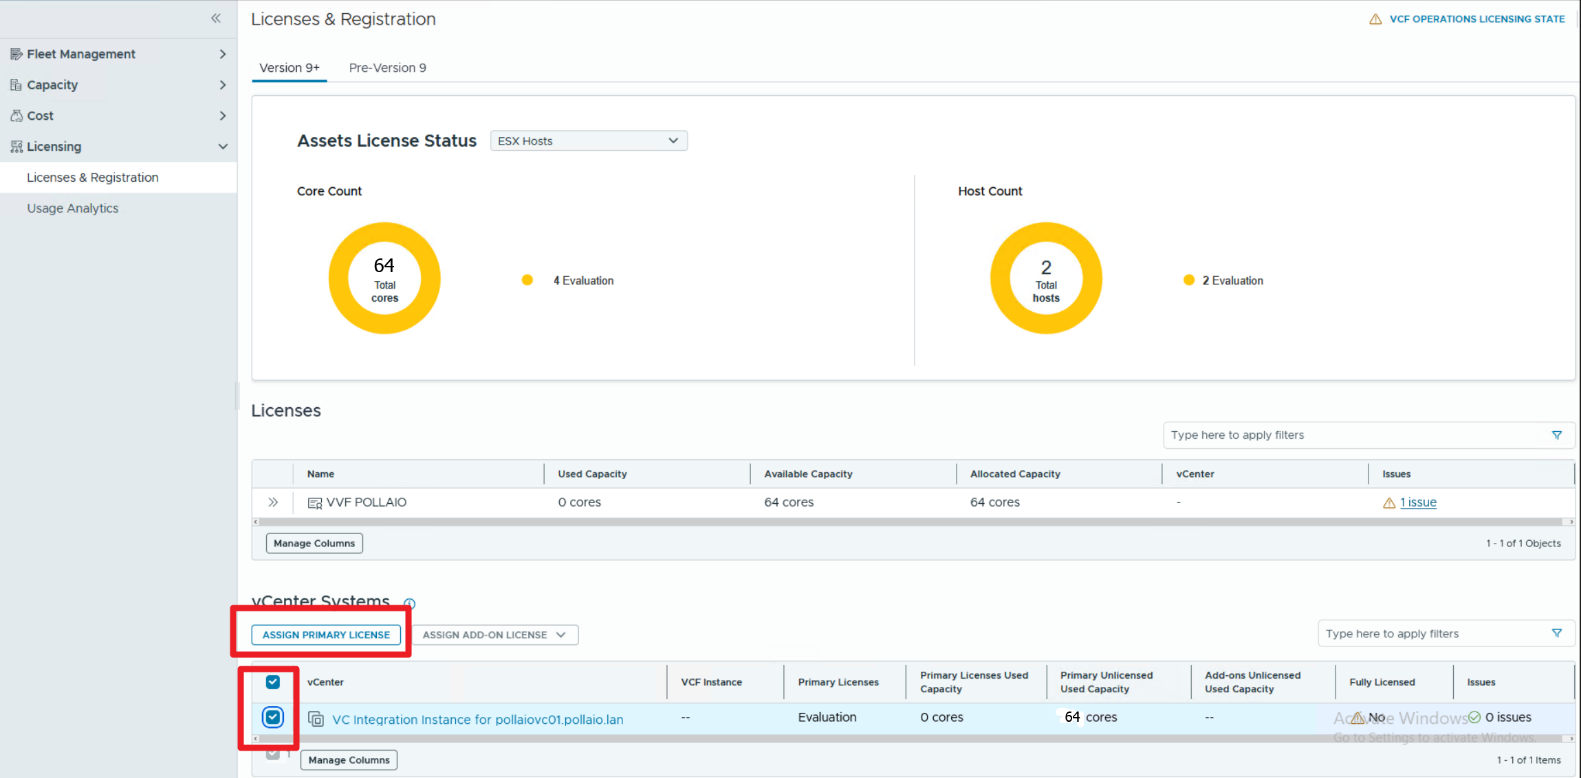
Select the license to assign and click Assign
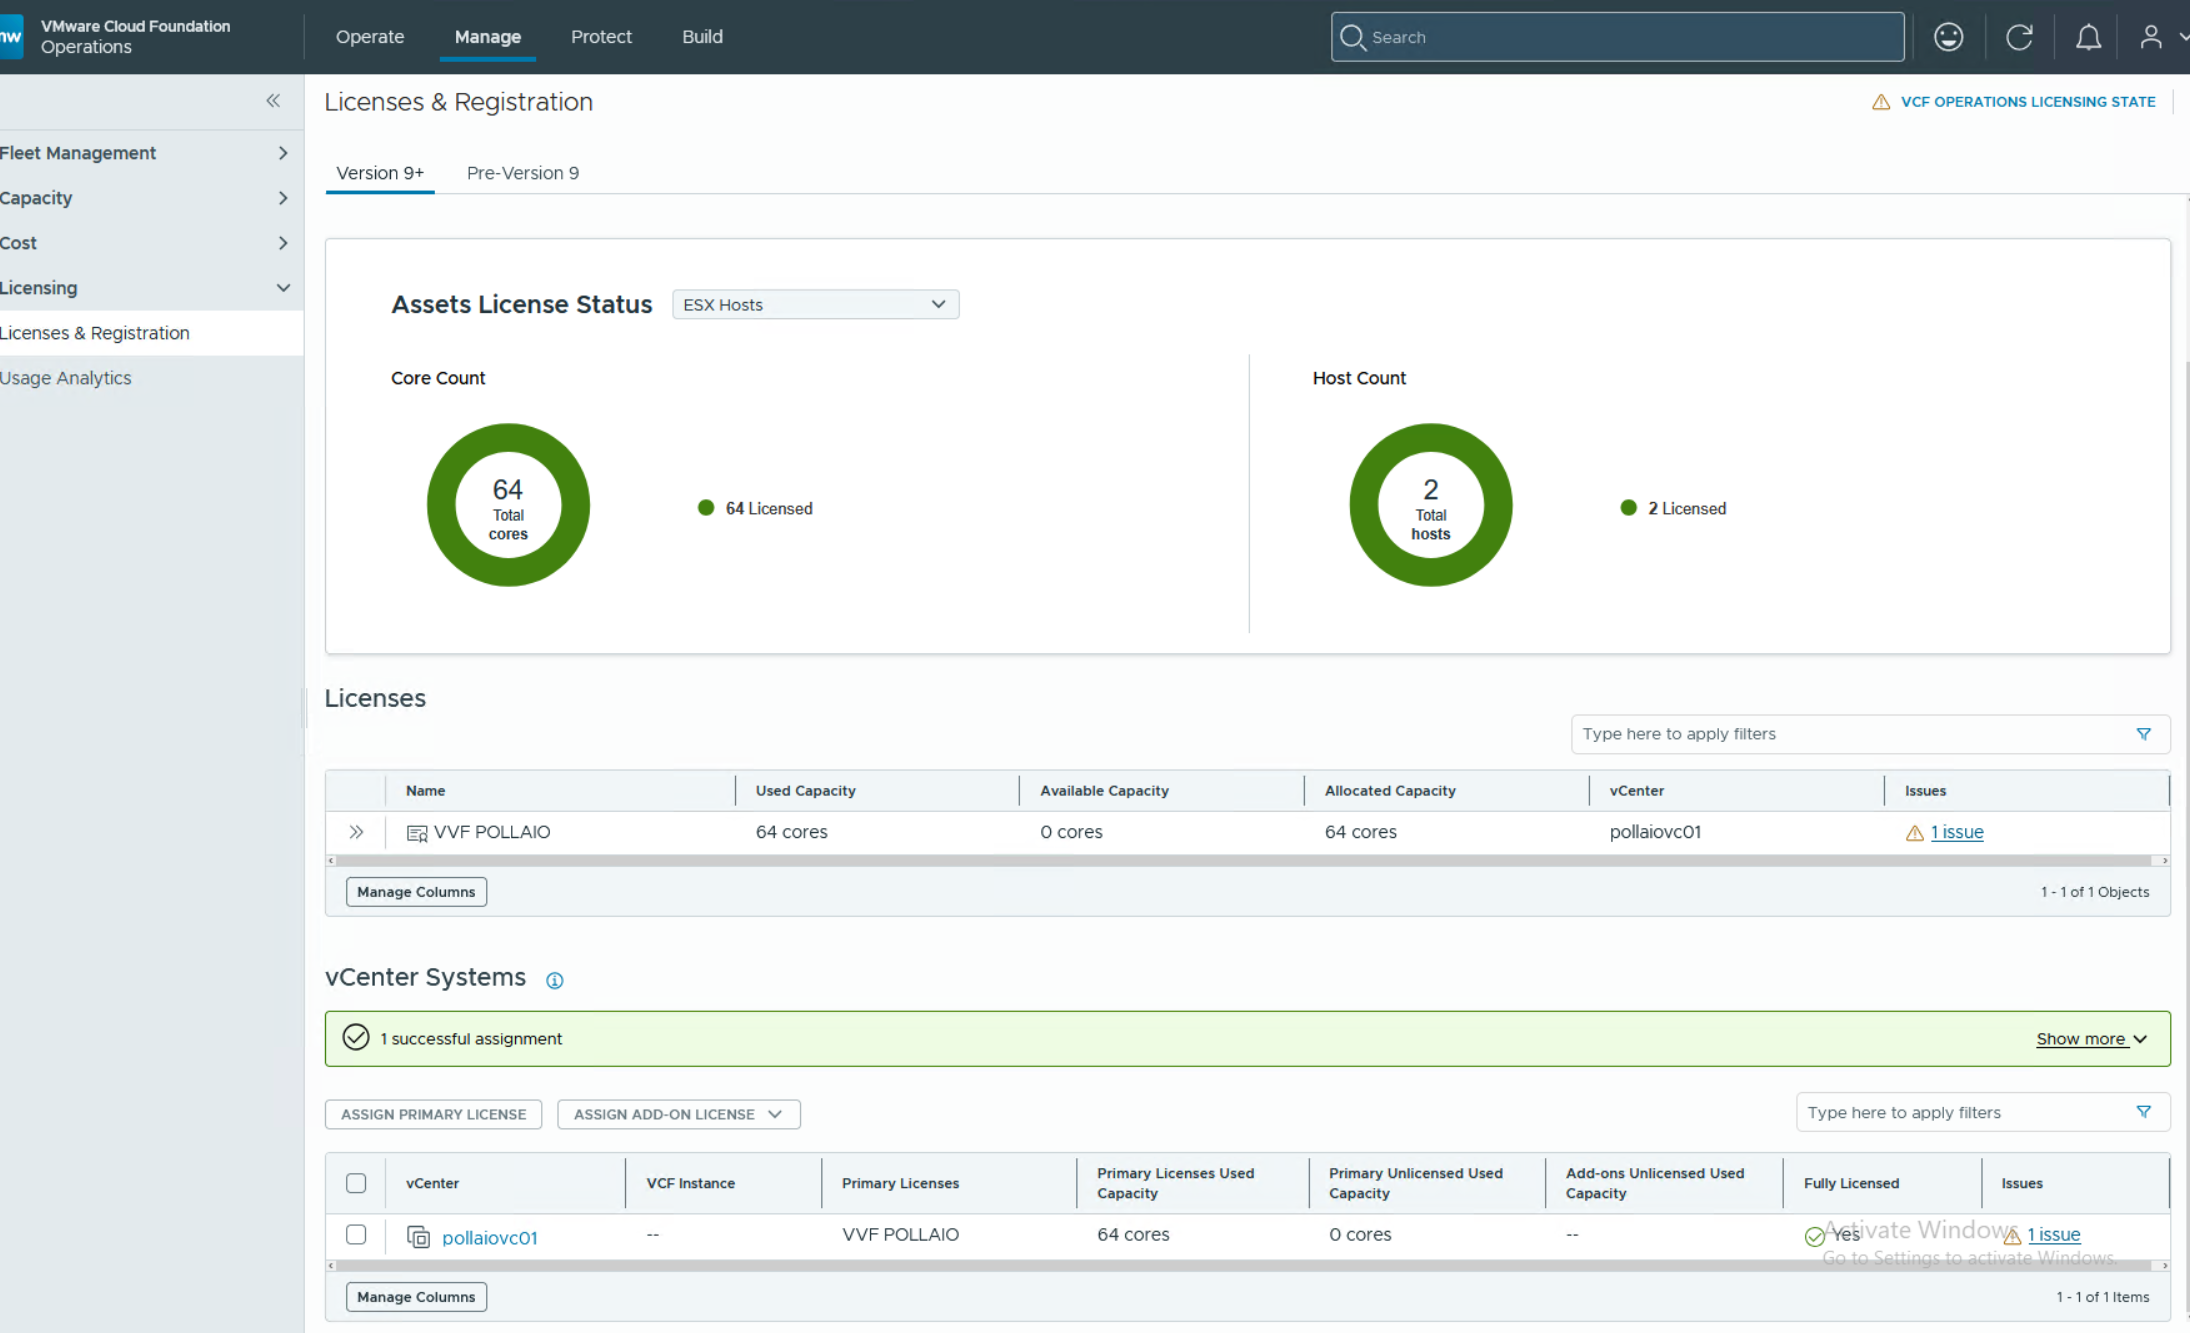
Now the assigned license Core Count and Host Count are Green (if you have sufficient licenses to assign)
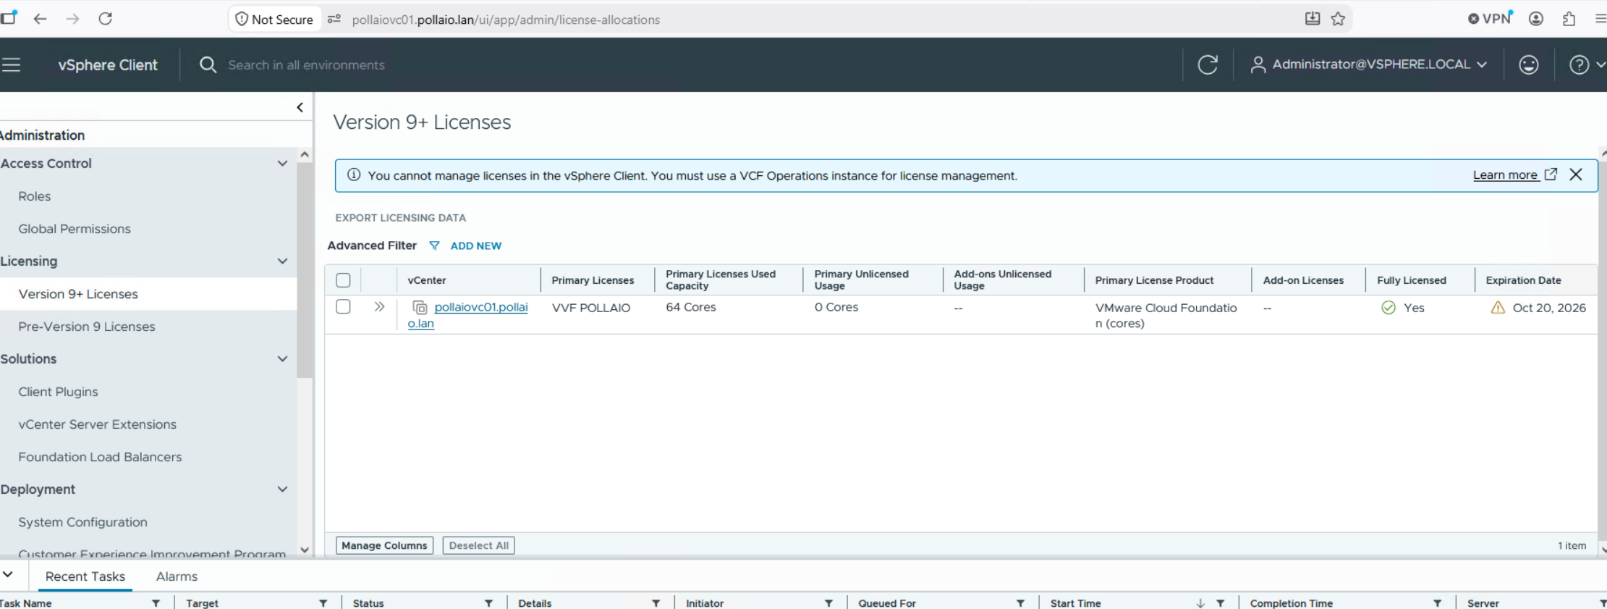
From vCenter, by accessing from the vSphere client, we can show the license status under Administration -> License -> Version 9+ License