Since the end of last week, a new critical vulnerability has spread, present in many programs (Many VMware applications use this Java Logging including vCenter, Horizon, etc.)
“an exploit in the popular Java logging library log4j(version 2) was discovered that results in Remote Code Execution (RCE) by logging a certain string.” as indicated in this link:
On the day of 10/12/2021, VMware released its security advisor (VMSA-2021-0028) with the workarounds to limit the vulnerability pending the release of patched versions to fix it:
What is CVE? CVE, short for Common Vulnerabilities and Exposures, is a list of publicly disclosed computer security flaws. When someone refers to a CVE, they mean a security flaw that’s been assigned a CVE ID number. Security advisories issued by vendors and researchers almost always mention at least one CVE ID. CVEs help IT professionals coordinate their efforts to prioritize and address these vulnerabilities to make computer systems more secure.
I needed to copy a folder to virtual machine on the DMZ network segment. The firewall rule blocks any access to VM, well I used the Copy-VMGuestFile Powercli Command.
Connect-VIServer <vcenter server FQDN or IP>
$vm = Get-VM -Name <VM target>
Get-Item “<Source Path>” | Copy-VMGuestFile -Destination “<Destination Path on VM>” -VM $vm -LocalToGuest -GuestUser <User VM Guest> -GuestPassword <Password User VM Guest>
After the first tentative I receive this error:
Copy-VMGuestFile : 09/12/2021 11:08:40 Copy-VMGuestFile The request was aborted: The request was cancelled. At line:1 char:27
Probably it is a time out error and I try to change the WebOperation Timeout Seconds.
Where in our case the VMnet8 is the one assigned by default to the “NAT” configuration of the VM network card
Restart the VMNETDHCP service net stop vmnetdhcp net start vmnetdhcp
Port Forwarding Configuration
Modify (with Notepad running in Administrator mode) the vmnetnat.conf file present in C:\ProgramData\VMware by inserting the following lines: <tcpPortSource> = <IPaddress VM>:<tcpPortDestination>
Example: 8889 = 192.168.233.10:3389
In this case, we follow an RDP session to the OS system hosting my VM using: 8889 I will access through RDS to my VM with IP 192.168.233.10
*To check the IP range to always use the vmnetdhcp.conf file and identify the correct network segment; In the case of my example the segment is 8 (VMnet8)
# Virtual ethernet segment 8
# Added at 11/10/21 23:49:40
subnet 192.168.233.0 netmask 255.255.255.0 {
range 192.168.233.128 192.168.233.254; # default allows up to 125 VM’s
Whenever we installed a new vCenter the activity always included integration with Active Directory and normally IWA (Integrated Windows Authentication) was used. Since vSphere 7.0 version this possibility has been deprecated so it is good to start with the integration of the vCenter with Active Directory via LDAP. In our case, we will use LDAPS which uses a certificate
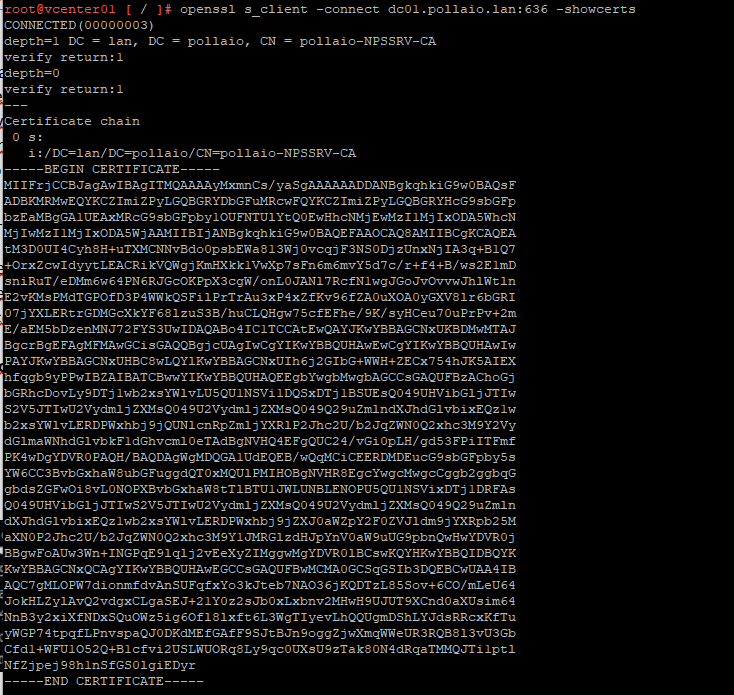
For first the step we need to create the certificate:
Copy the certificate output with —–BEGIN CERTIFICATE—– and —–END CERTIFICATE—–
Past on Notepad and save with .crt extension
Now we will go to configure the Identity Sources on vCenter:
Login as Single Sign-On Administrator to vCenter
Navigate to Menu > Administration > Single Sign-On > Configuration
In the Identity Provider tab, open Identity Sources
Click ADD
Select Active Directory over LDAP or OpenLDAP, depending on your directory type.
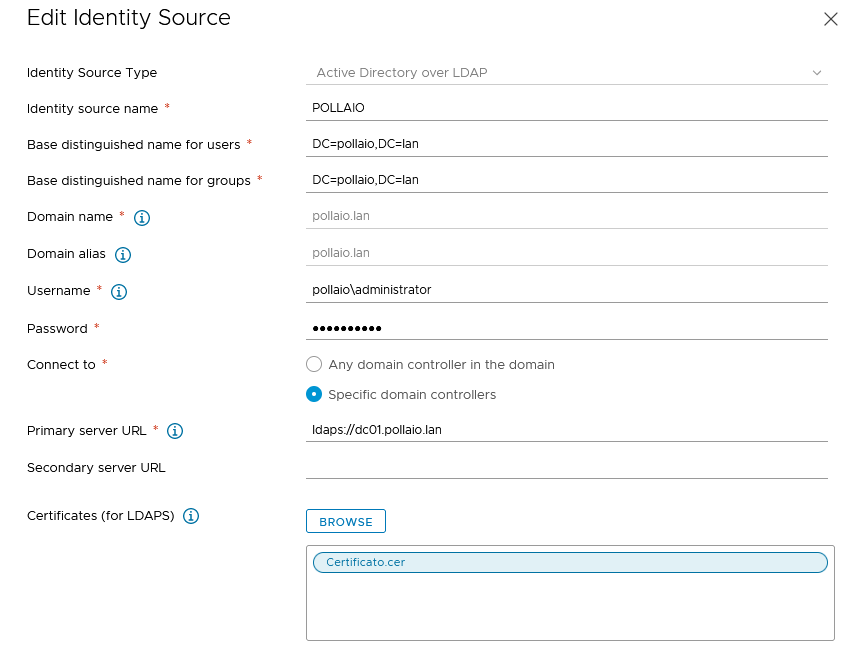
Fill out the remaining fields as follows: Identity Source Name: Label Base DN for users: The Distinguished Name (DN) of the starting point for directory server searches. Example: “DC=pollaio,DC=lan”. Base DN for groups: The Distinguished Name (DN) of the starting point for directory server searches. Domain name: Your domain name. Example: “pollaio.lan” Domain alias: Your NetBIOS name. Example: “pollaio.lan” Username: Domain user with at least browse privileges. Example: “pollaio\administrator”. Connect to: “ldaps://<DC FQDN>”.
Click Browse next to SSL Certificate
Select the .cer file created in before step
Now we are ready to login to the vCenter with domain user (remember to assign the correct permission to domain group or user group)
If you want check the correct use of SSL certificate on the authentication to Active Directory with LDAP connection check the websso.log:
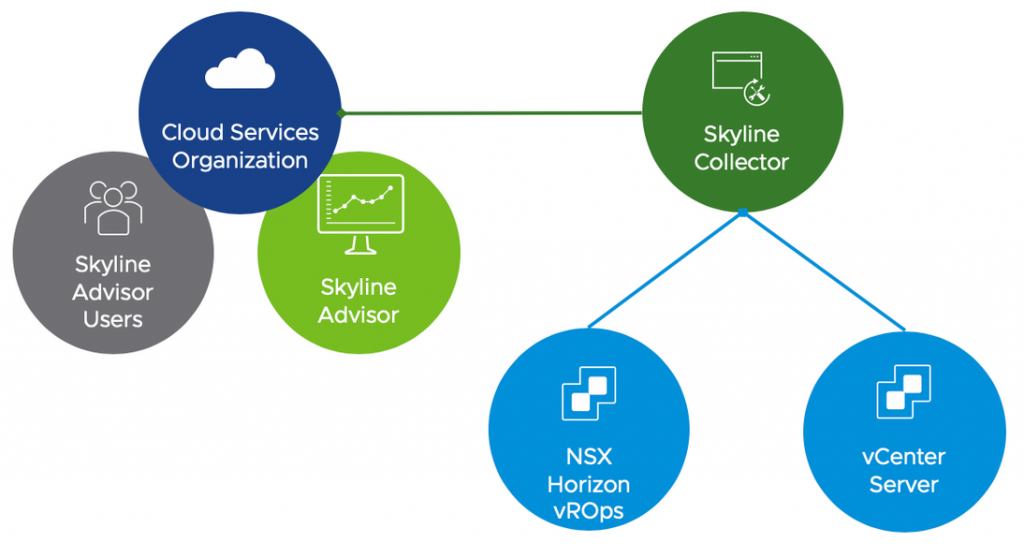
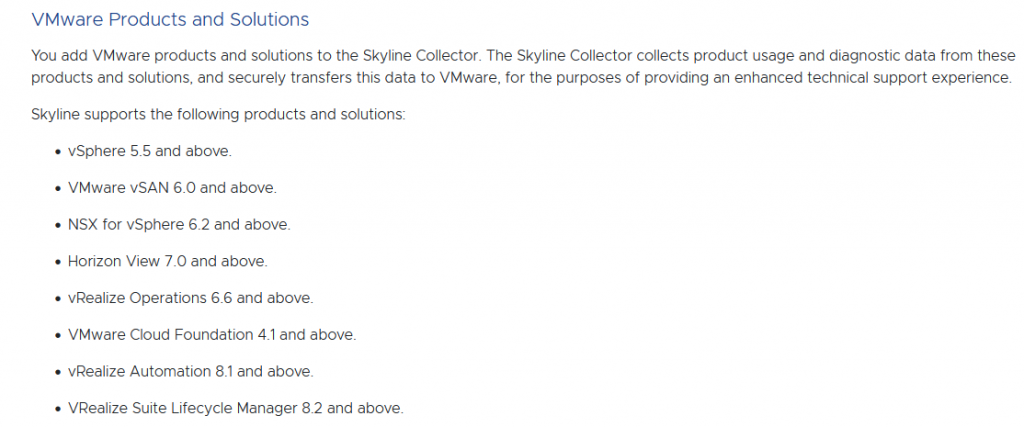
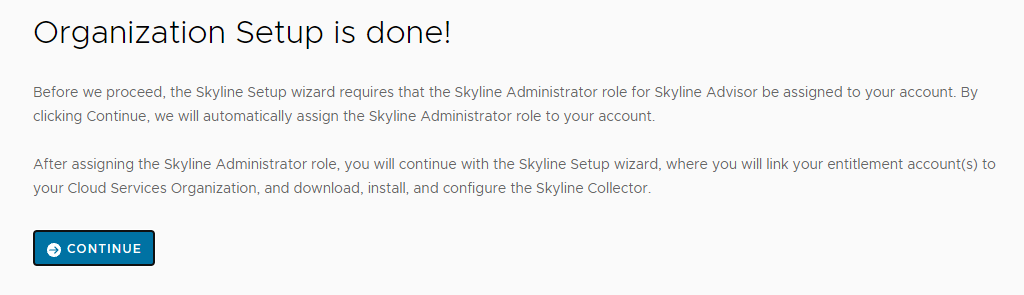
VMware has had a product for a while now called VMware Skyline that provides proactive monitoring, analysis, and support for your VMware environment. It monitors your VMware installation and will notify you when issues arise.
Skyline Advisor will be available to customers and partners with active Production and Premier Support, VMware Success 360 and vRealize Cloud Universal subscriptions at no additional cost.
Create a Cloud Services Organization
Login with My VMware account associate to Production and Premier Support on the site:
https://console.cloud.vmware.com/
After clicking Get Started, a new web browser page, or tab, will open. You will be asked to sign-in
with your VMware account. If you have an existing My VMware account, you can use those same
account details (email address/password) to sign in to Cloud Services.
If you are existing VMware Cloud Services customer, you can choose an existing Cloud Services
Organization for Skyline. If you have never used VMware Cloud Services, click Create New
Organization.
Enter a Organization Name.
Name your Organization something meaningful, that can be easily
referenced by both you, and VMware. For example, name your Organization after you Company, or
Business name. You can also append a line-of-business, division, or team, to the end of your
Company or Business name.
The following are example Organization Names:
The company, LOB, Company LOB, Company-vSphere, Company-Desktop
Enter an Address for your Organization.
Click Add Address. You can also choose an existing
address if one was found for your account. If you choose an existing address, skip to substep f.
During the creation of your Cloud Services Organization, your country currency, and Tax ID, may be
displayed. The displaying of this information is a construct of Cloud Services. Skyline is available at
no additional cost, and you will not be required to enter any payment details while adopting Skyline.
Select a Country from the drop-down menu.
Enter your street address on Address Line 1, and Address Line 2 (optional).
Enter your City.
Enter your State/Province.
Enter your Zip/Postal Code.
Review the Cloud Services Terms of Service. Click the checkbox to agree to the Terms of Service.
Click Continue.
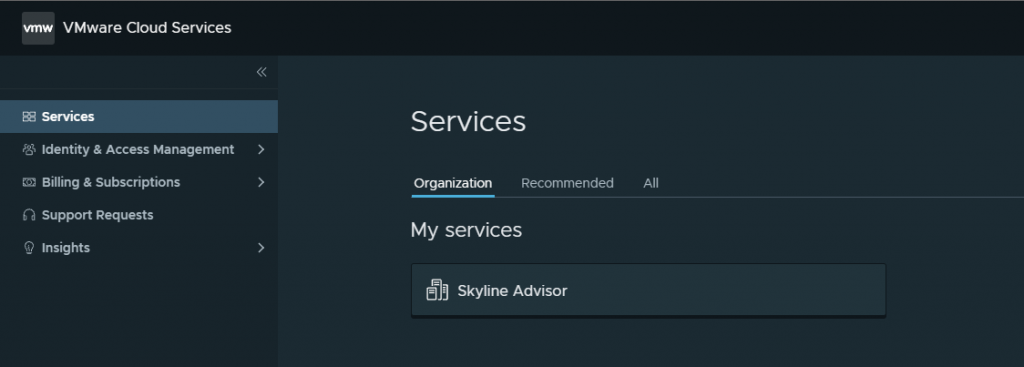
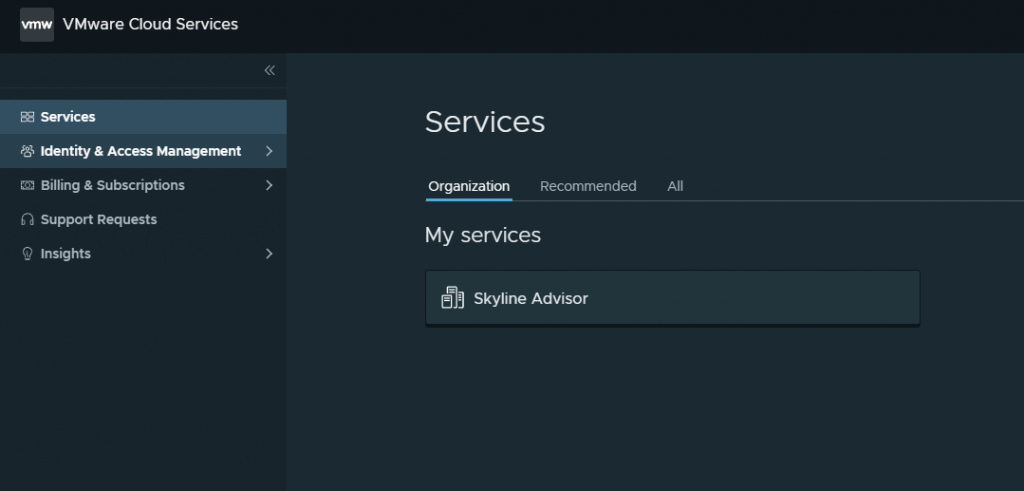
Now on service, we have Skyline Advisor, click on this service
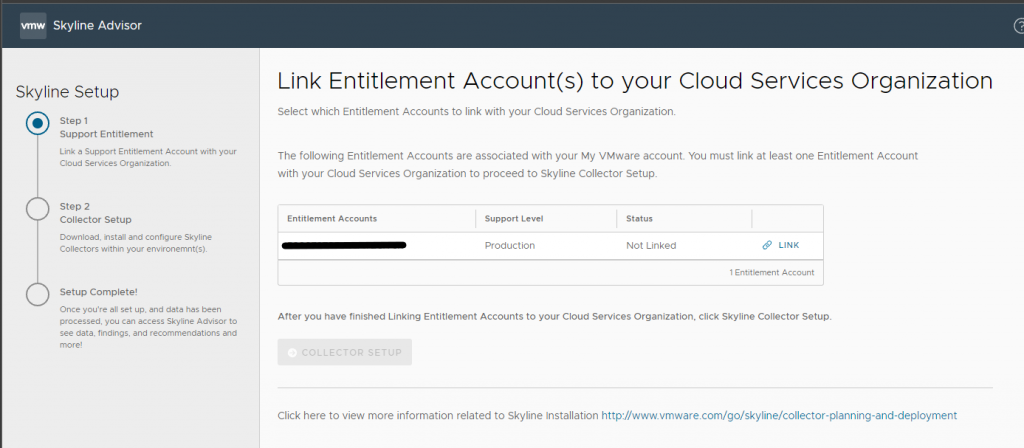
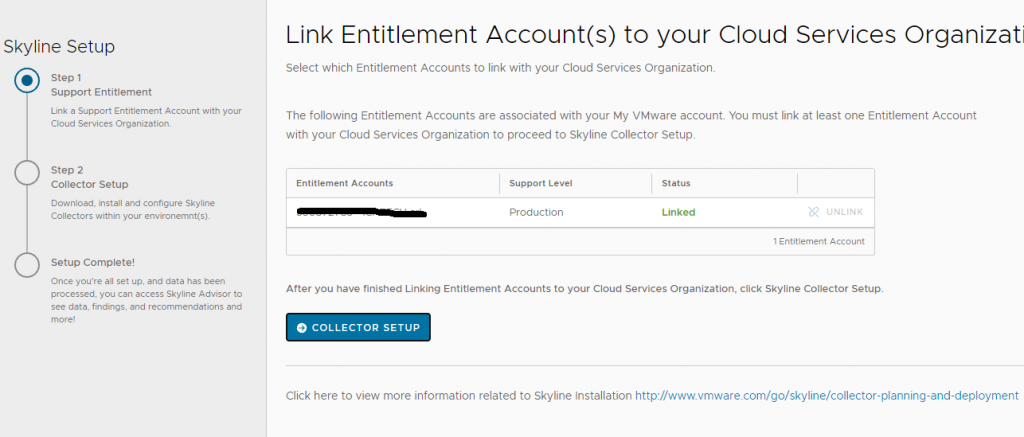
Link the Entitlement
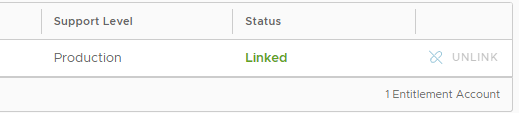
Now, after clicking on LINK, we have the correct status LINKED
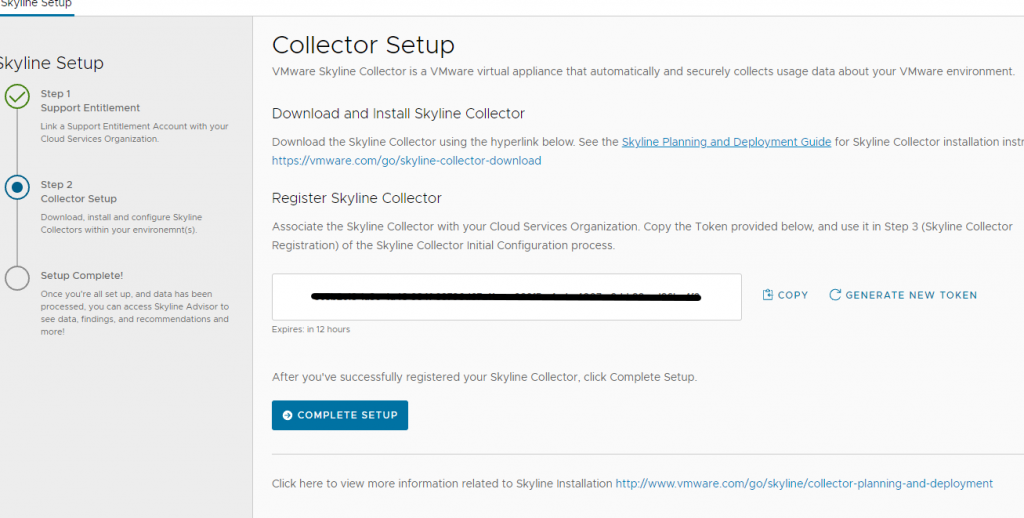
Deploy Skyline Collector and configure the connection to Cloud Services
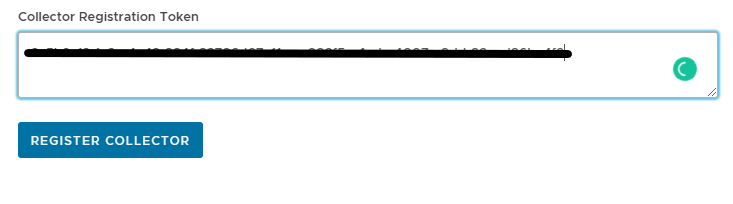
Copy and paste the token on Skyline Connect and register it.
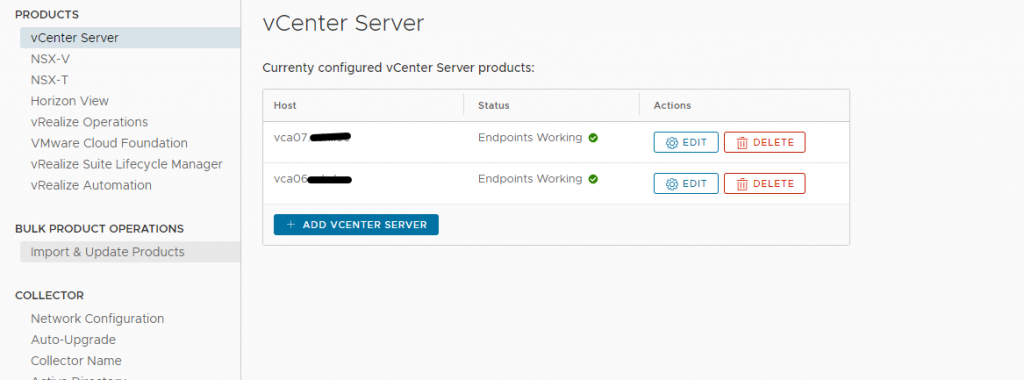
Add source Data to Skyline Advisor
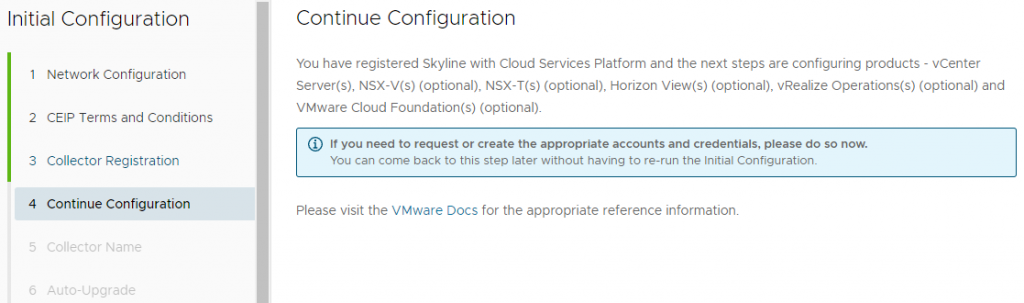
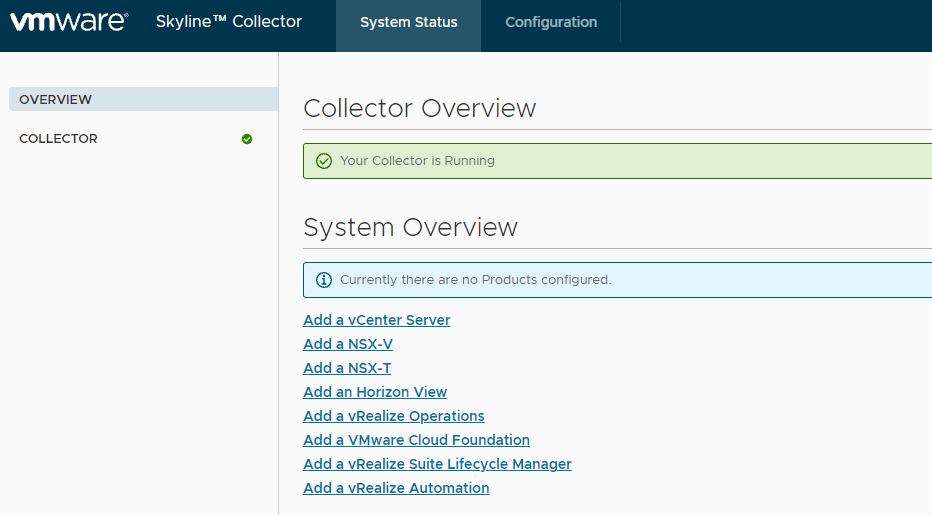
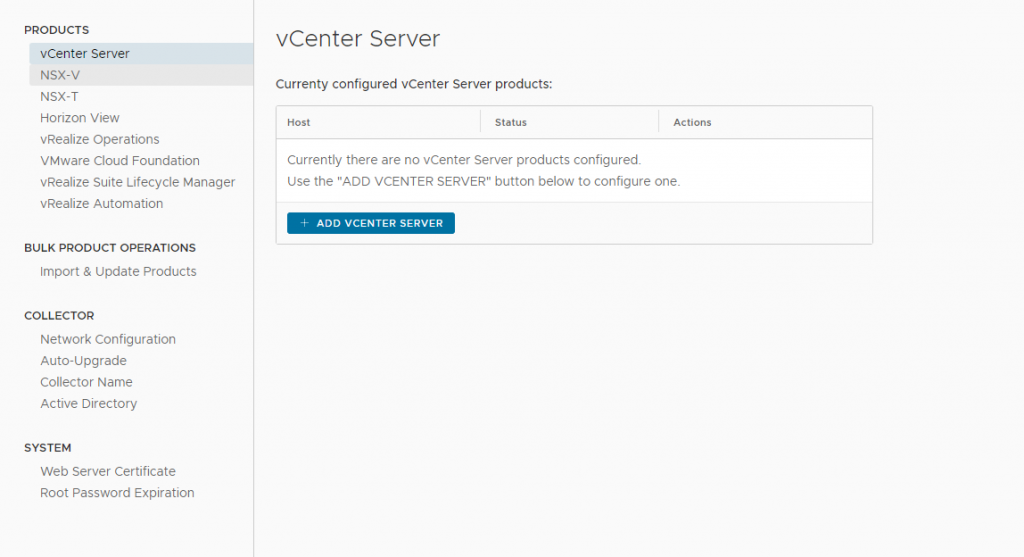
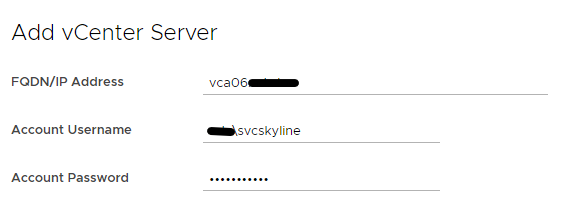
After complete the step 5 and 6 (I suggest to enable the auto-upgrade), we can access to skyline collector to configure the connection to vCenter (or multiple vCenter)
With the release of VMware vSphere 7 Update 3, this also means there is a new version of vSAN as well. VMware vSAN has been trailblazing in the world of HCI for several years now and with over 30,000 customers and many releases behind it, the solution has certainly grown, matured, and become […]
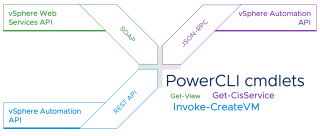
One of the conveniences of administering VMware solutions is being able to use code to create scripts to perform repetitive tasks or automate processes
One of the vSphere Web Client features that can help those new to the PowerCli is the Capture Code, it basically allows you to list and save the Powercli commands of the actions you are doing with the vSphere Web Client.
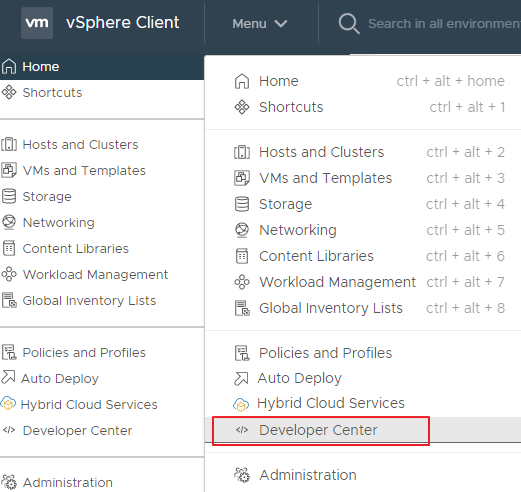
To activate it just access the vSphere Web Client, from the Menu select Developer Center
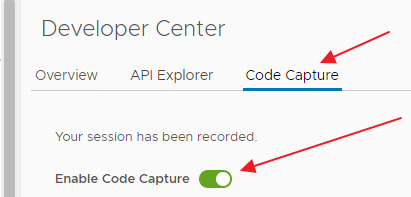
Select Code Capture and enable it by placing the “Enable Code Capture” flag on the right (which turns green)
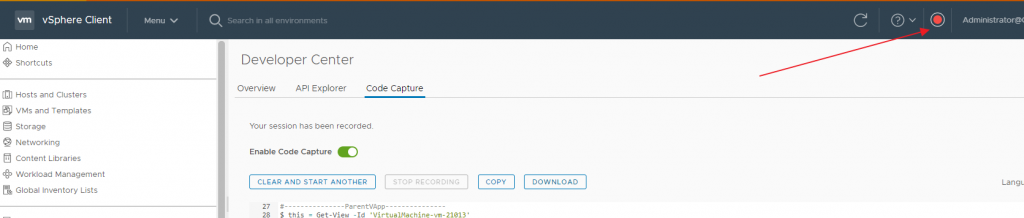
At this point, a space will appear in our frame where the commands will be listed with some operations, such as Clear and start another, Copy and Download
Where the Download option generates you the ps1 file with the Powercli commands of the recorded operations
To start and stop a recording session you can use the buttons:
Or the red button that appears at the top of the WebClient once “Enable Code Capture” is enabled
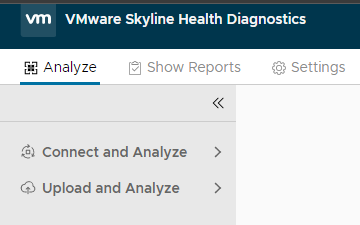
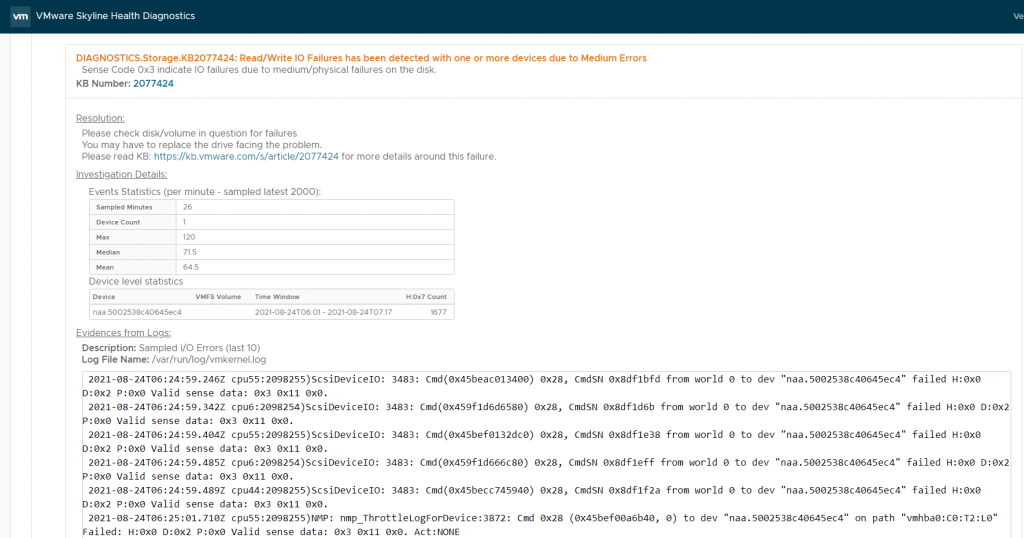
Imagine you have a vSAN infrastructure and at some point, a diskgroup fails but errors are reported on the disks. With this tool, we can analyze the logs exported from the ESXi host on which the diskgroup resides and identify on which physical disks I / O errors have been highlighted