Converge vSphere 8 to VMware vSphere Foundation 9.1.x

.

ATTENTION!!

This is a document that was created from a Home Lab.

My Home Lab:

vSphere 8u3i

One vCenter

Two ESXi hosts (Nested)

One NFS datastore (TrueNAS)

Official Documentation

Source Converge a vCenter Instance and ESX Hosts to vSphere Foundation

Verify upgrade path from Product Interoperability Matrix

Requirements

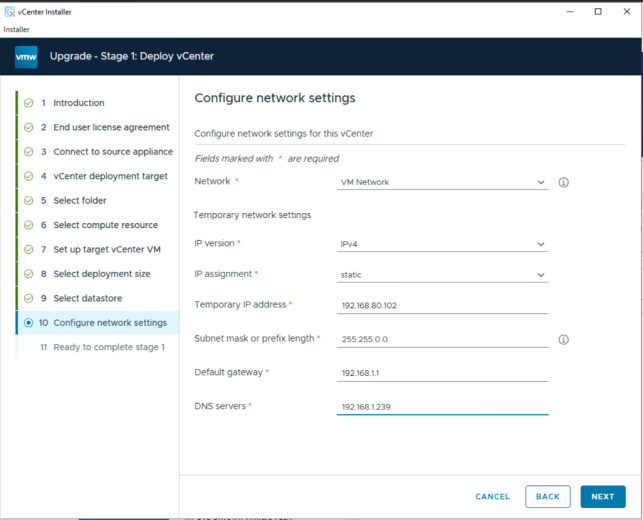
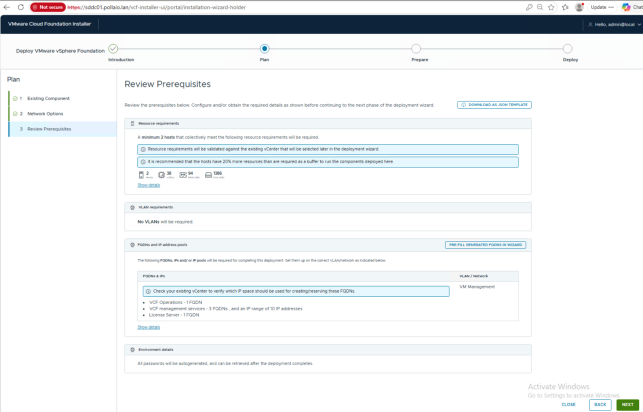
Prepare a temporary IP for vCenter

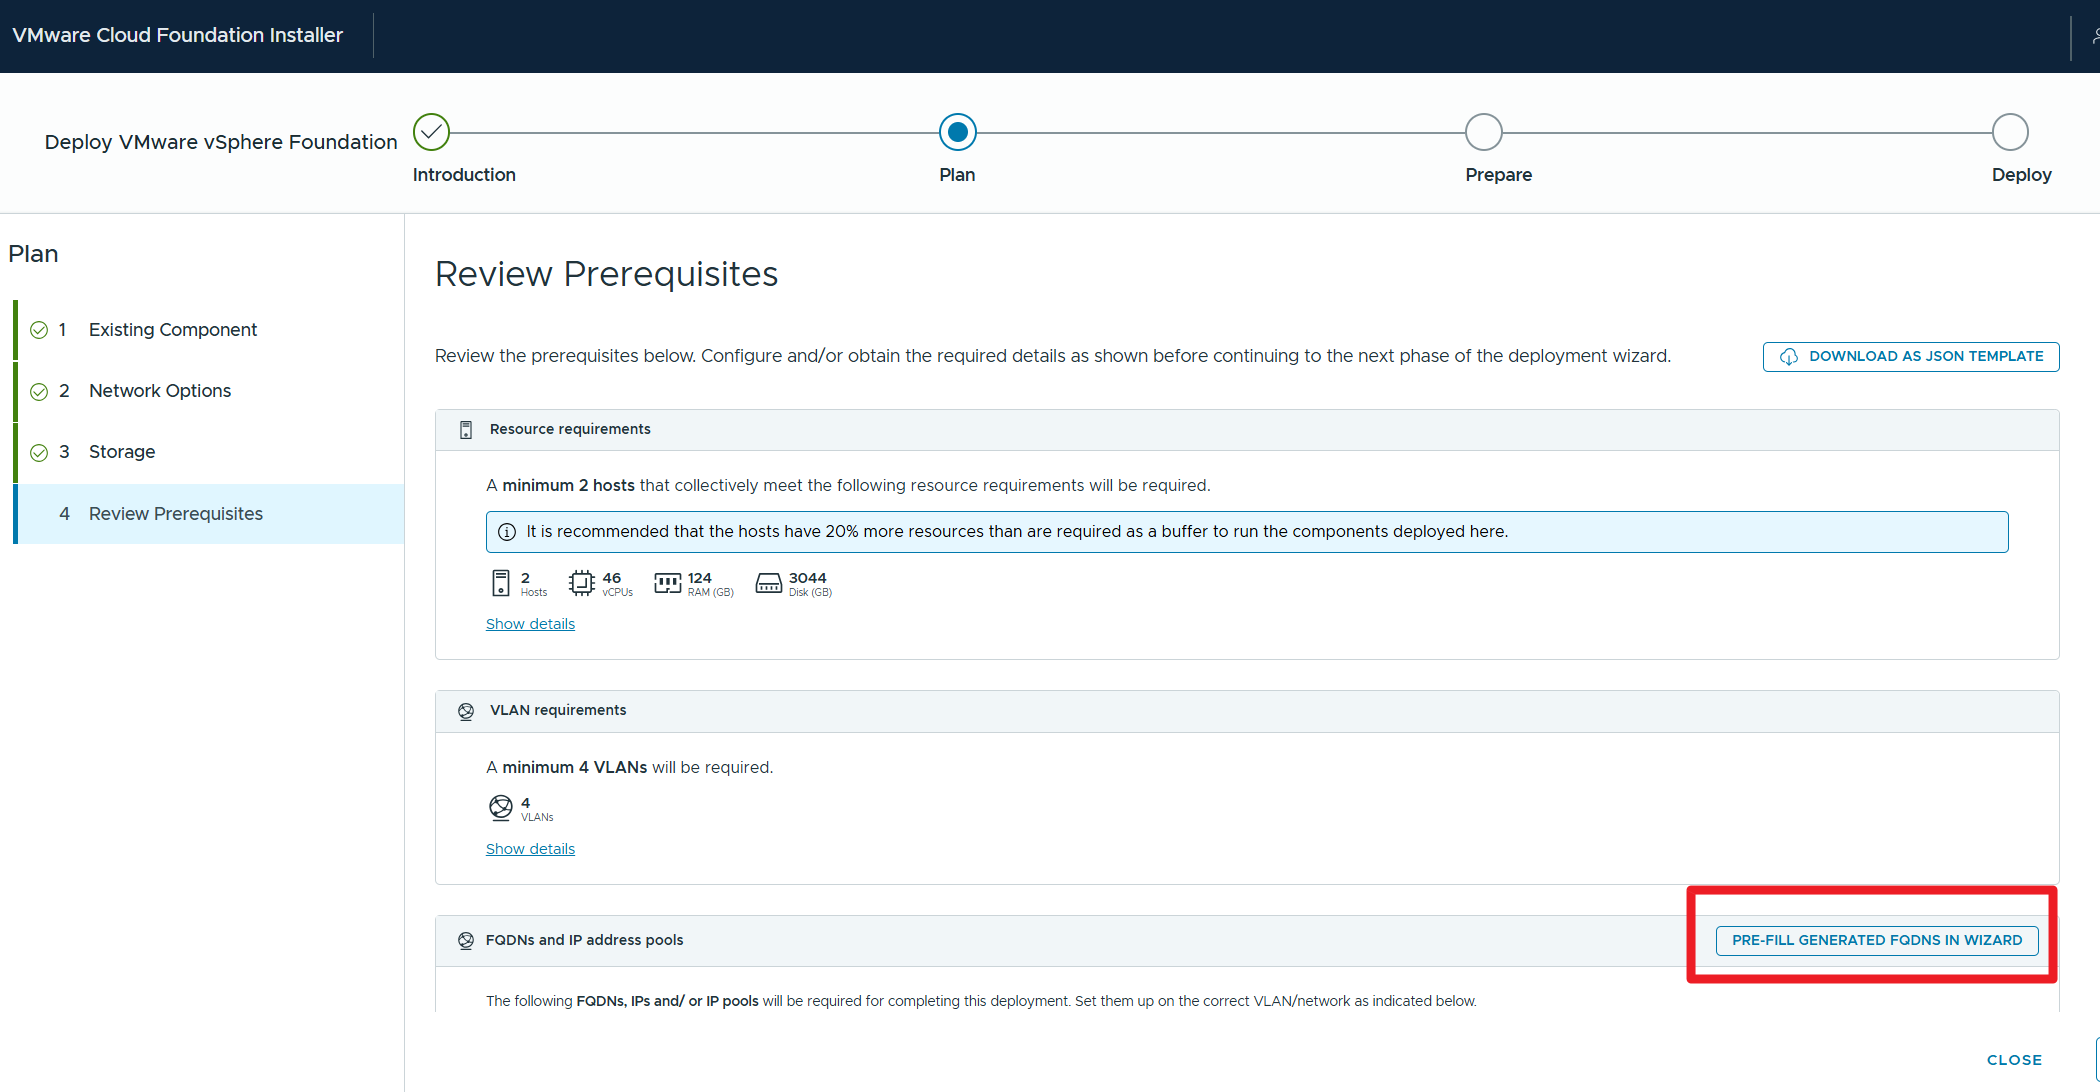
Prepare five FQDNs and register on DNS (with reverse) for:

1 VCF Operation

3 VCF Management Services

1 VCF License server

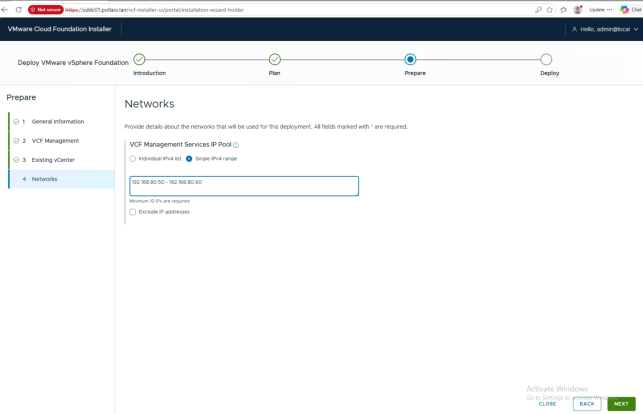
And ten IP addresses (minimum) for Management Services

.

UPGRADE STEP

• vCenter Upgrade
• Install VCF Installer
◦ Install VCF Operations
◦ Install VCF Management Services
• Upgrade ESXi
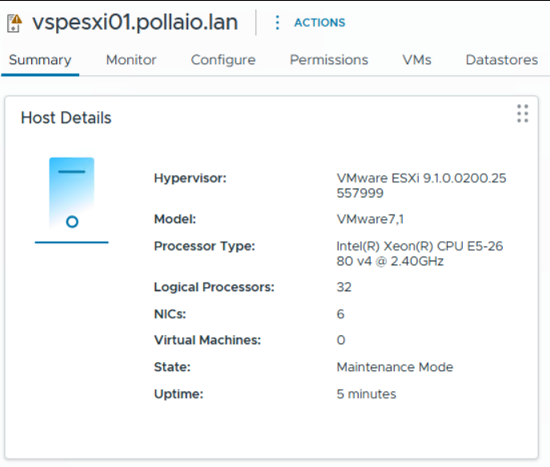
◦ Upgrade ESXi Hosts
◦ Upgrade vDS
◦ Upgrade VMware Tools
◦ Upgrade Virtual HW

.

vCenter Upgrade

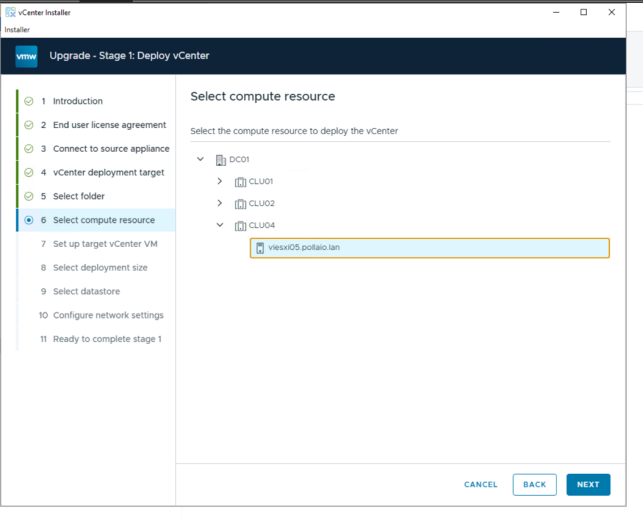
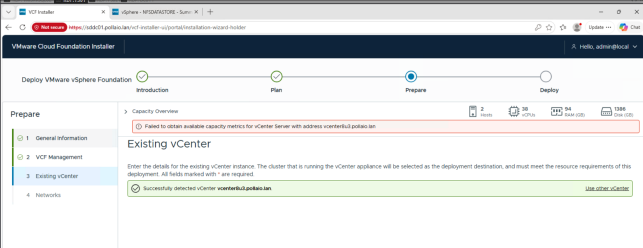
You must deploy the new vCenter in the vSphere Cluster that you need to upgrade at VVF. In my test, I deployed the new vCenter in another vSphere infrastructure, and the VCF Installer reports an error.

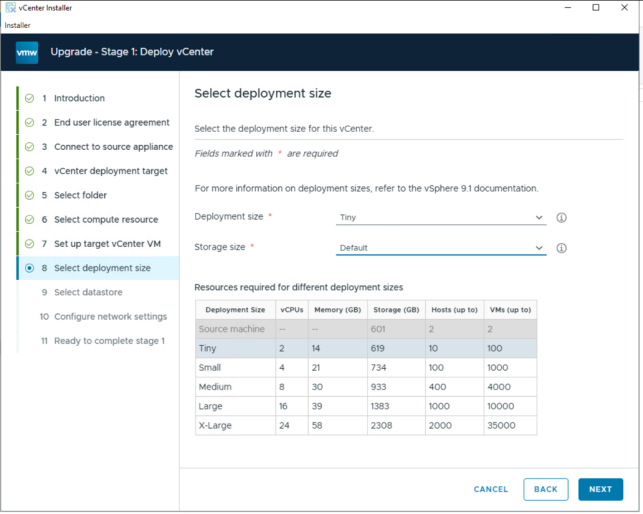
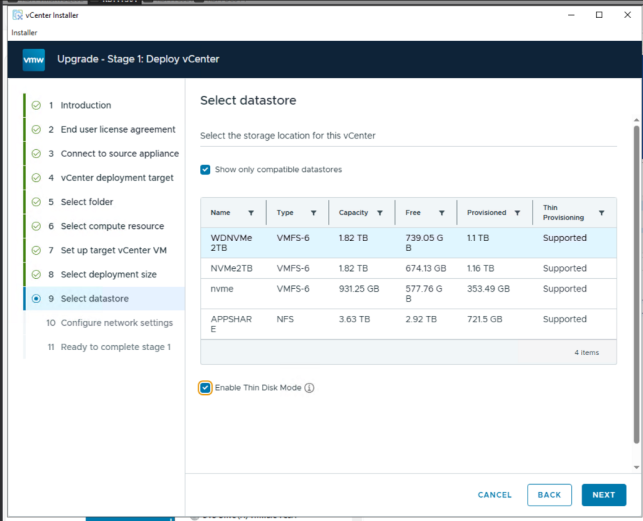
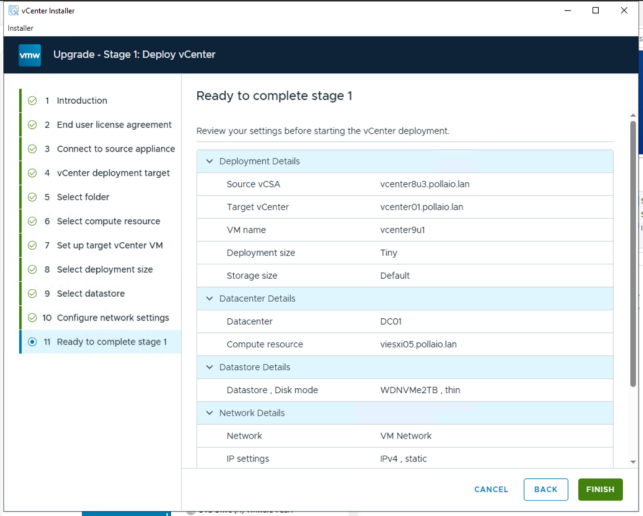
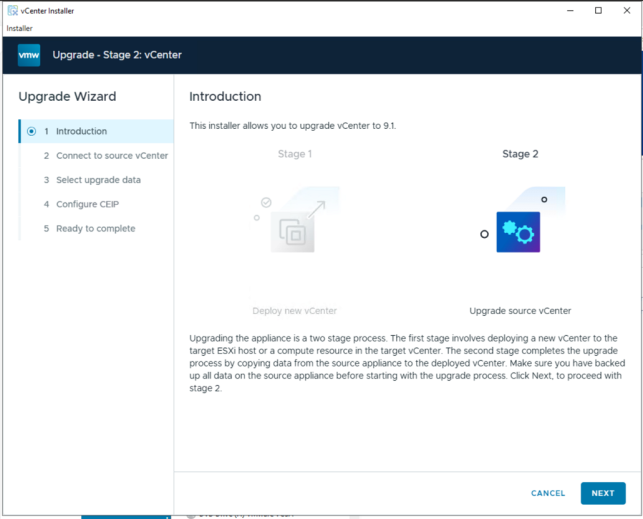
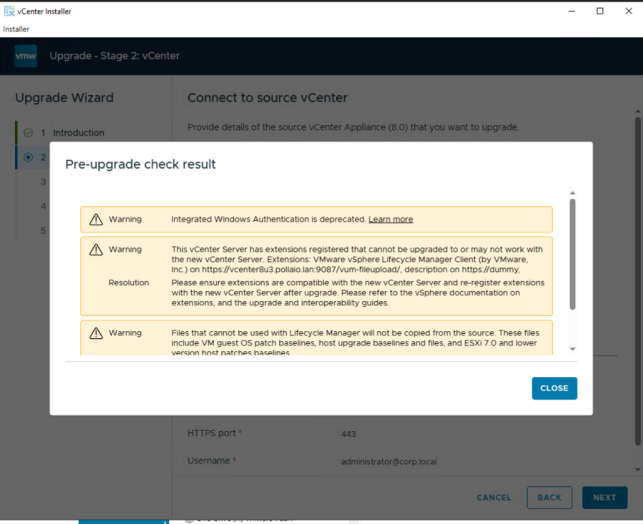
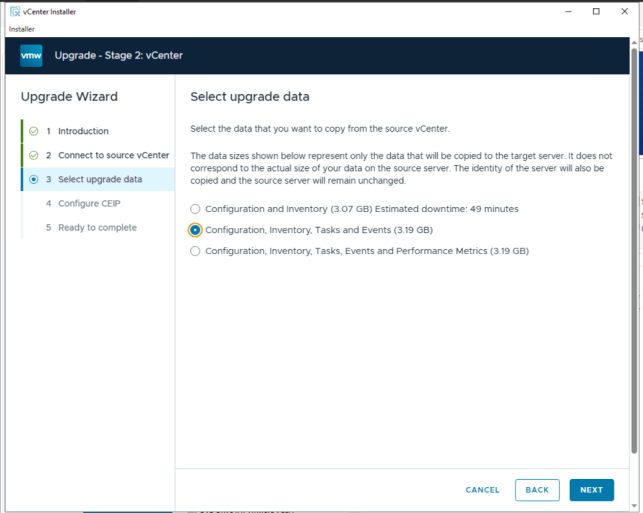
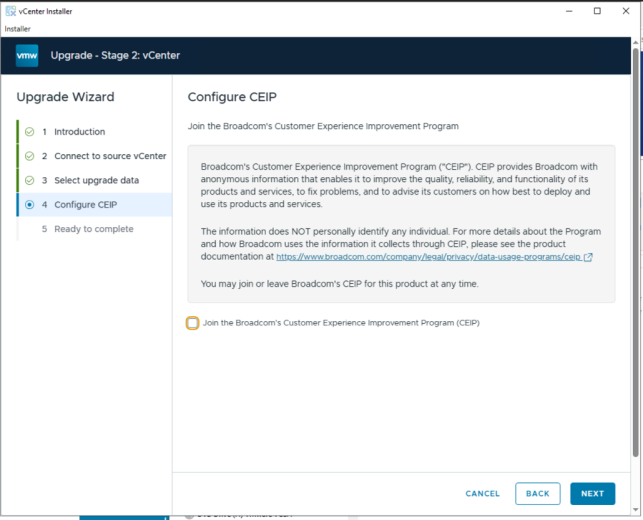
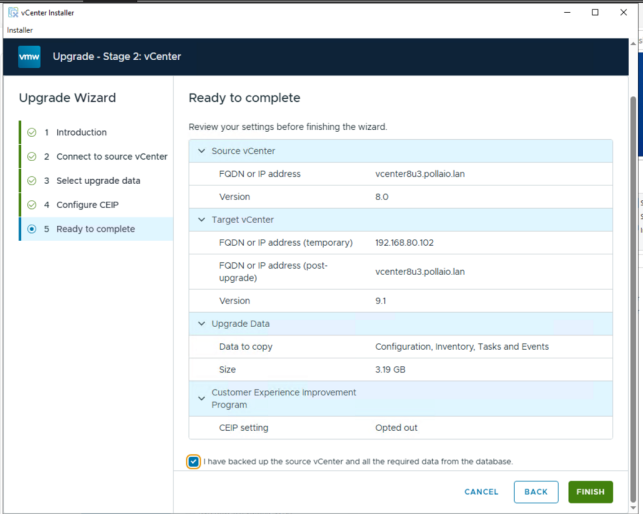
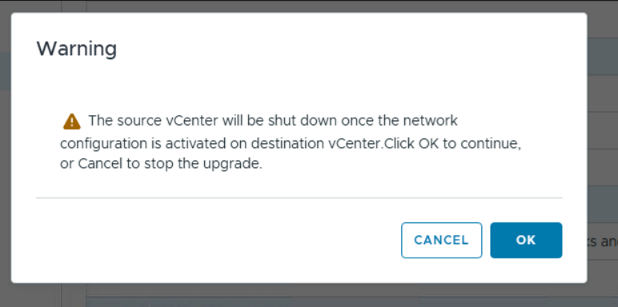
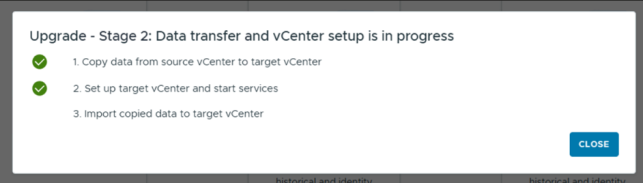
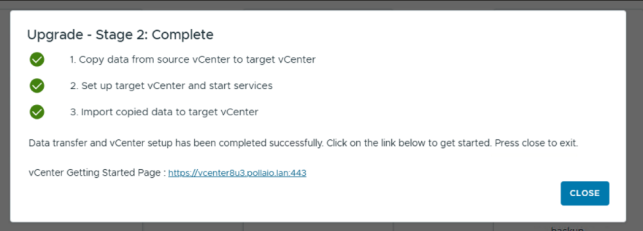
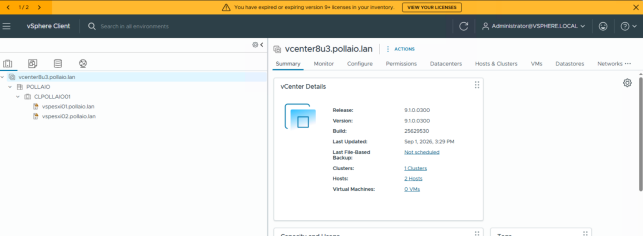
The vCenter upgrade process is a classic vCenter upgrade.

.

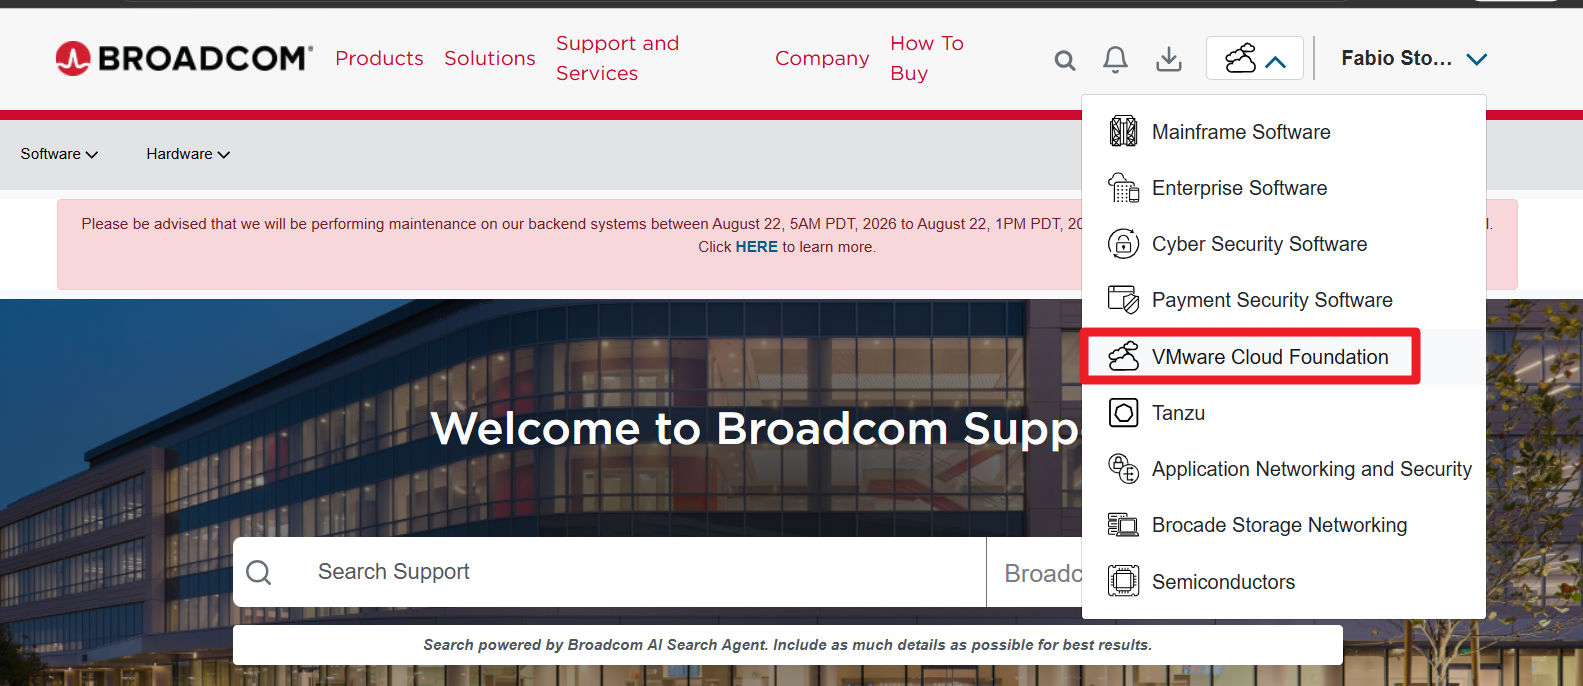
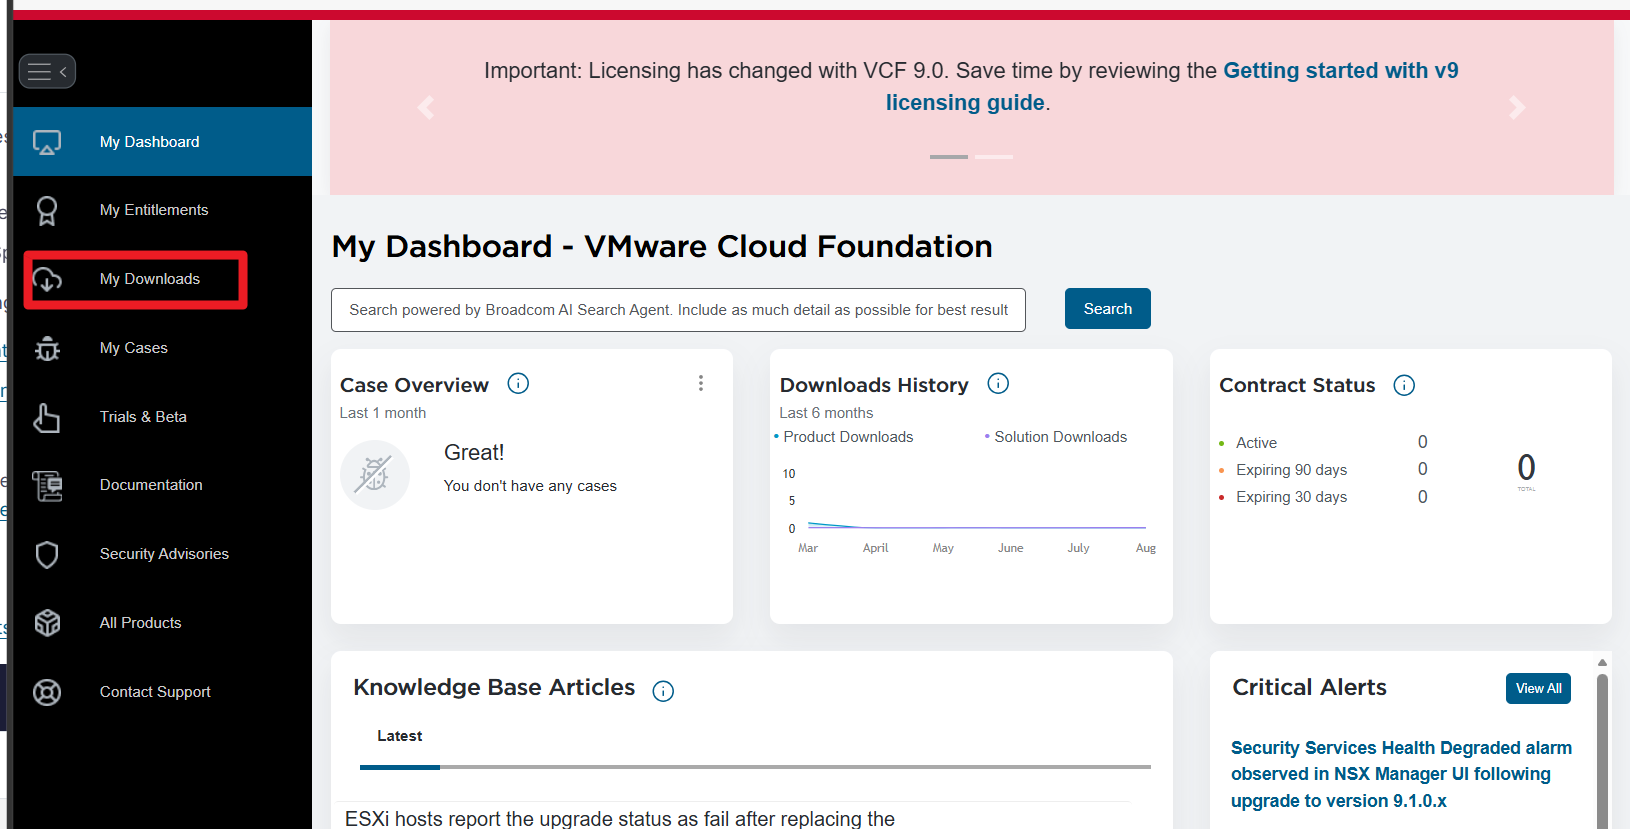
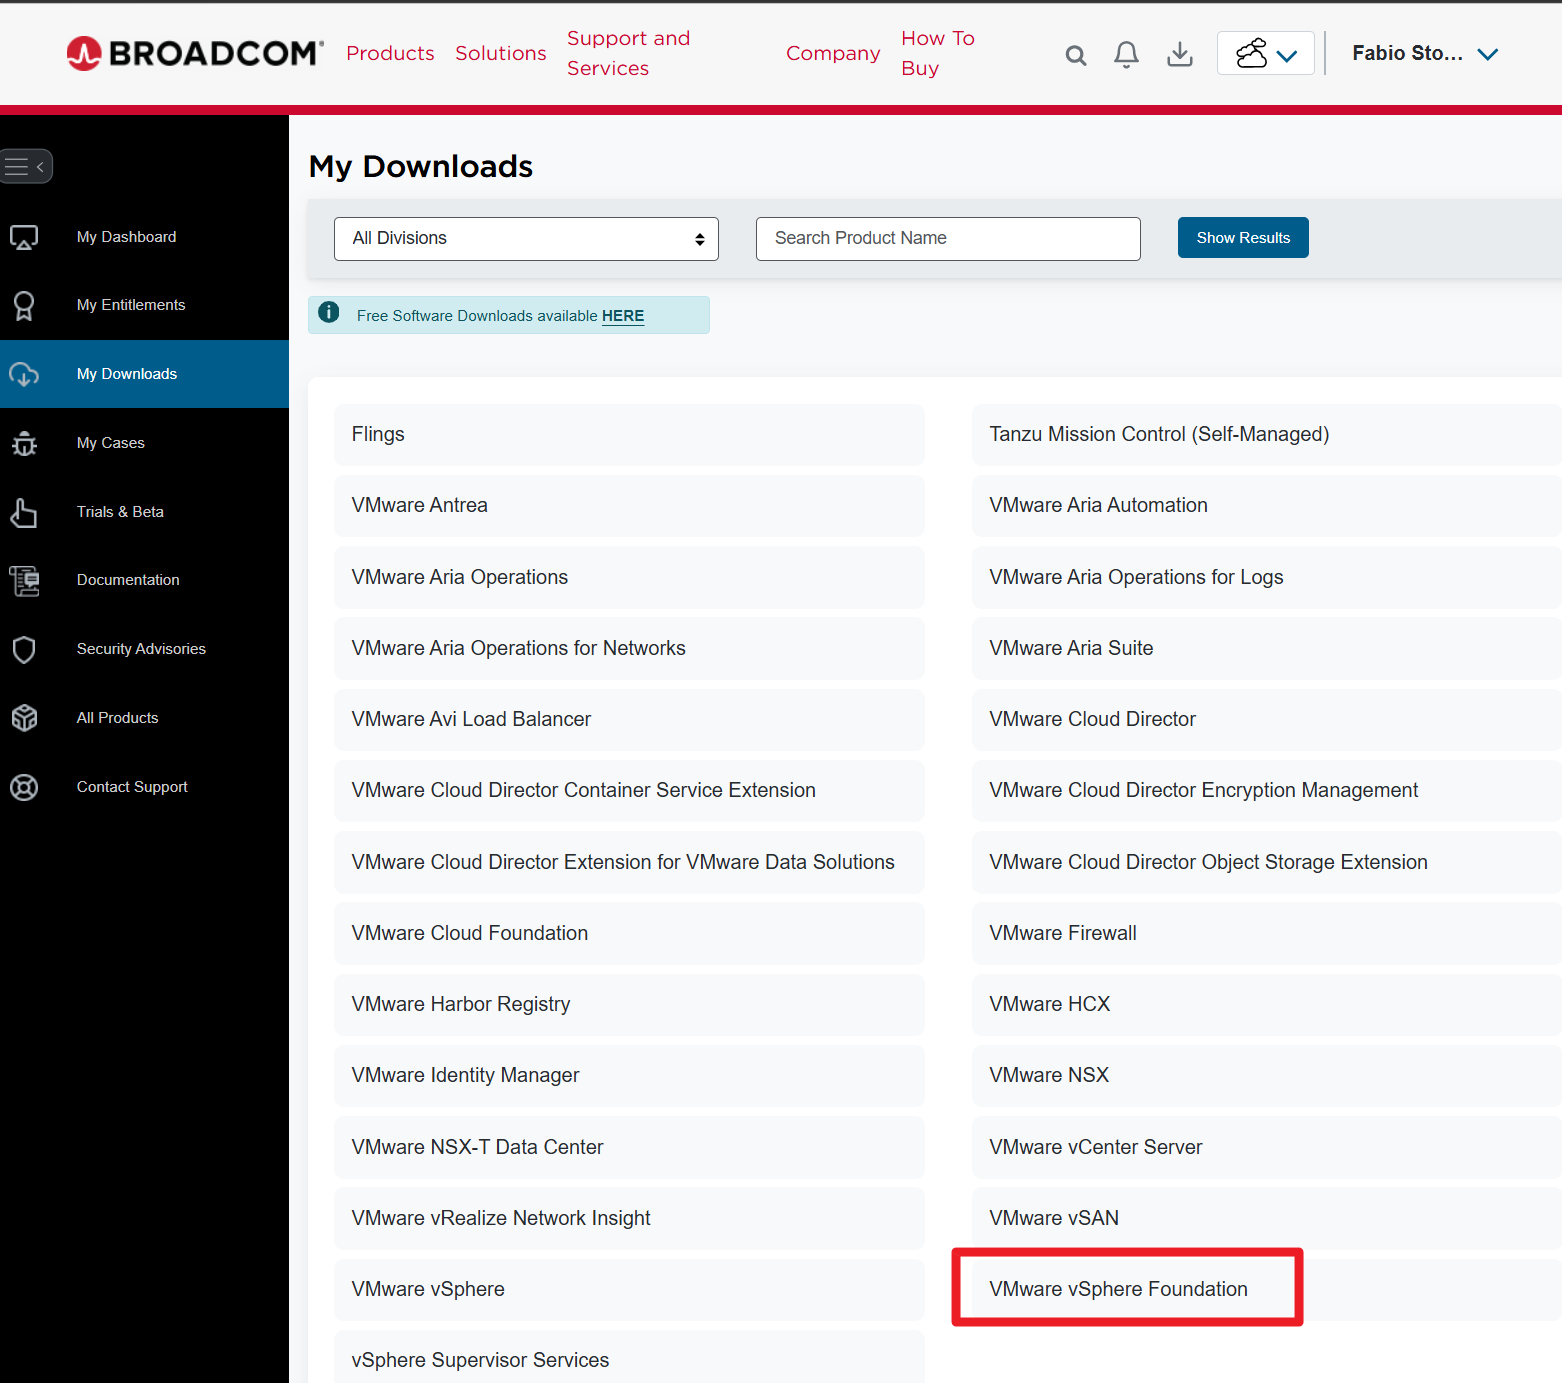
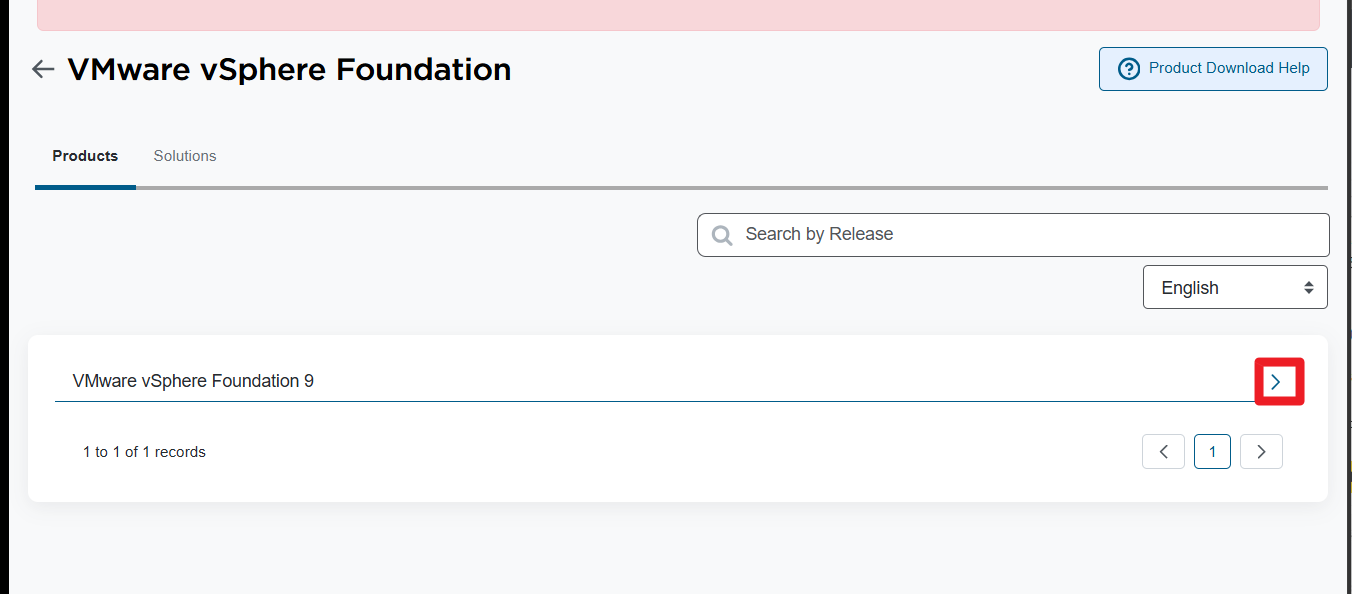
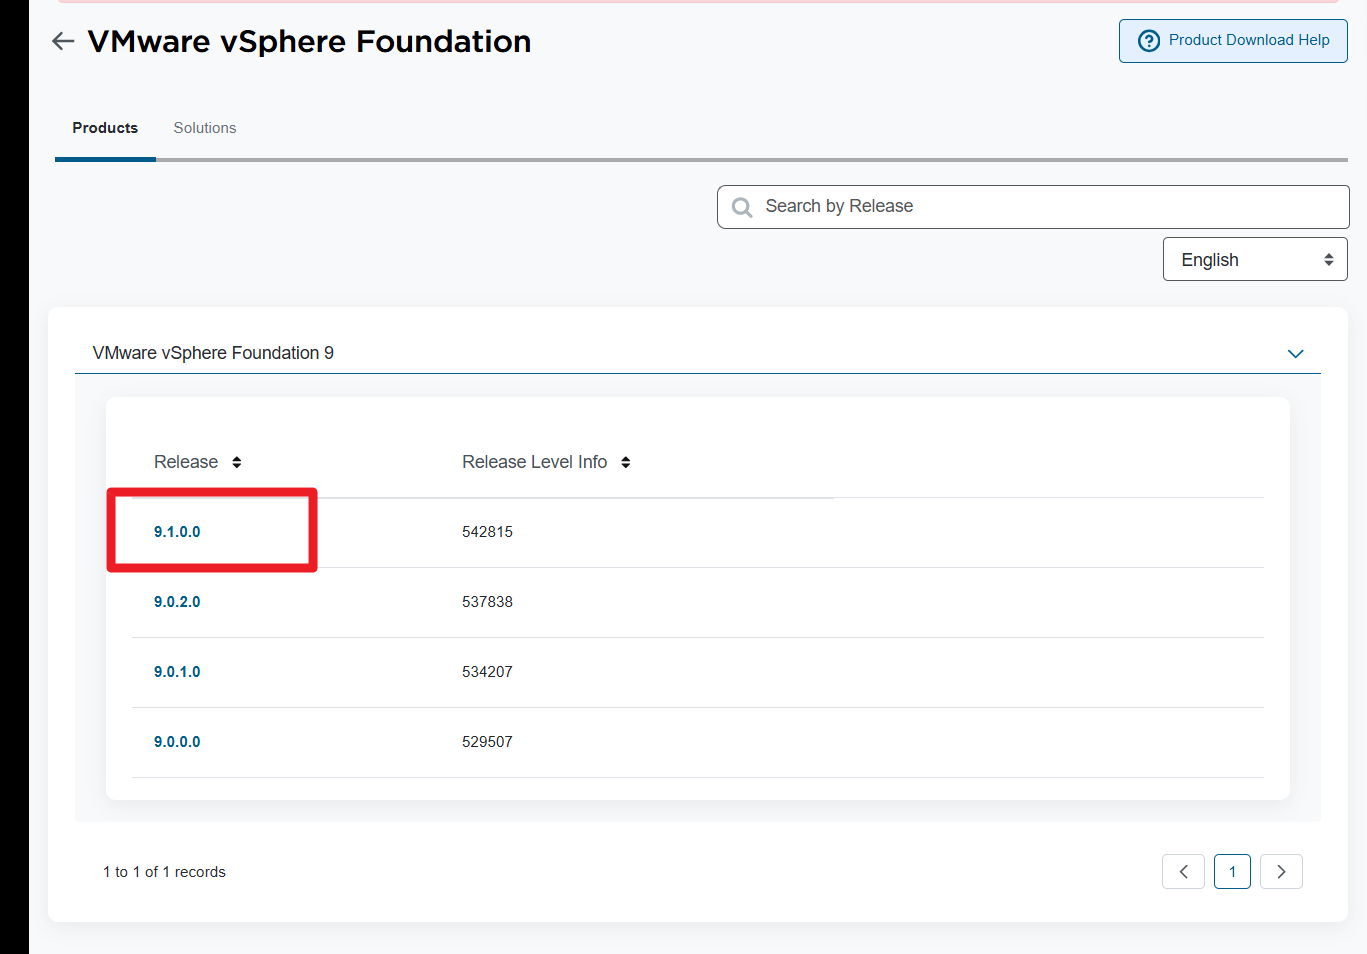
Download vCenter 9.1 from the Broadcom Support Portal

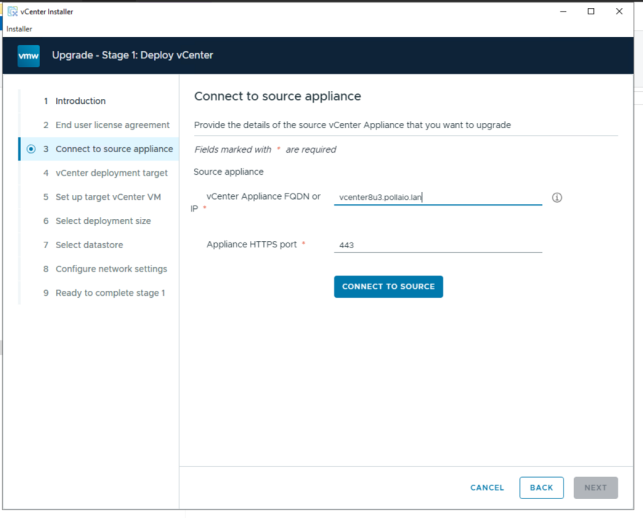
Dedicate a temp IP address and FQDN name (need to register in DNS) for deployment

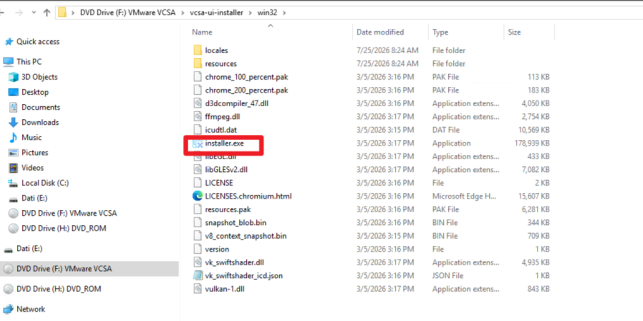
Mount the downloaded ISO on a bridge PC or Virtual Machine

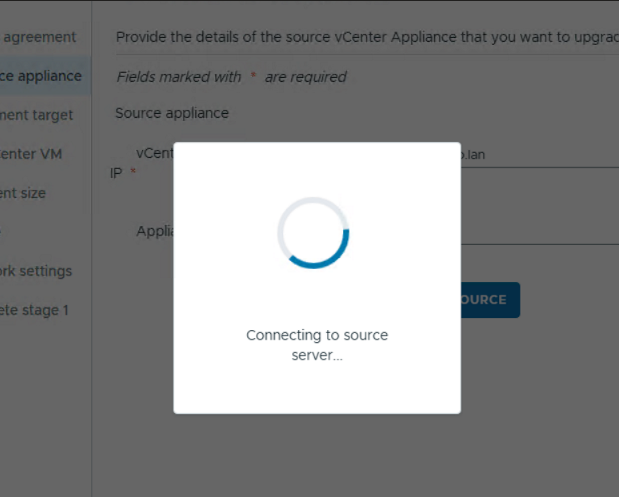
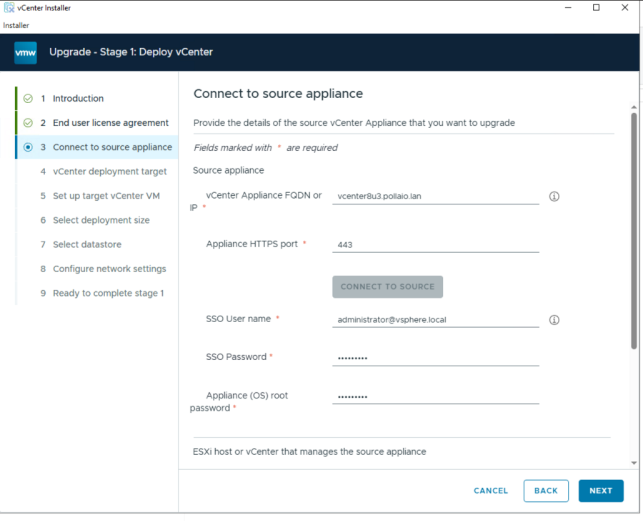
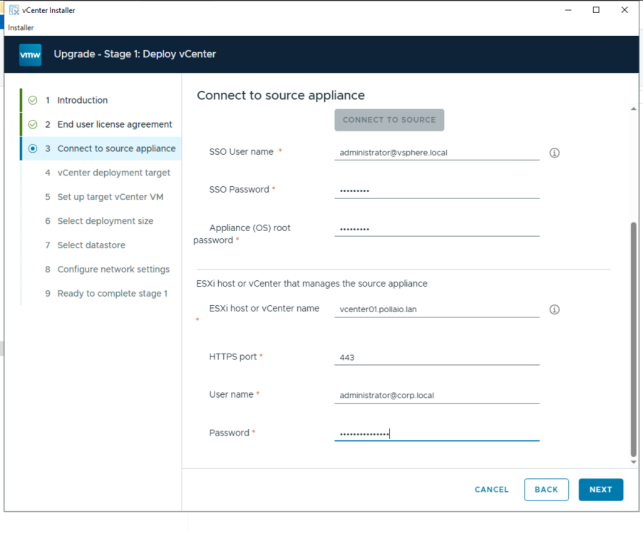
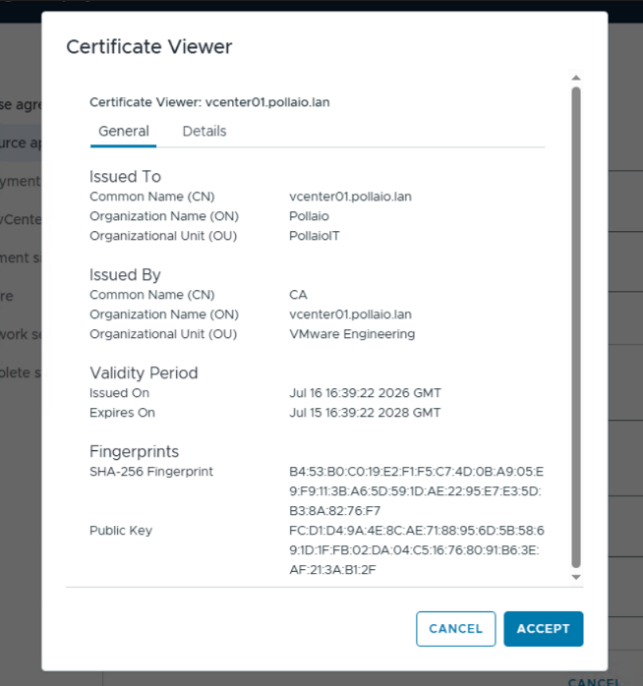
Start the UI installer
 .

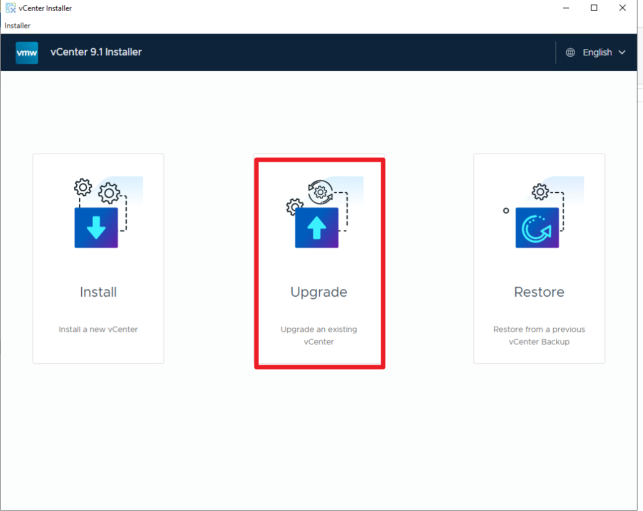
Select upgrade

 .

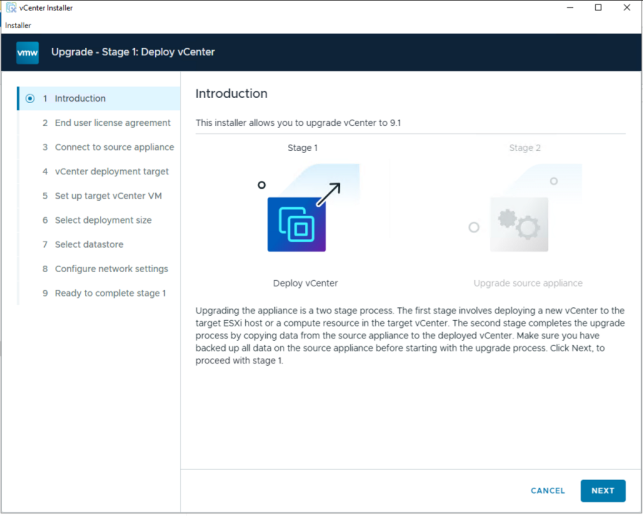
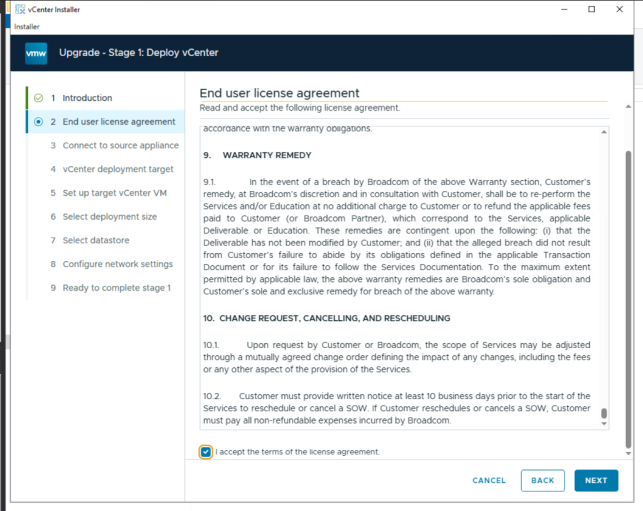
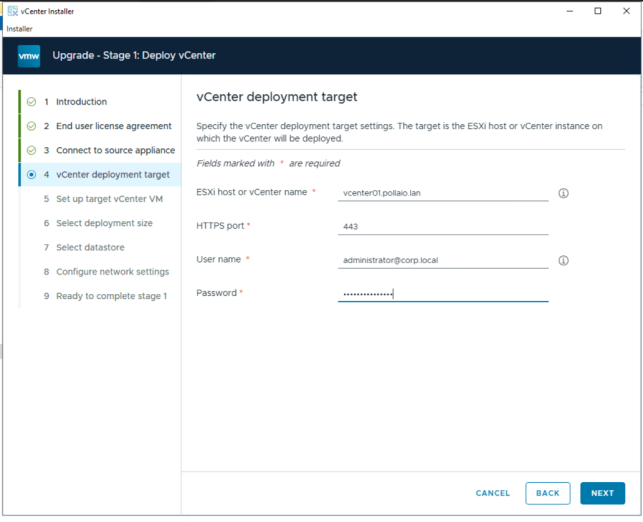
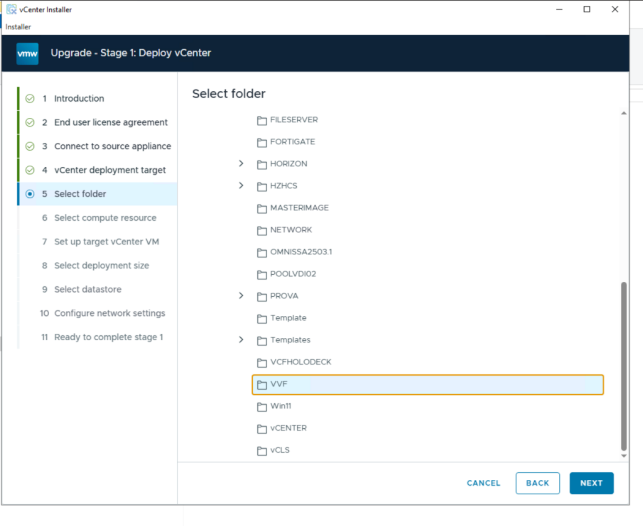
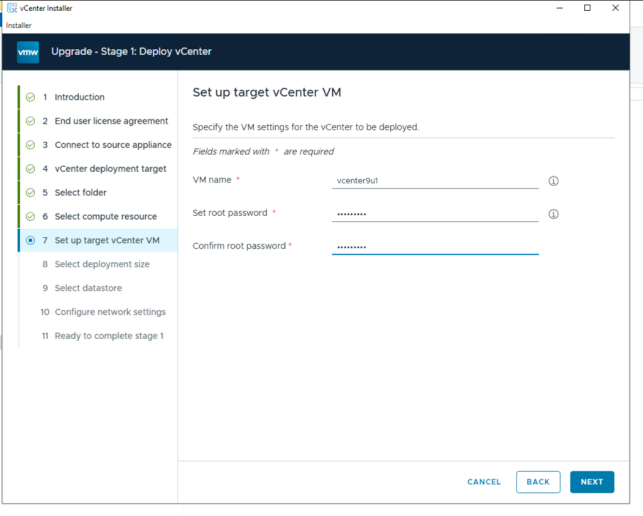
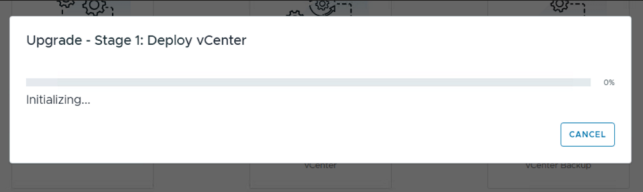
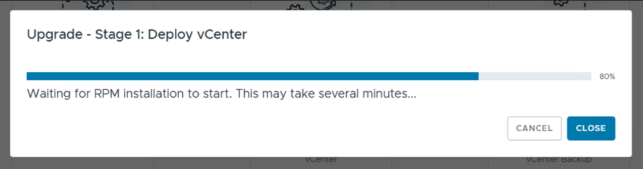
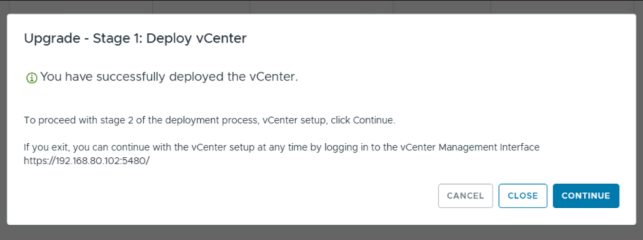
Start the deployment
.

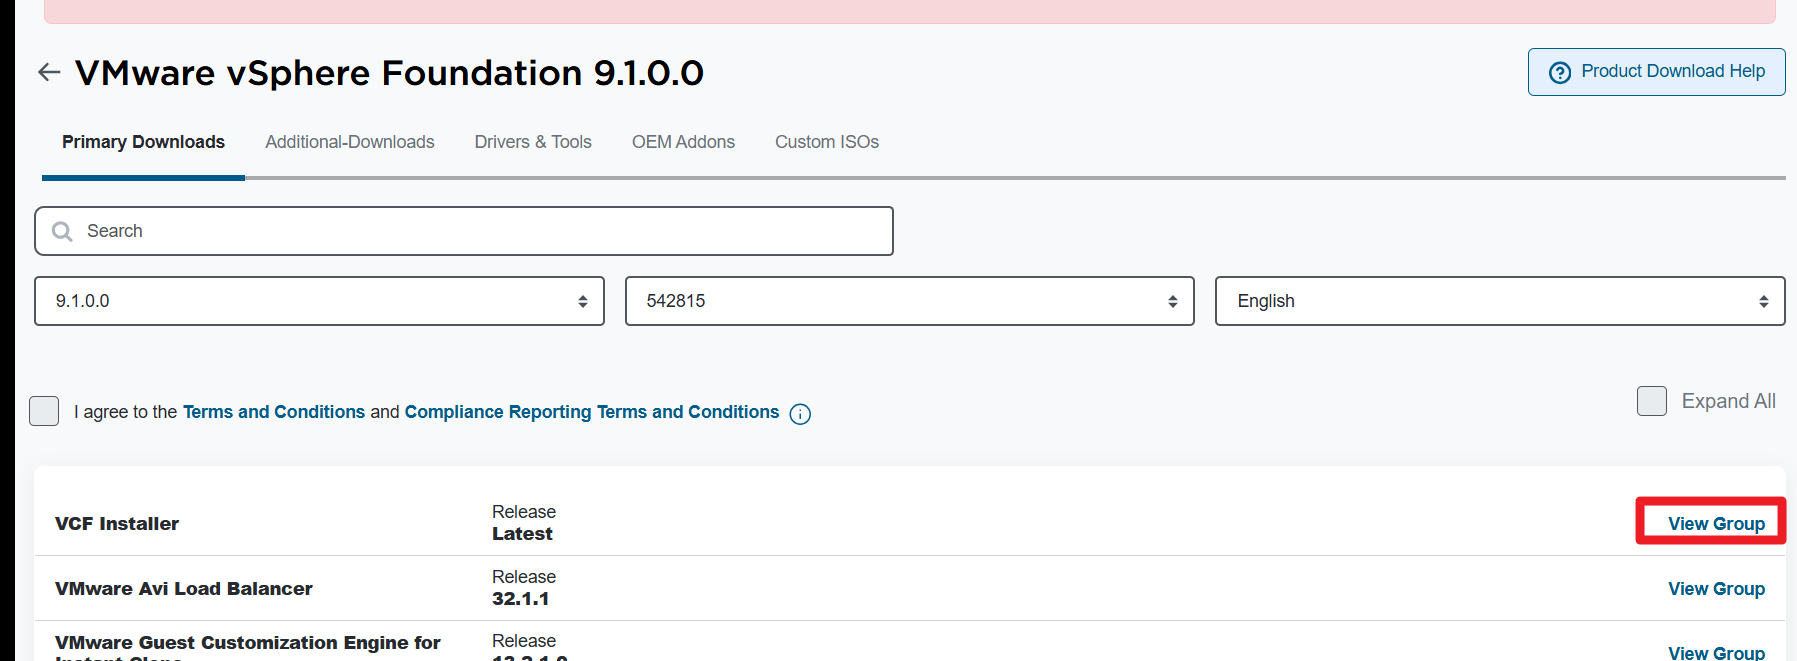
Deploy the VCF Installer appliance.

I covered this installation in another Post; read this post:

Start a New vSphere Foundation Deployment by Using the VCF Installer Deployment Wizard – BIOLNX

Deploy VCF Operations

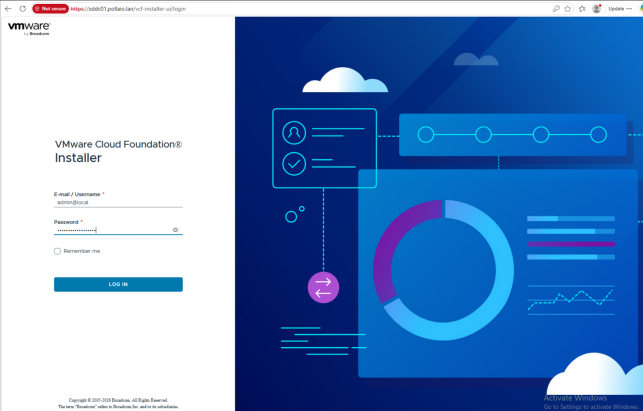
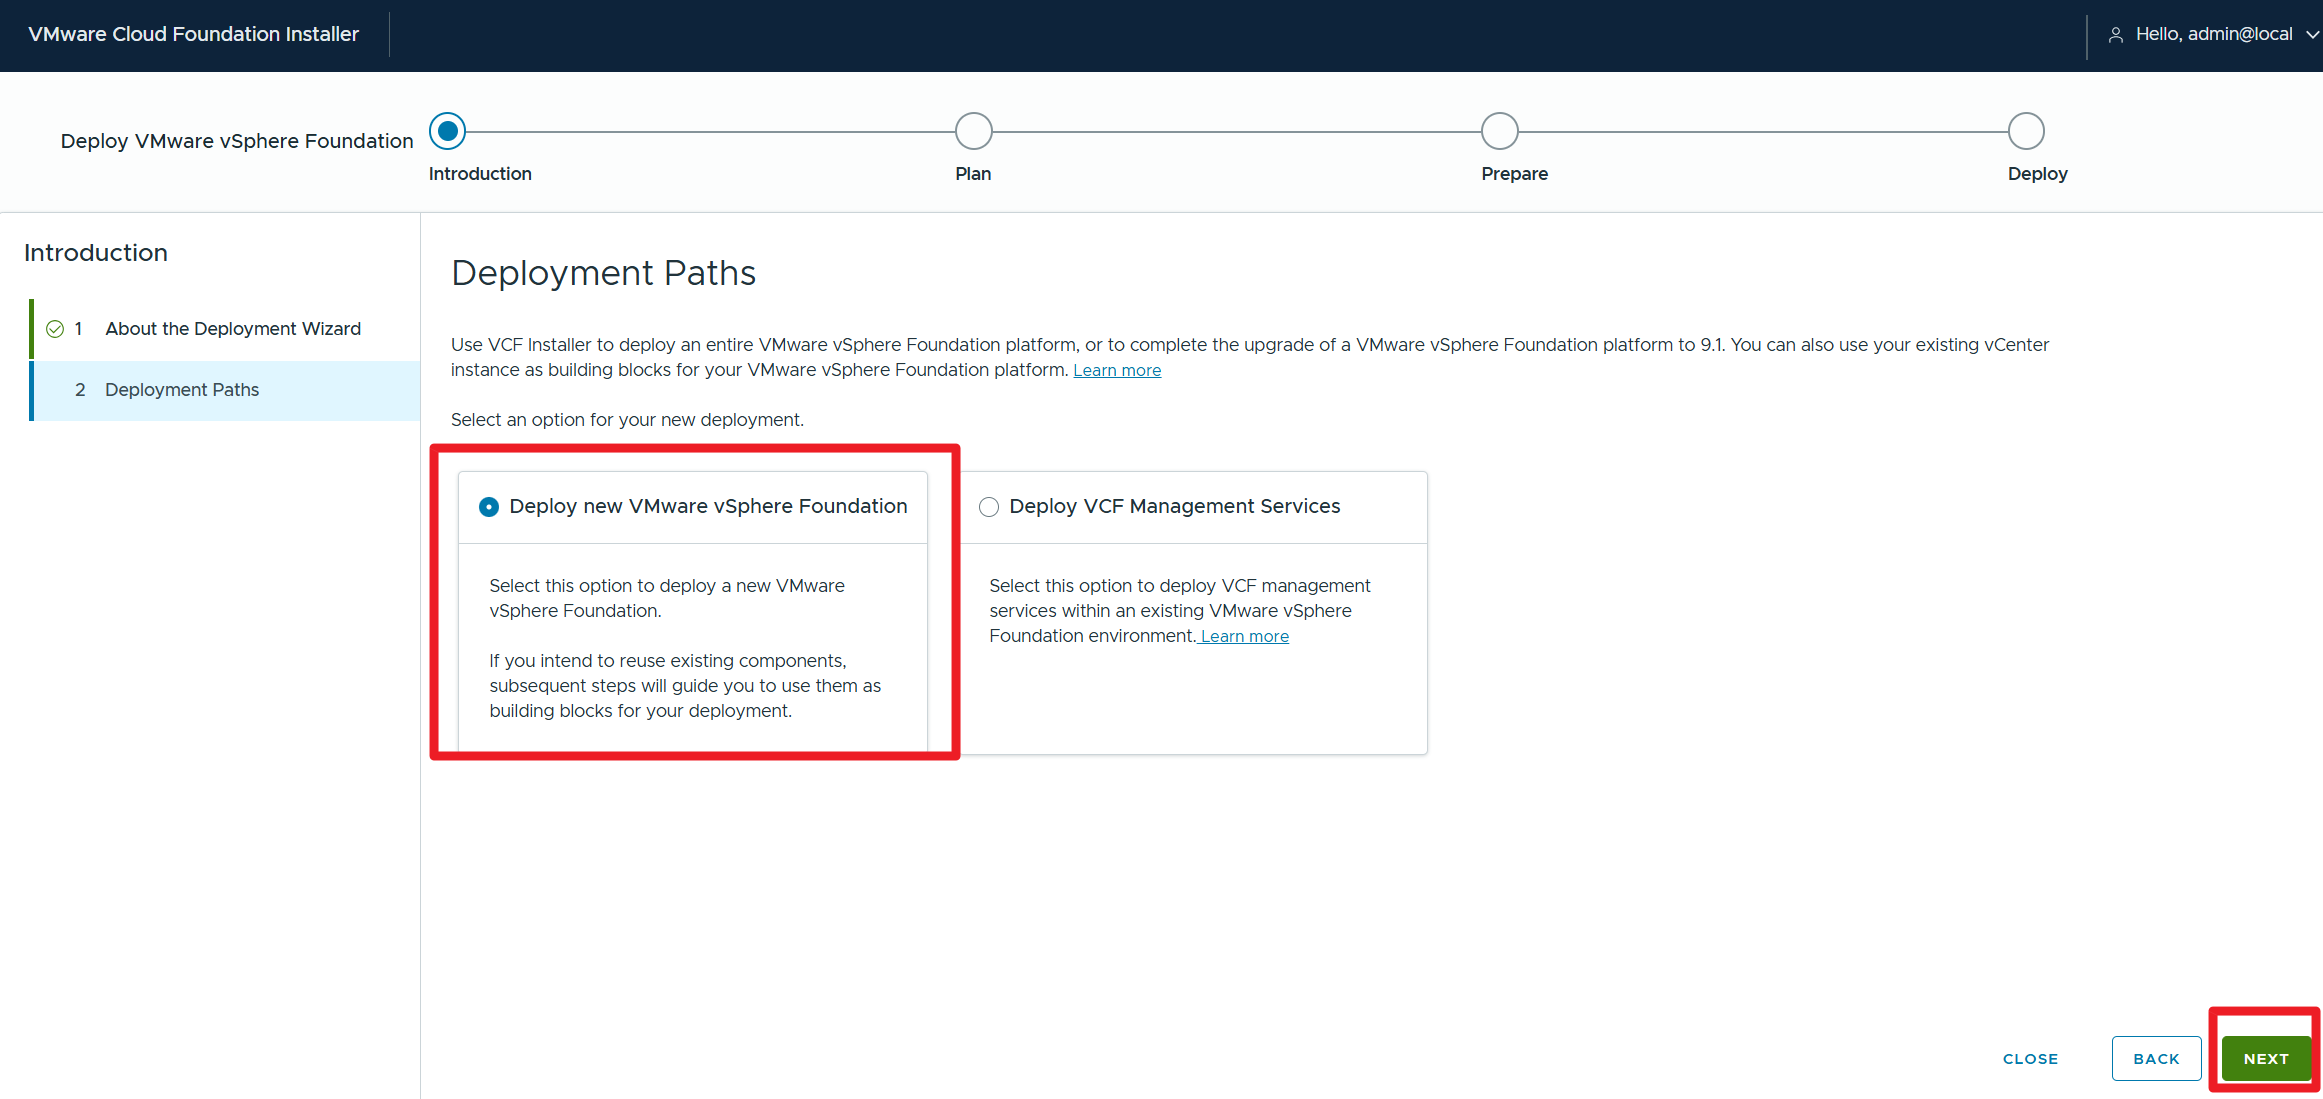
Log in to VCF Installer

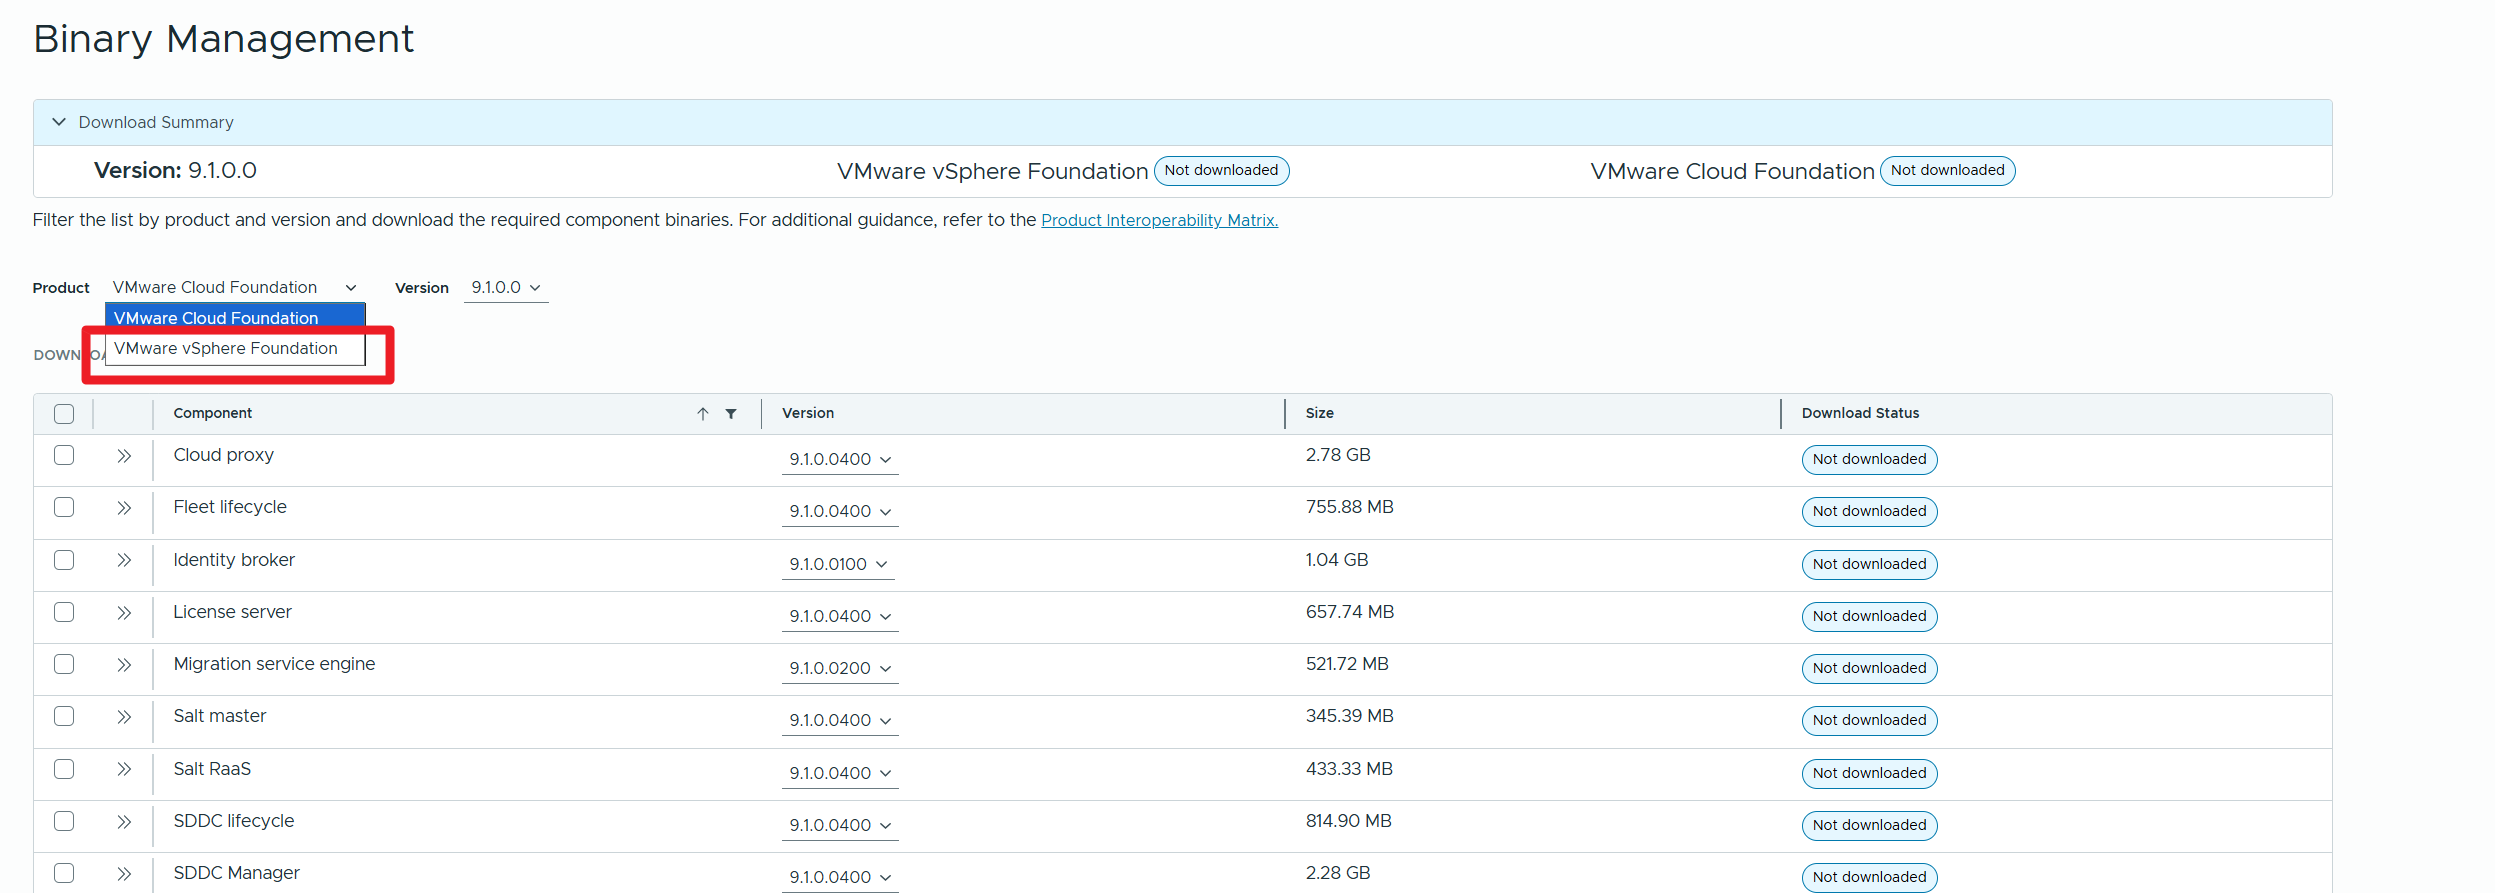
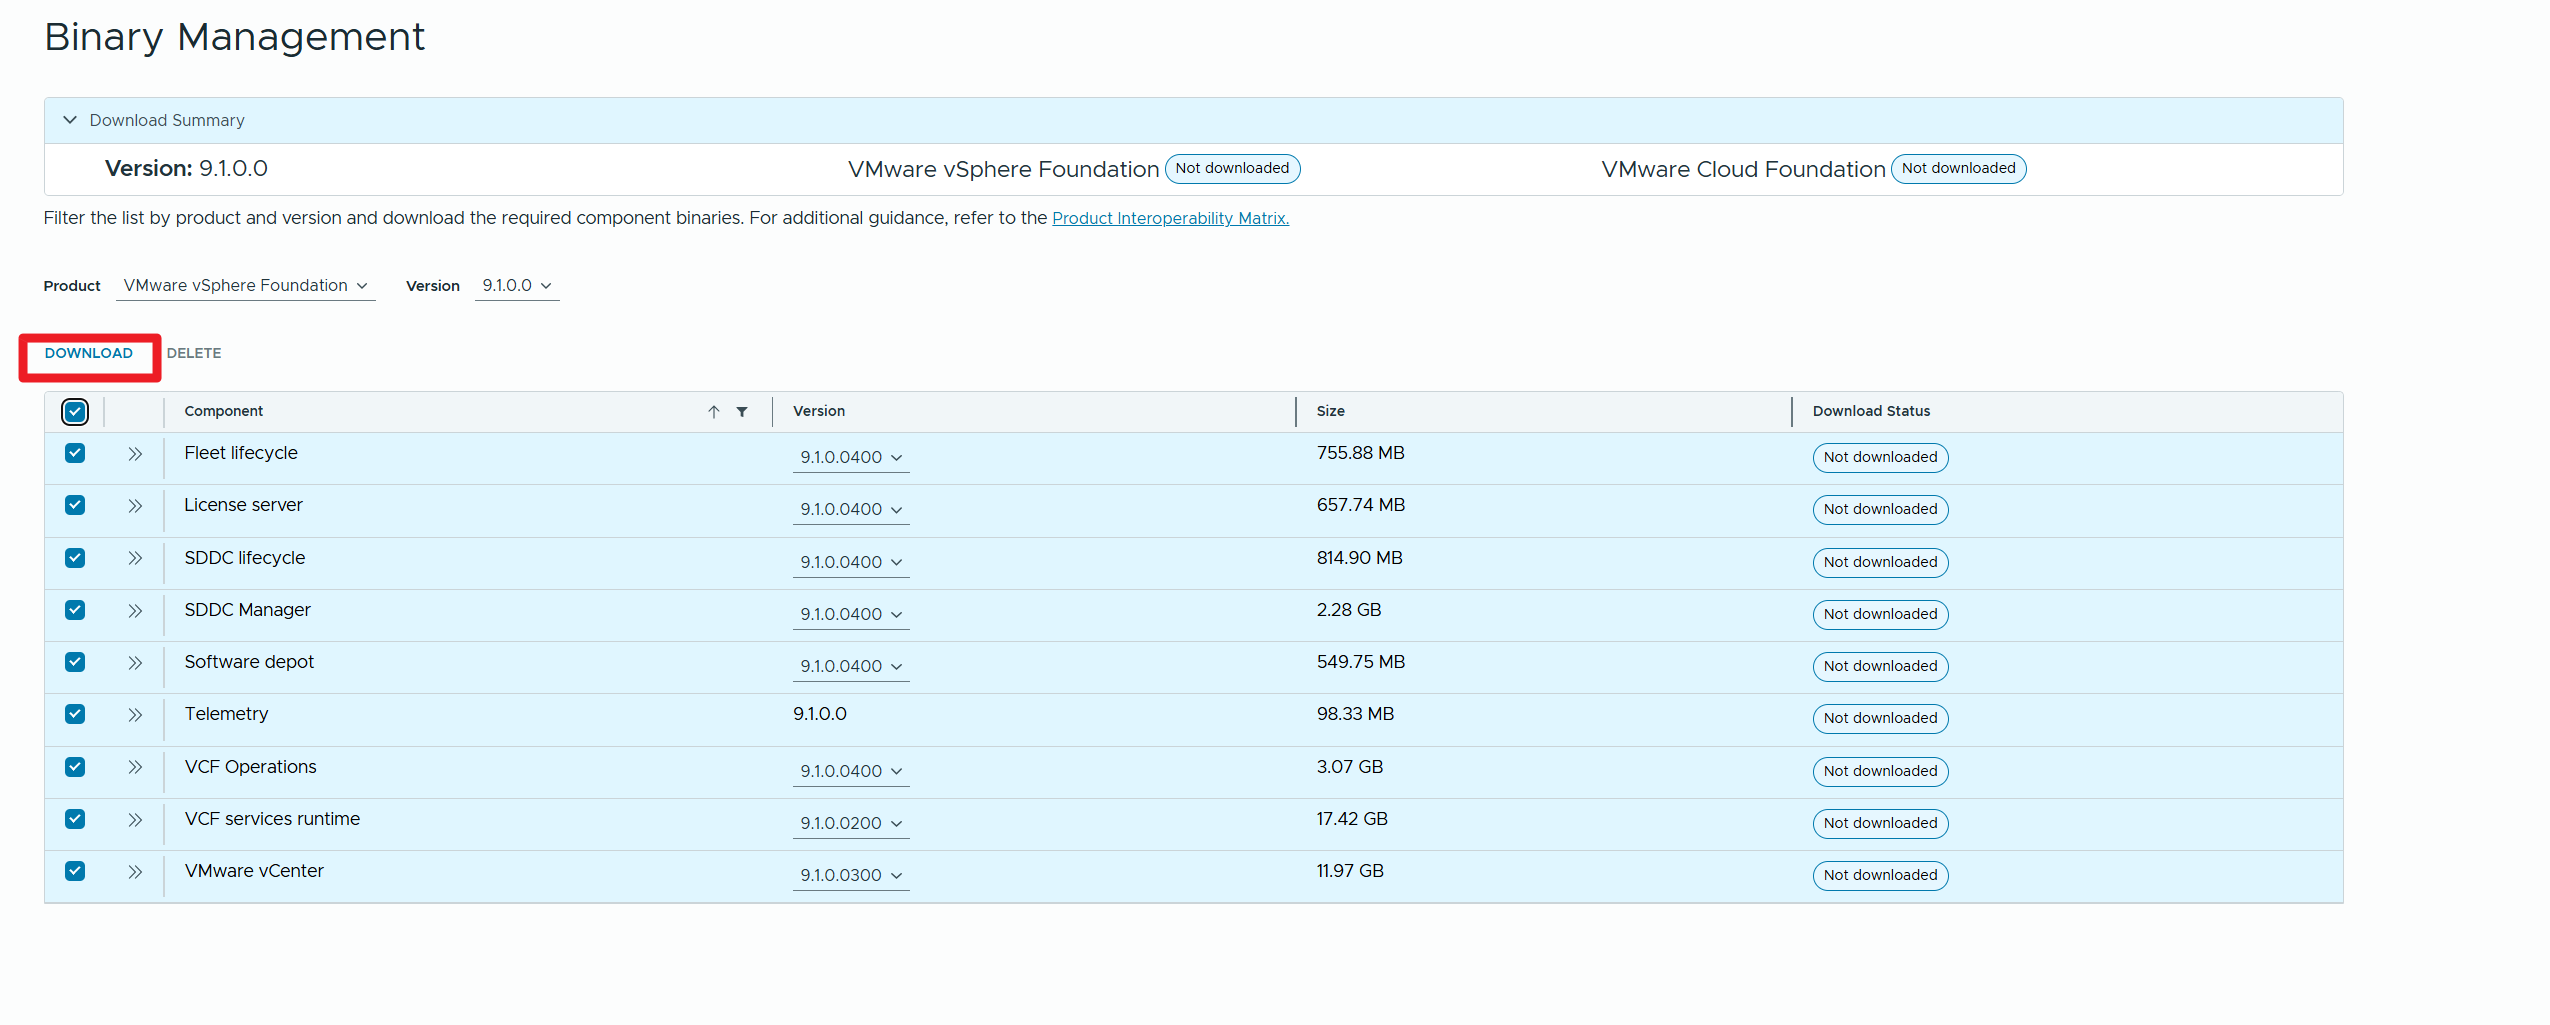
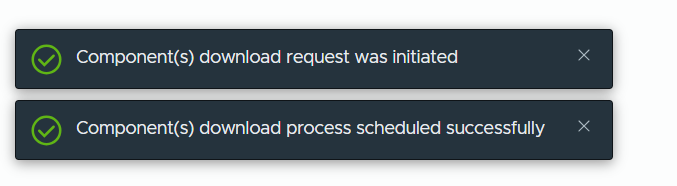
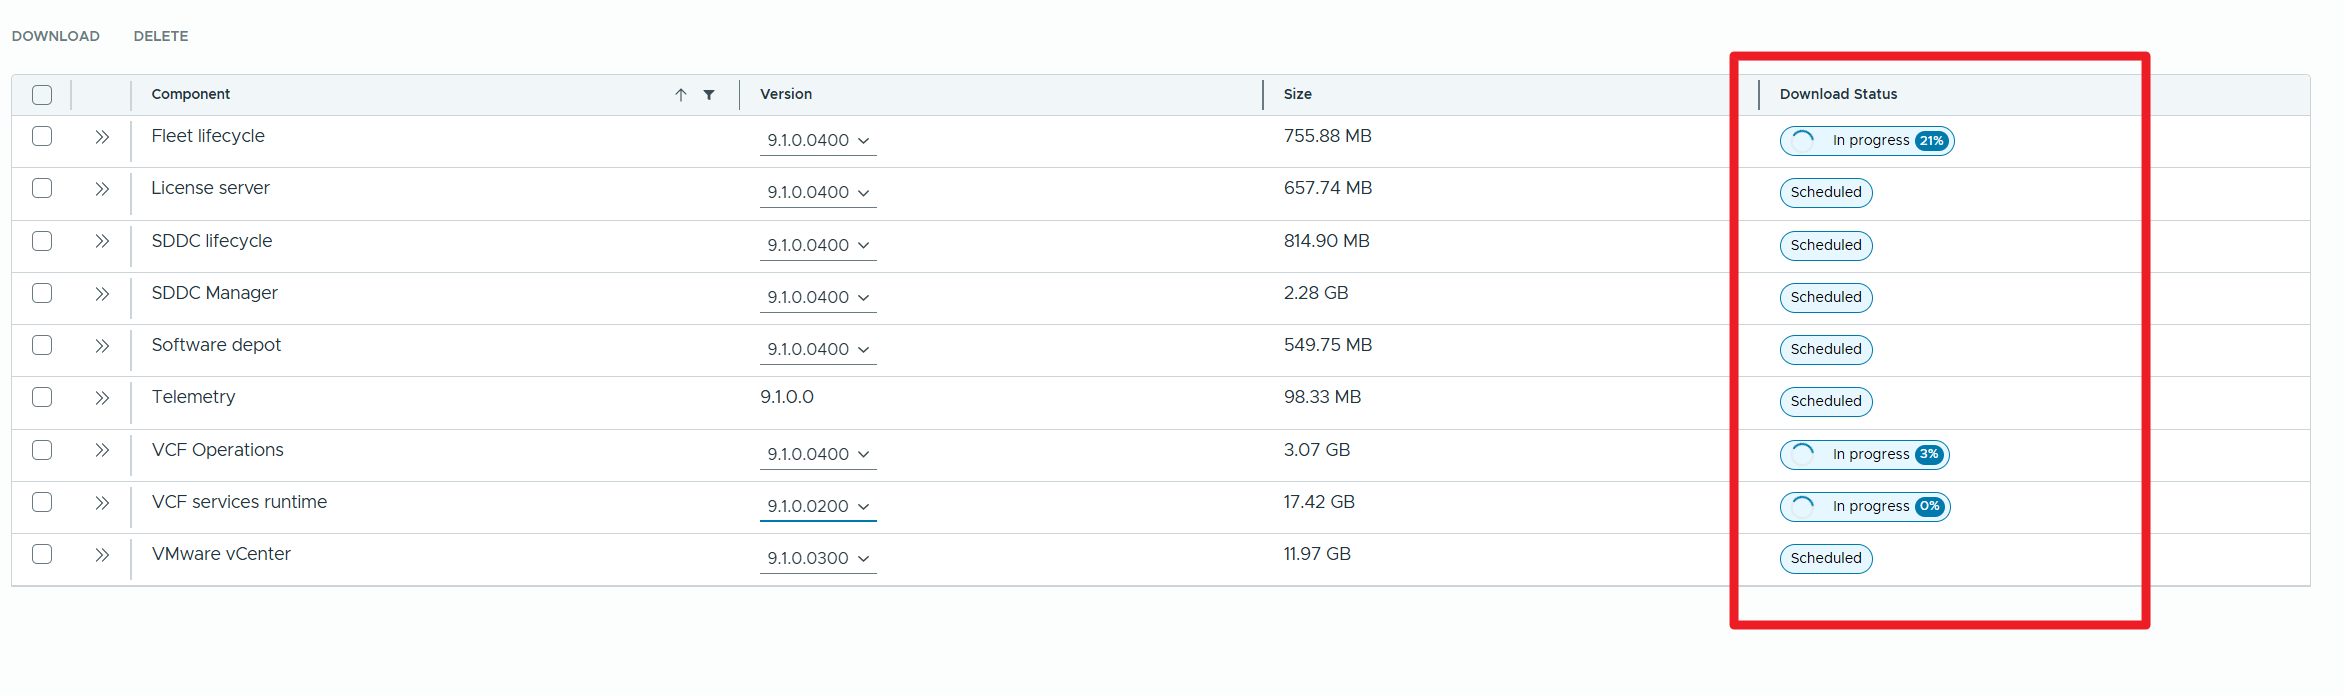
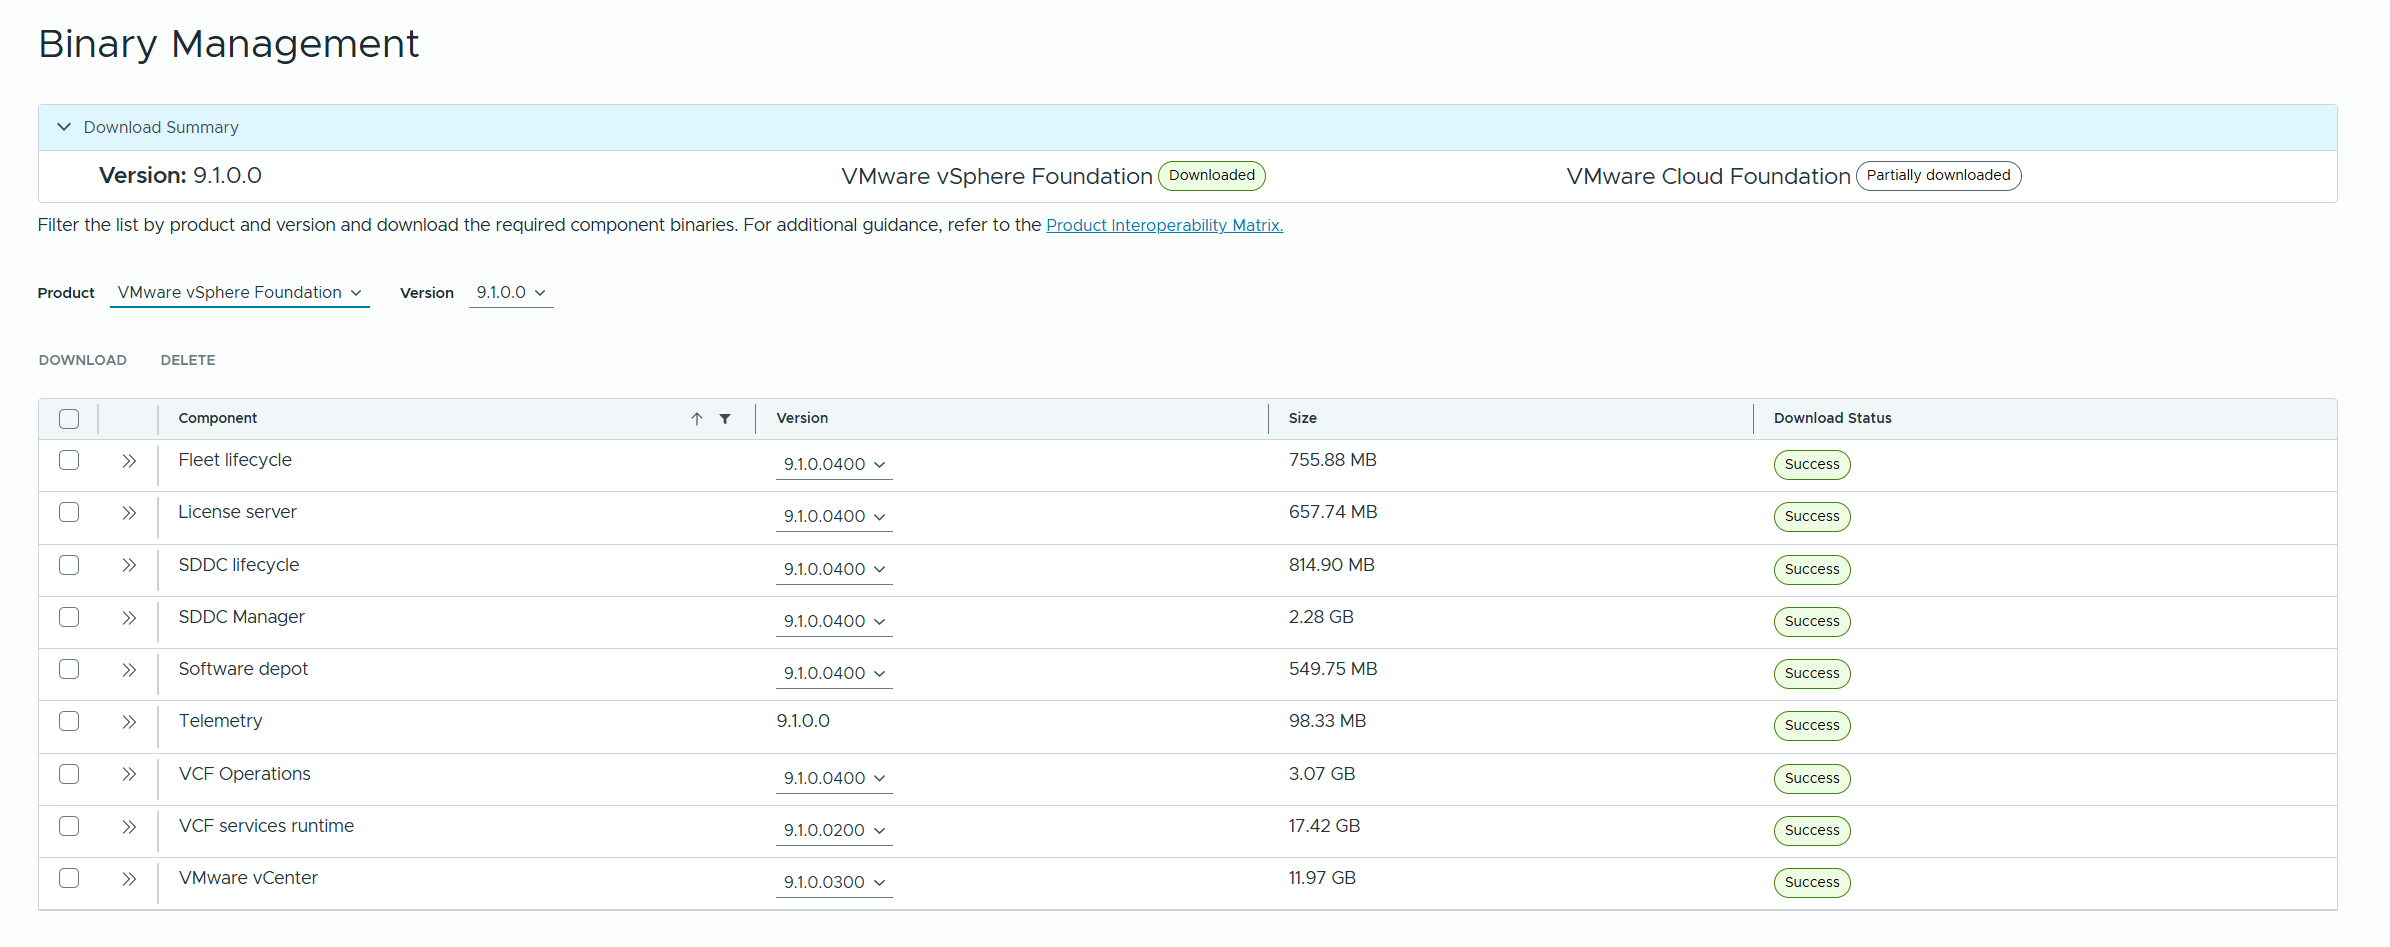
Download bundles for the VCF Installer appliance (Read this post: Start a New vSphere Foundation Deployment by Using the VCF Installer Deployment Wizard – BIOLNX)

Use VCF Installer to deploy your vSphere Foundation platform.

.

.

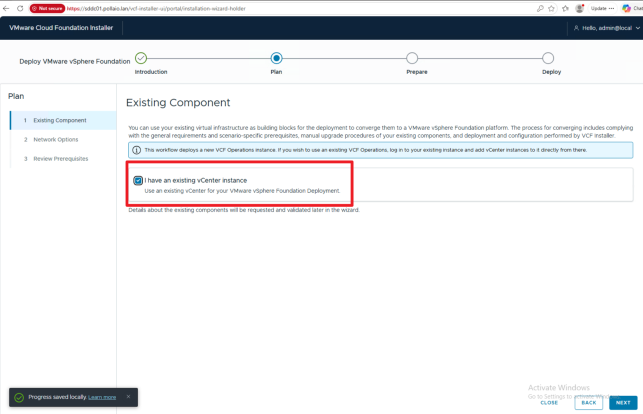
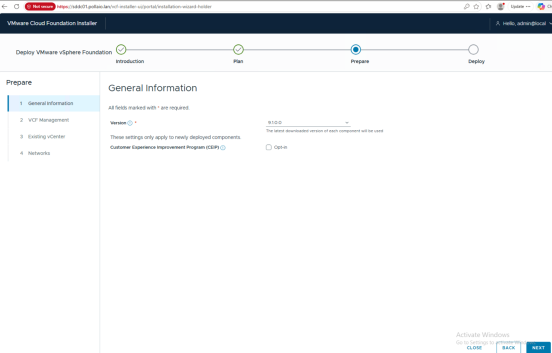
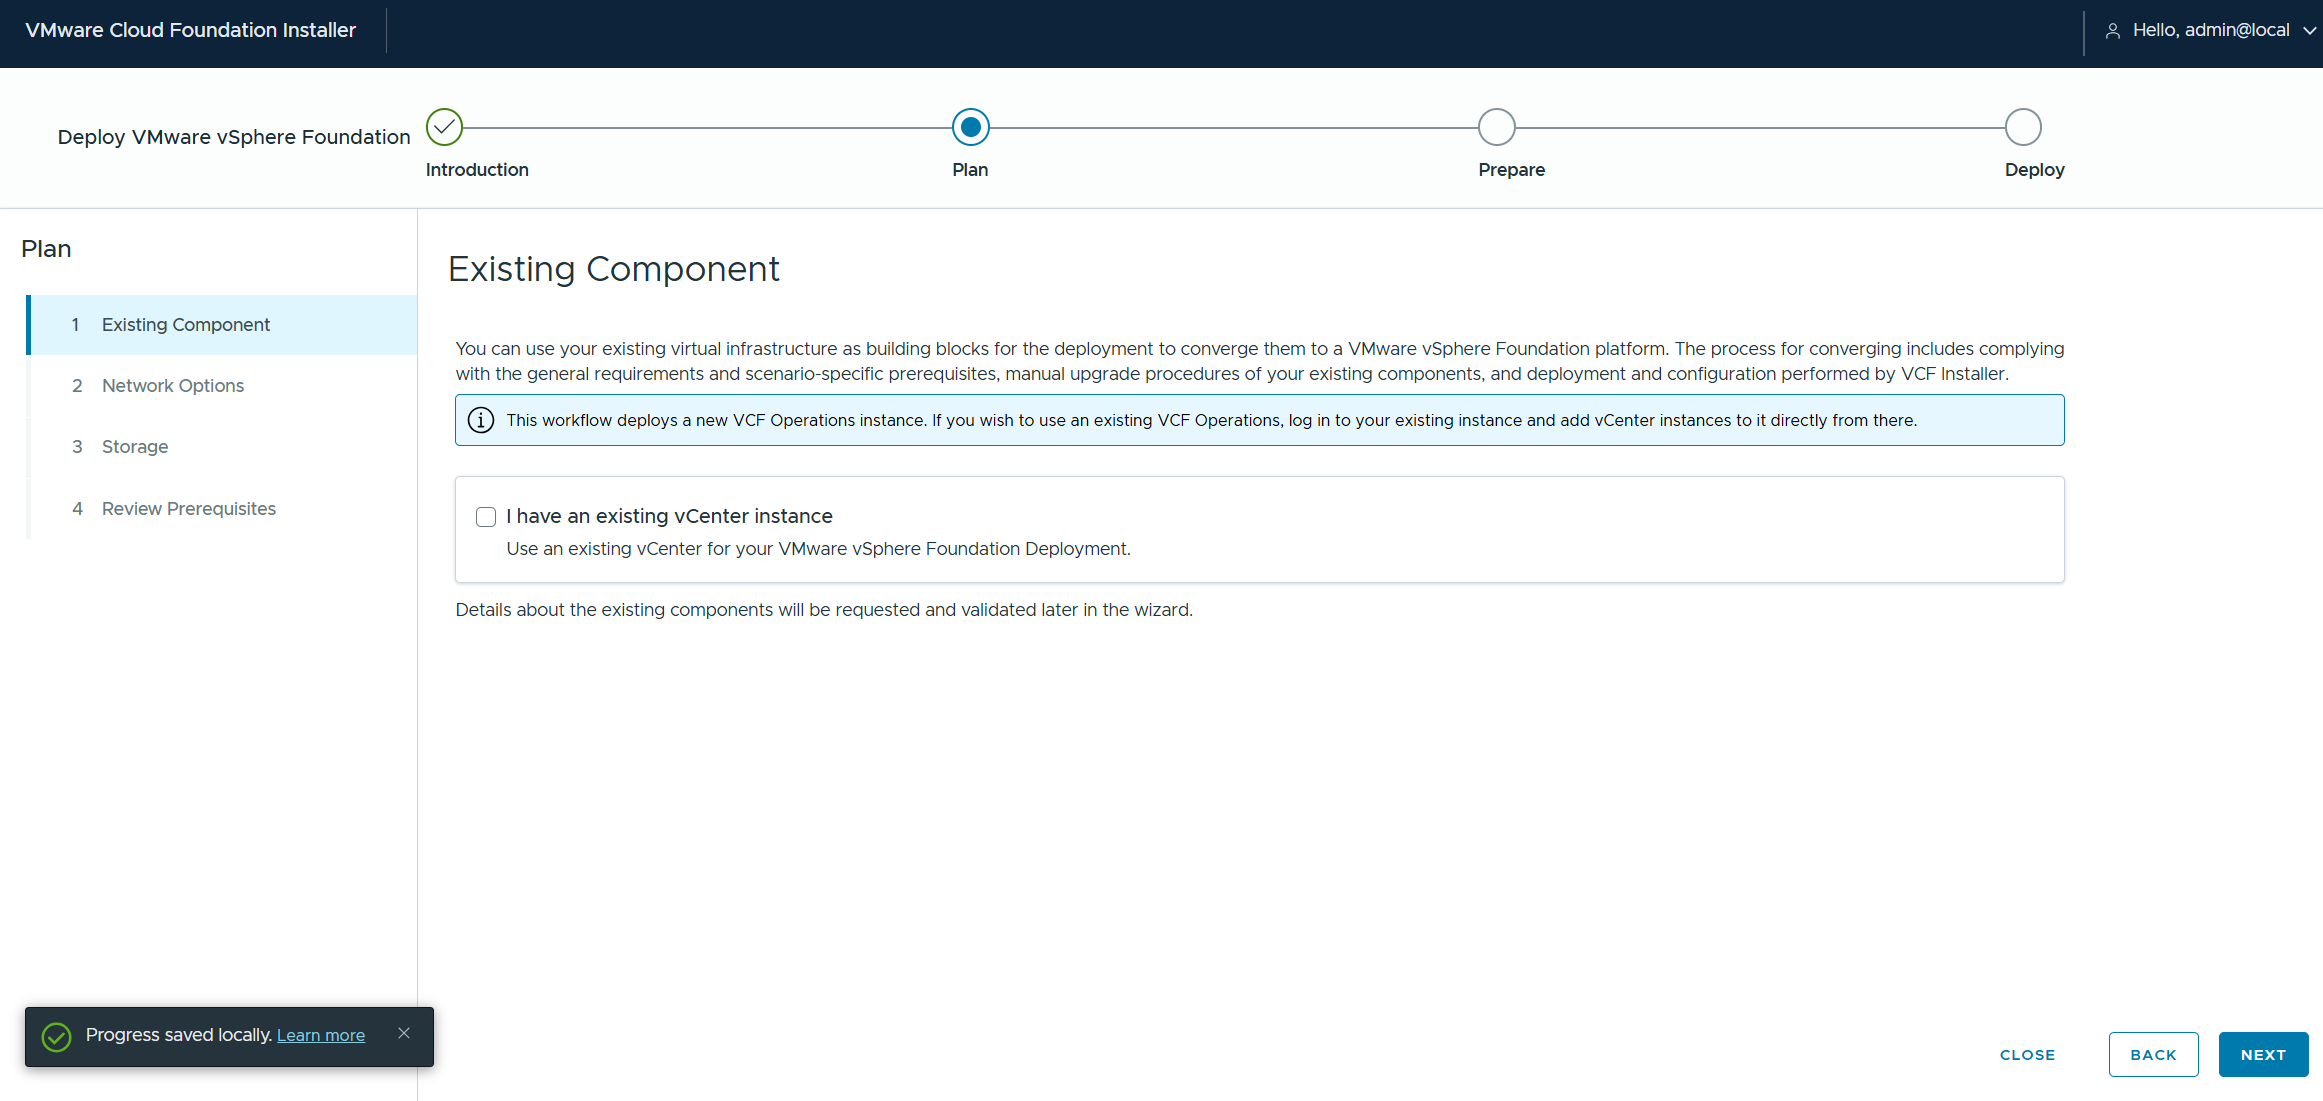
Select I have an existing vCenter

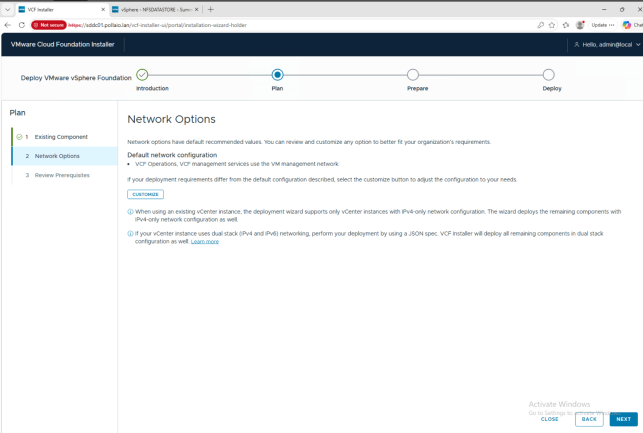
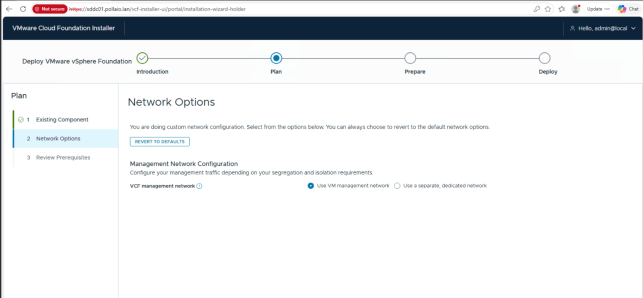
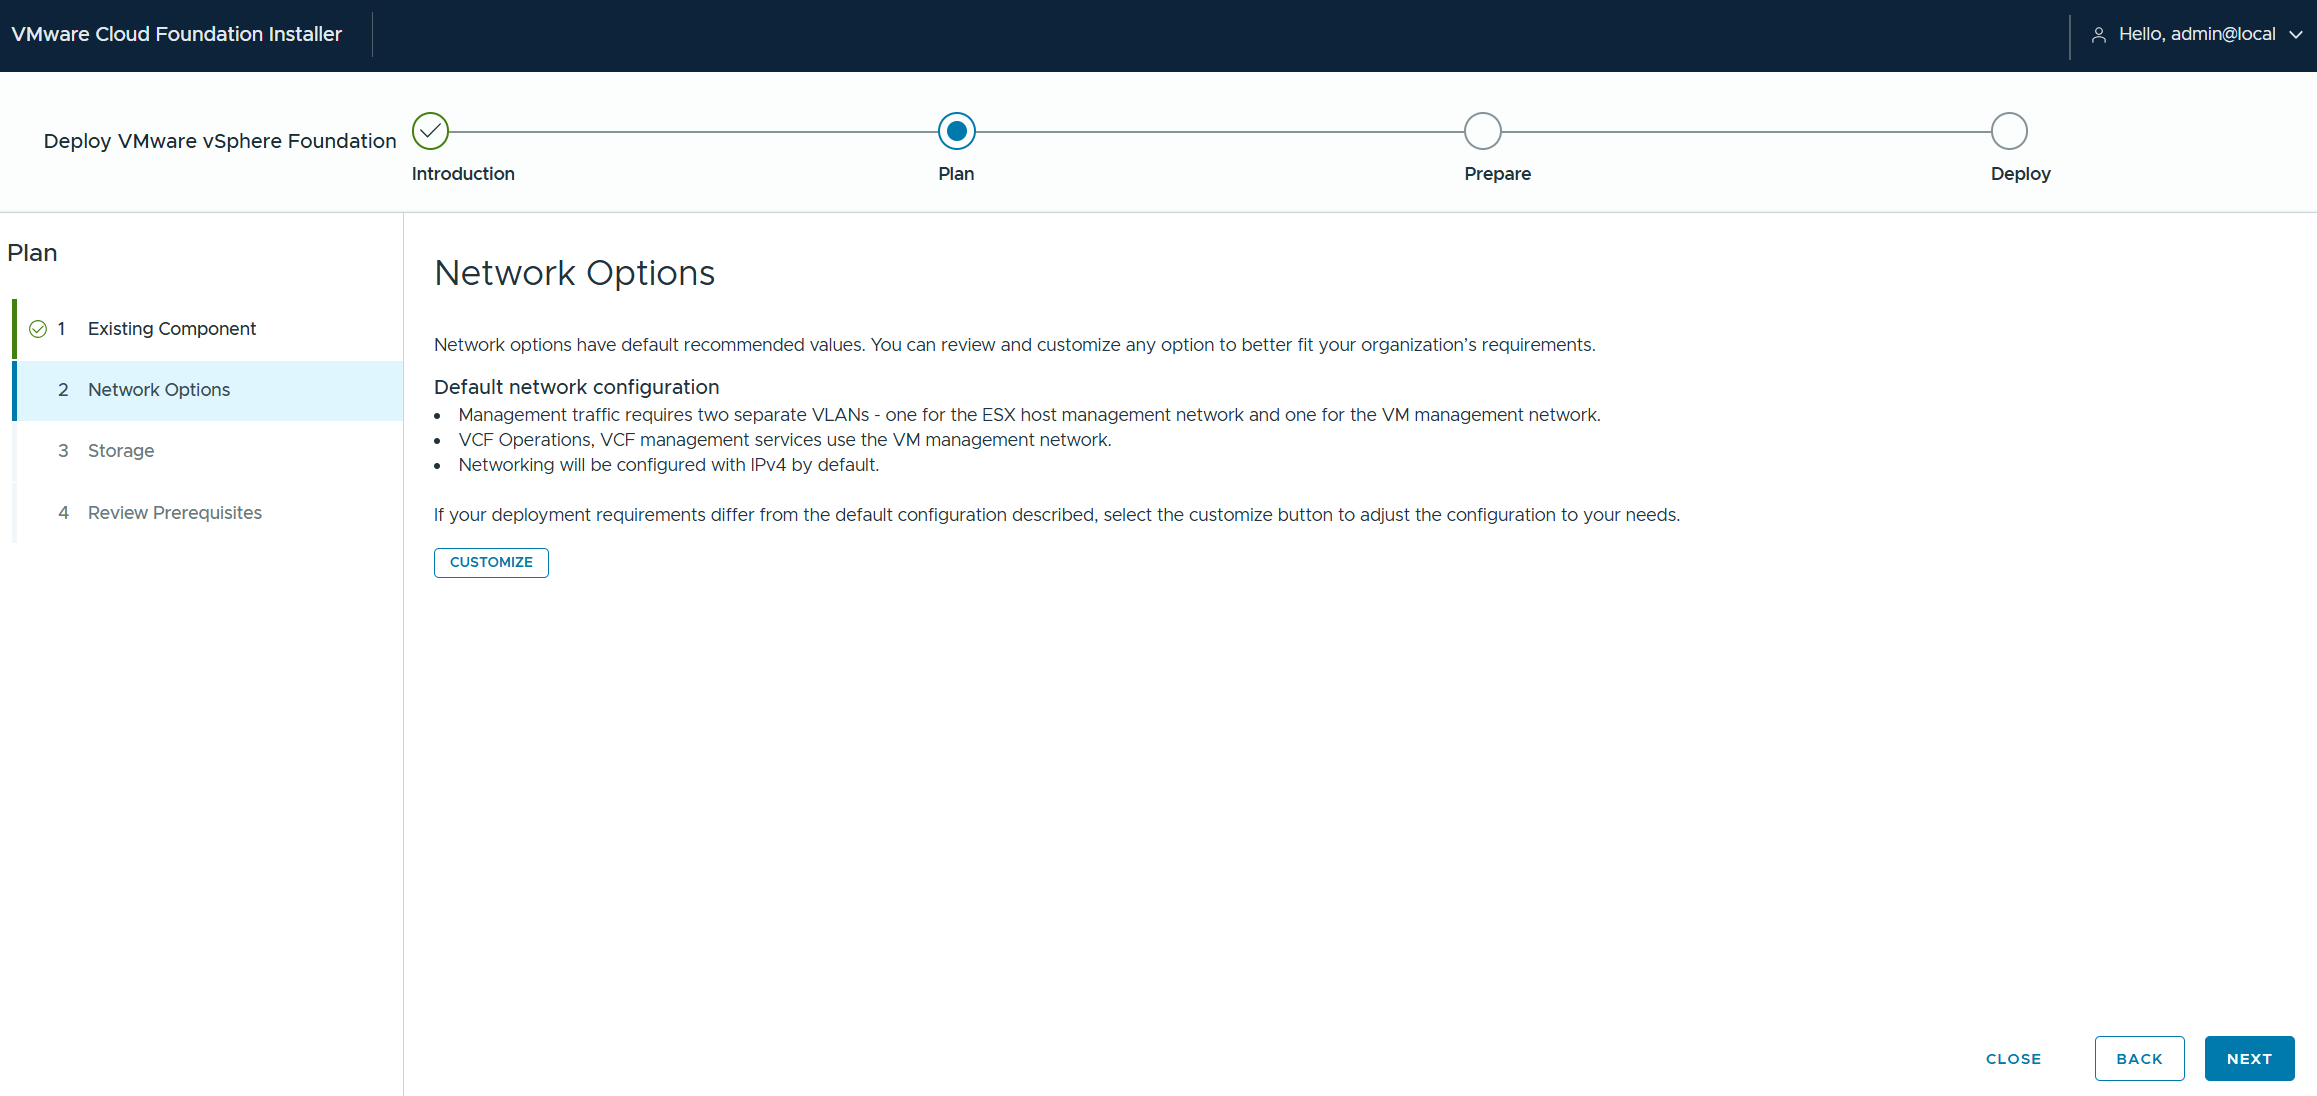
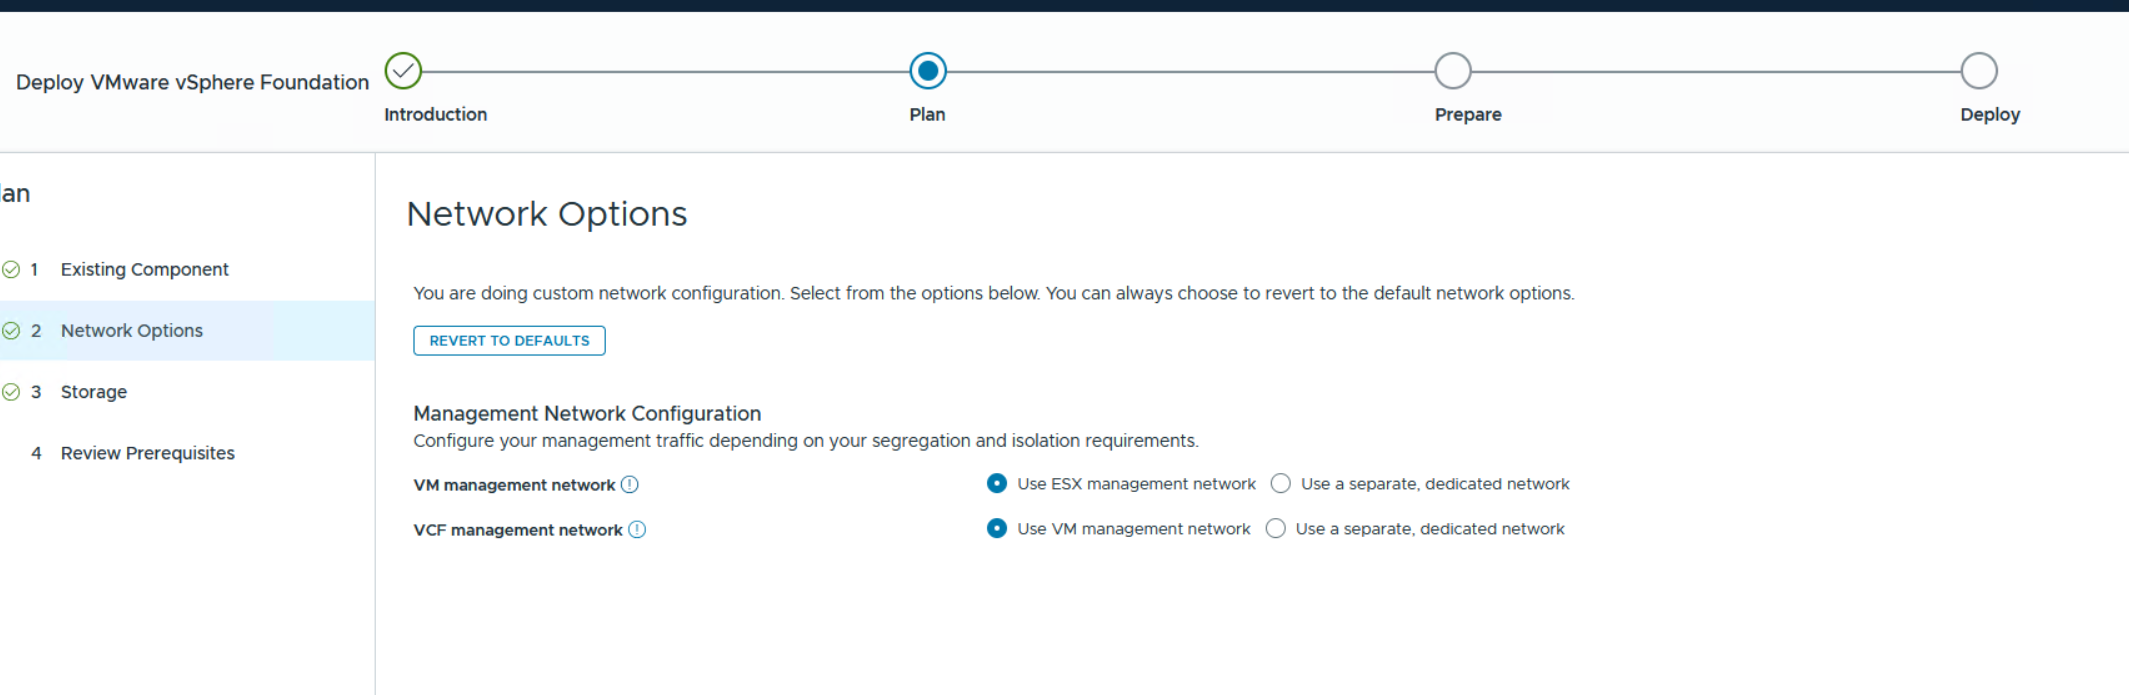
Select the network infrastructure for the Management Services and Operations component in my Home Lab. I choose the network where the VM is deployed (otherwise, create a dedicated network; check the firewall configuration in the official documentation)

.

.

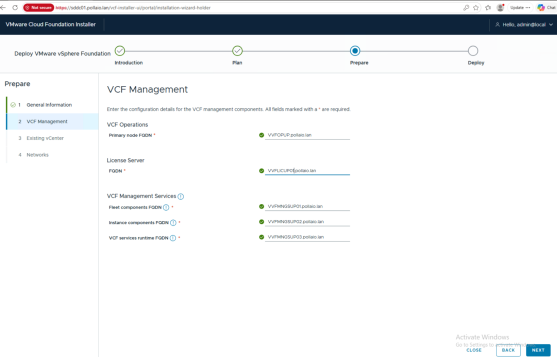
Dedicate IP address and FQDN (with reverse)

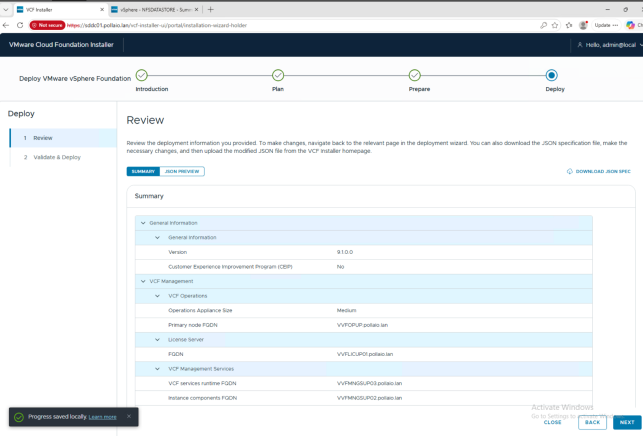
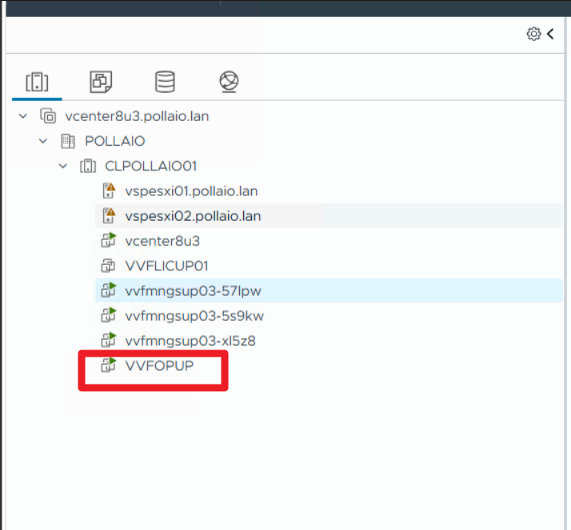
VVFOPUP.pollaio.lan 192.168.80.110

VVFMNGSUP01.pollaio.lan 192.168.80.111

VVFMNGSUP02.pollaio.lan 192.168.80.112

VVFMNGSUP03.pollaio.lan 192.168.80.113

VVFLICUP01 192.168.80.114

.

.

We enter the FQDN names of the objects; if entered correctly in the DNS (with the reverse), they have a green tick

.

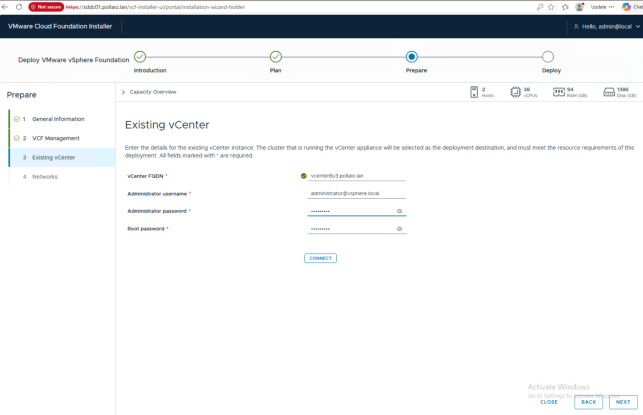
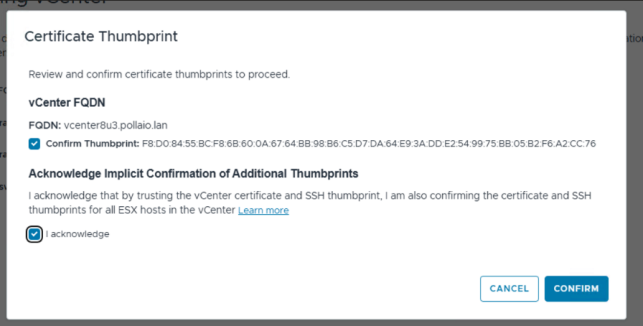
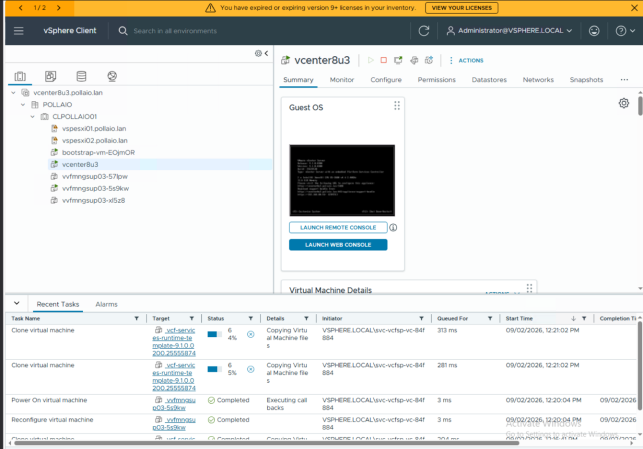
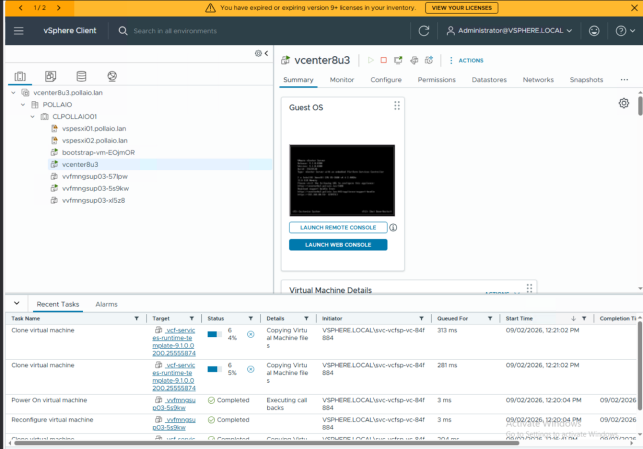
In my case, if the new vCenter is not deployed in the cluster that we want upgrade, we see an error.

.

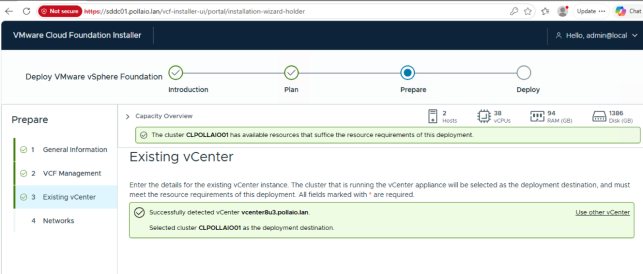
After vCenter migrating to the vSphere cluster object for the upgrade

.

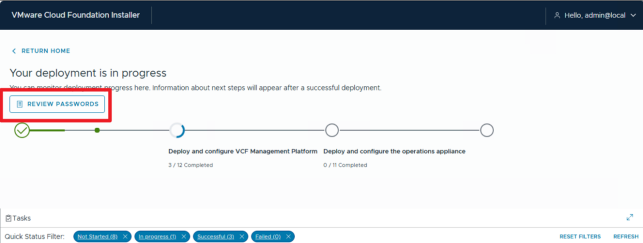
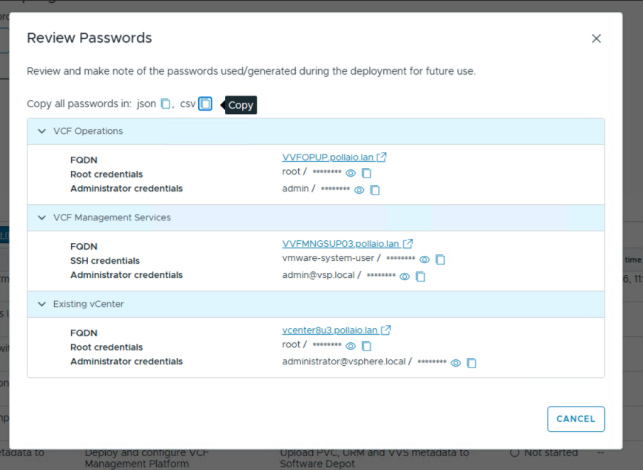
Save the Password!!!!

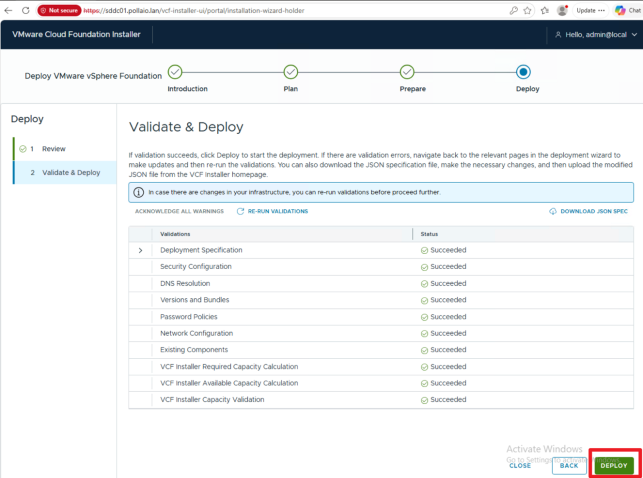
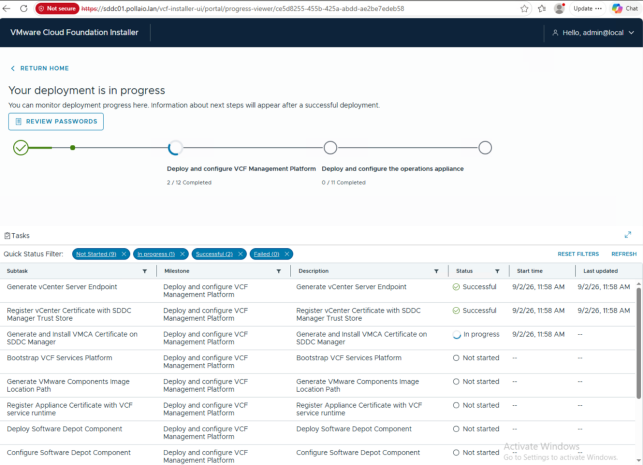
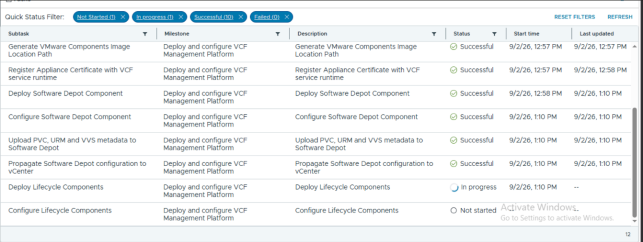
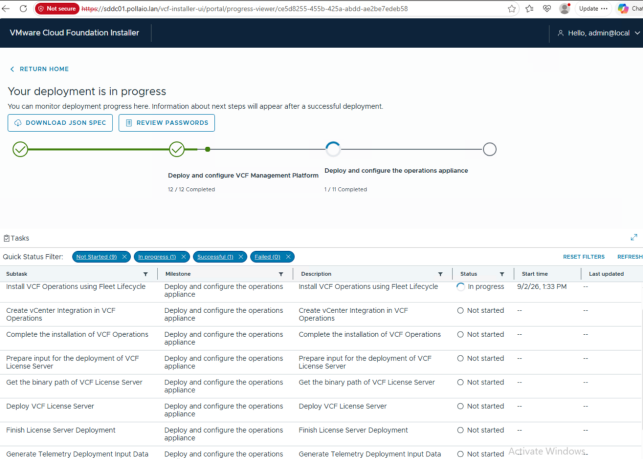
Start the VCF Operation appliance installation

.

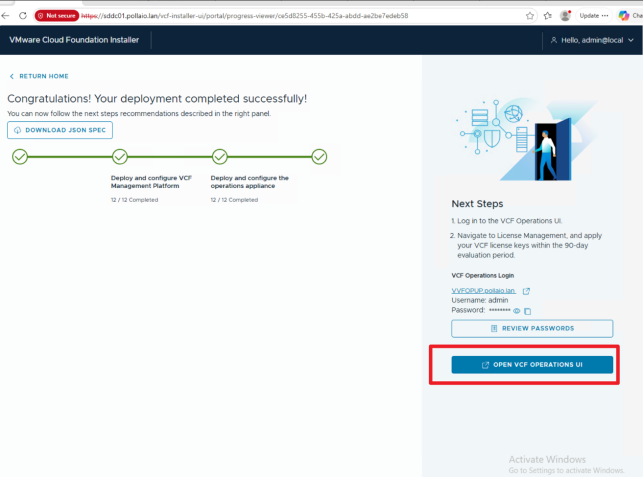
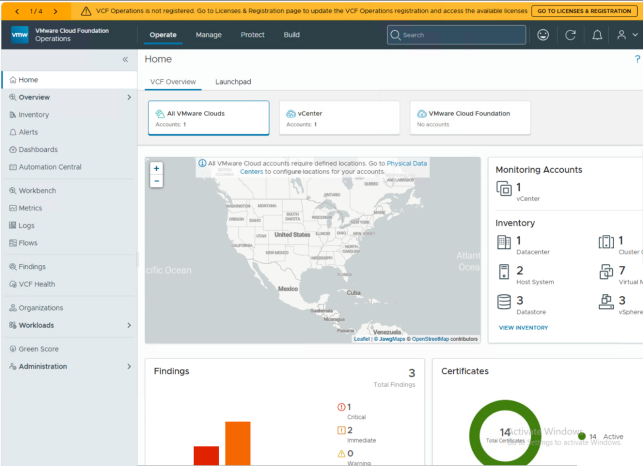
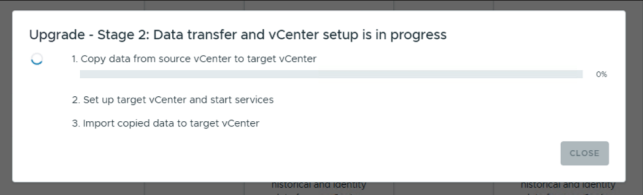
At the end of VCF operation Installation, we can log in to the VCF Operations UI

Now we can configure the License (See this post)

Register VCF Operations and Your License Server in Connected Mode – BIOLNX

.

Upgrade ESXi

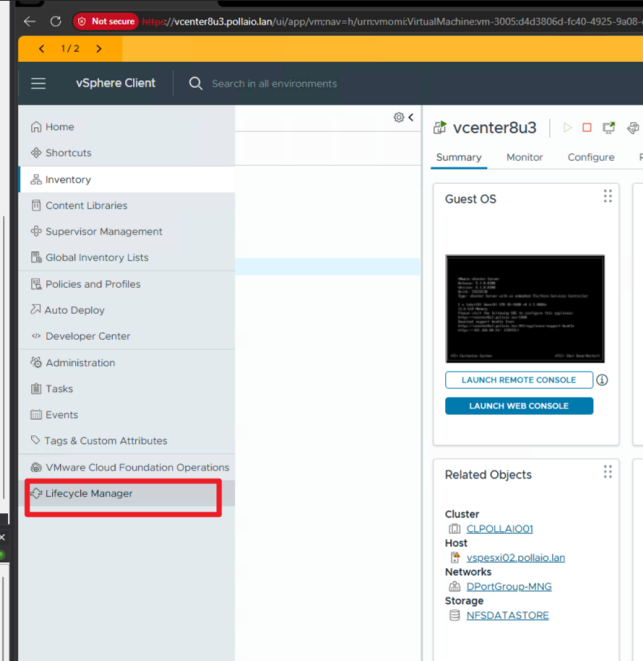
Log in to vCenter and select the Lifecycle Manager

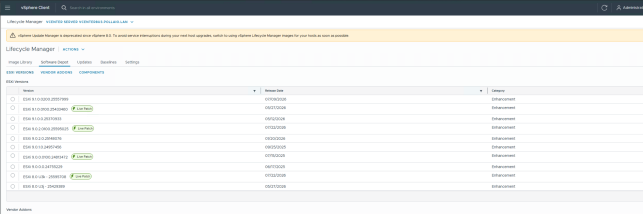
After some time, under Software Depot, the new ESXi version appears

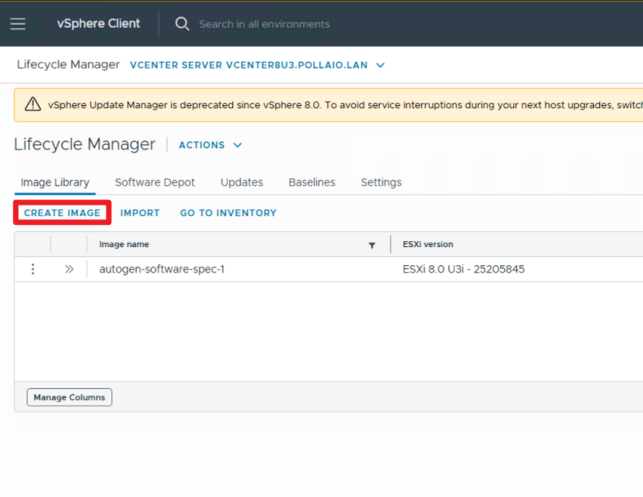
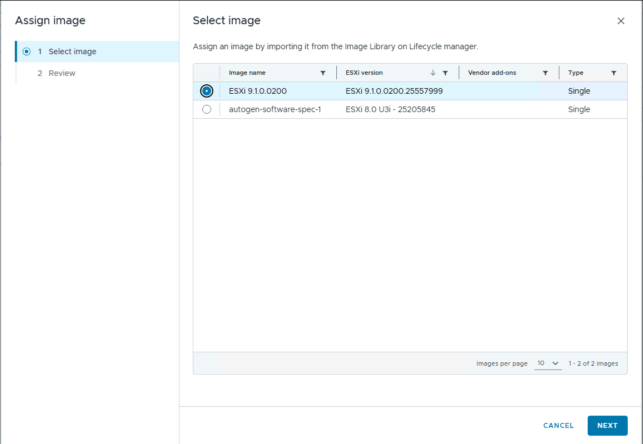
Now we create a new Image; go to Image Library and select Create Image


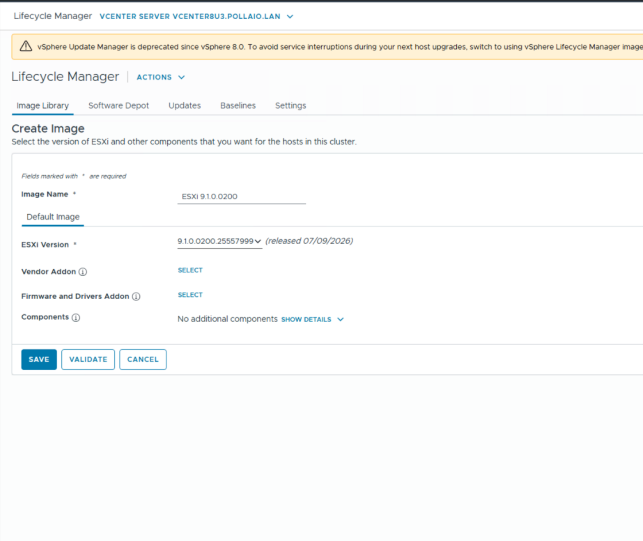
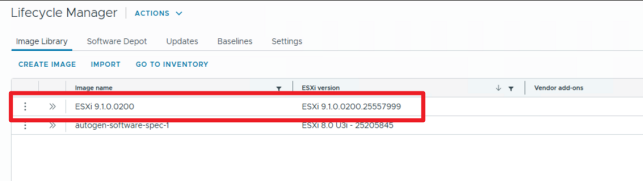
Validate and save

.

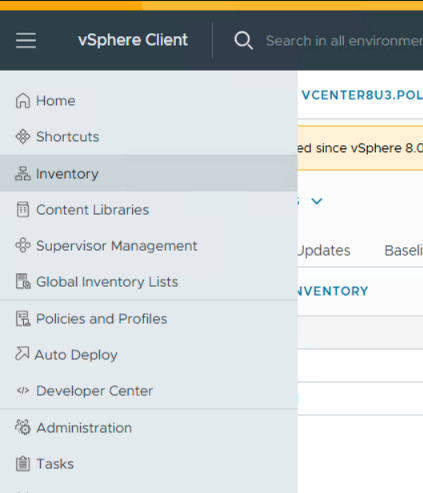
Go to Inventory

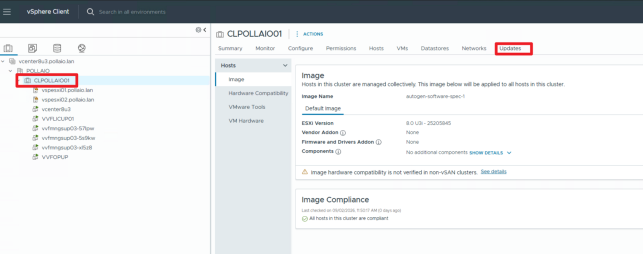
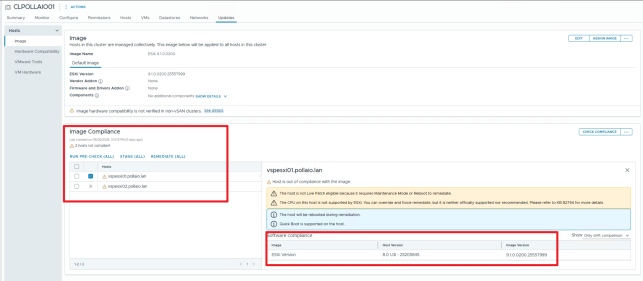
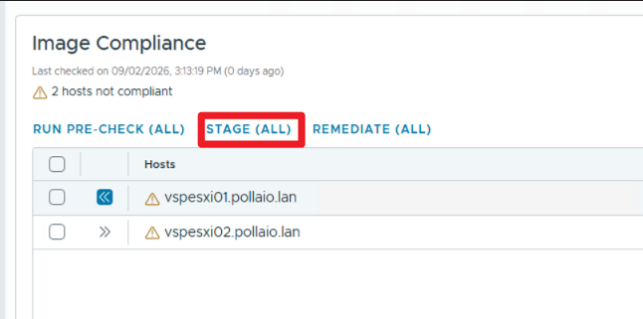
Select the cluster and after updates

.

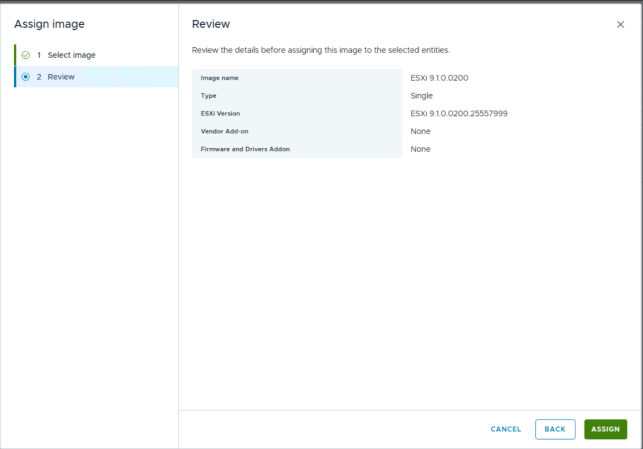
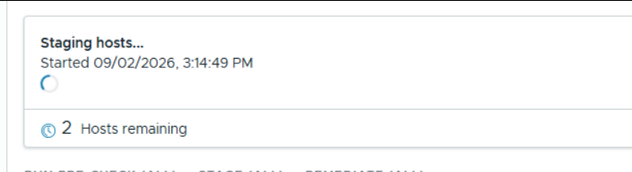
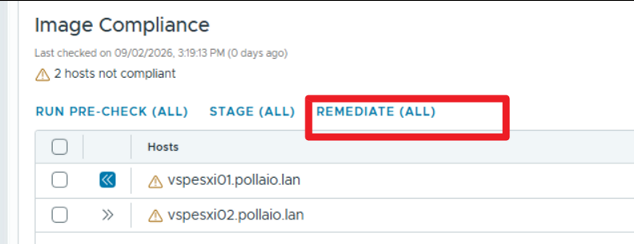
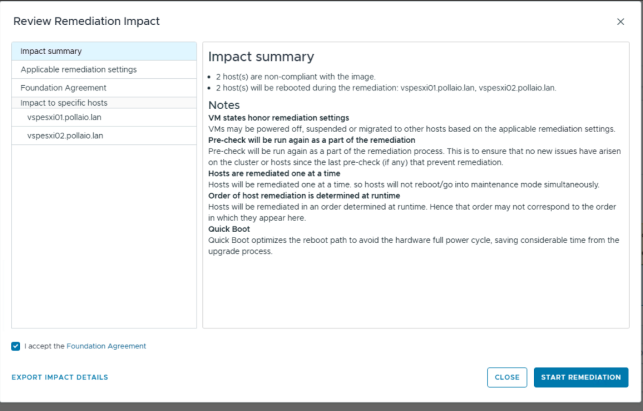
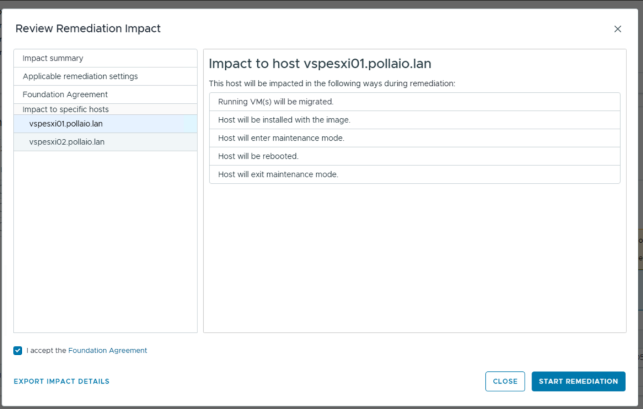
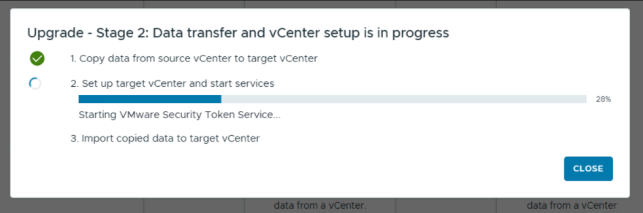
Now the upgrade will start if the cluster is correctly configured

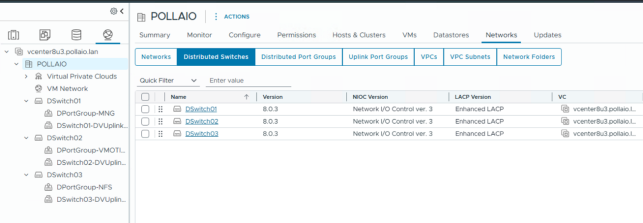
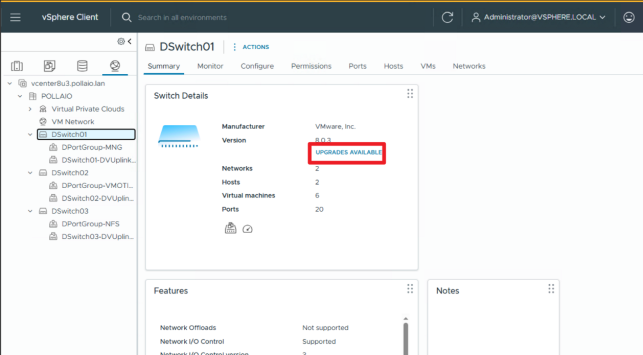
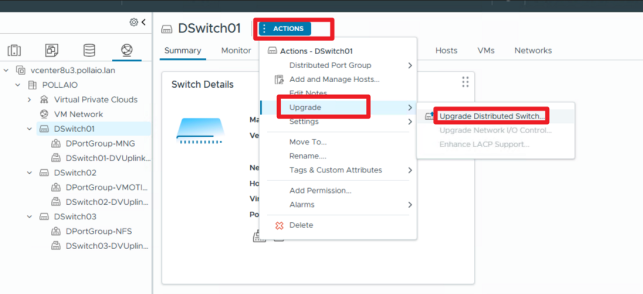
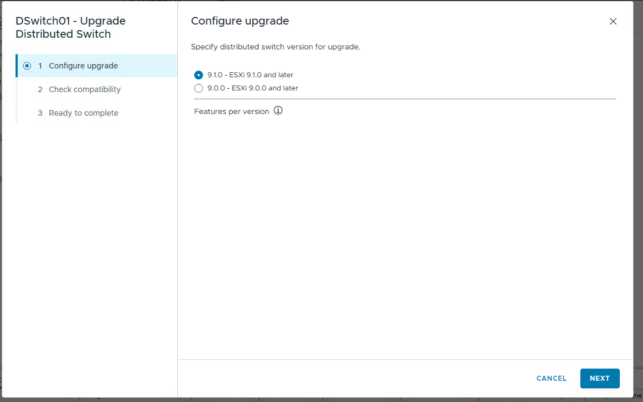
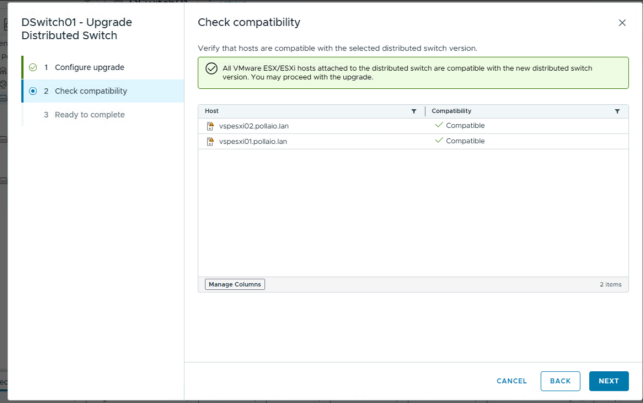
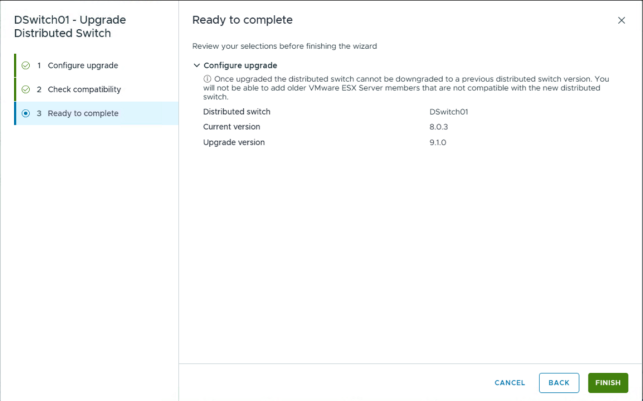
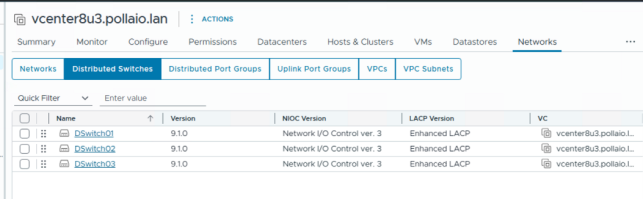
Upgrade Virtual Distributed Switch

.

.

Next step

Upgrade VMware Tools

Upgrade Virtual Hardware

.

Converge vSphere 8 to VMware vSphere Foundation 9.1.x

Start a New vSphere Foundation Deployment by Using the VCF Installer Deployment Wizard

For a long time, I wanted to get my hands on VMware vSphere Foundation (VVF) and understand closely how the deployment process has changed with the introduction of the VCF Installer. Thanks to a few days off and a desire to experiment, I decided to dedicate my Home Lab to this project, retracing the entire installation process step by step, from preparing the infrastructure to the first boot of the environment.
In this post, I tell you how I set up the deployment, what hardware and network resources I used, the configuration choices made along the way and, of course, the difficulties encountered (and how I solved them) during the installation via VCF Installer. The goal is to share a practical experience useful to those who want to approach VVF starting from a laboratory environment, without the complexity (and costs) of an enterprise deployment.

In this first post, we will see the installation; in the next posts, we will install/activate the licenses and install the Log component

.

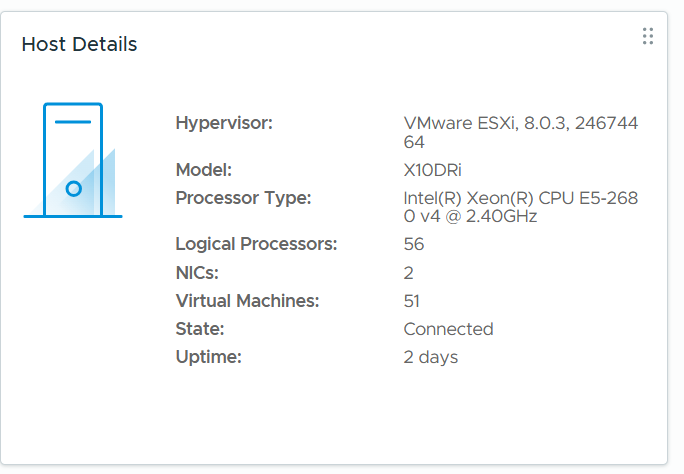
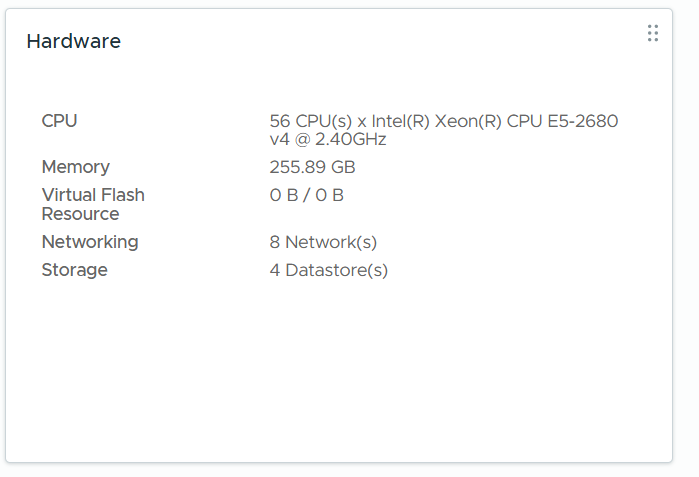
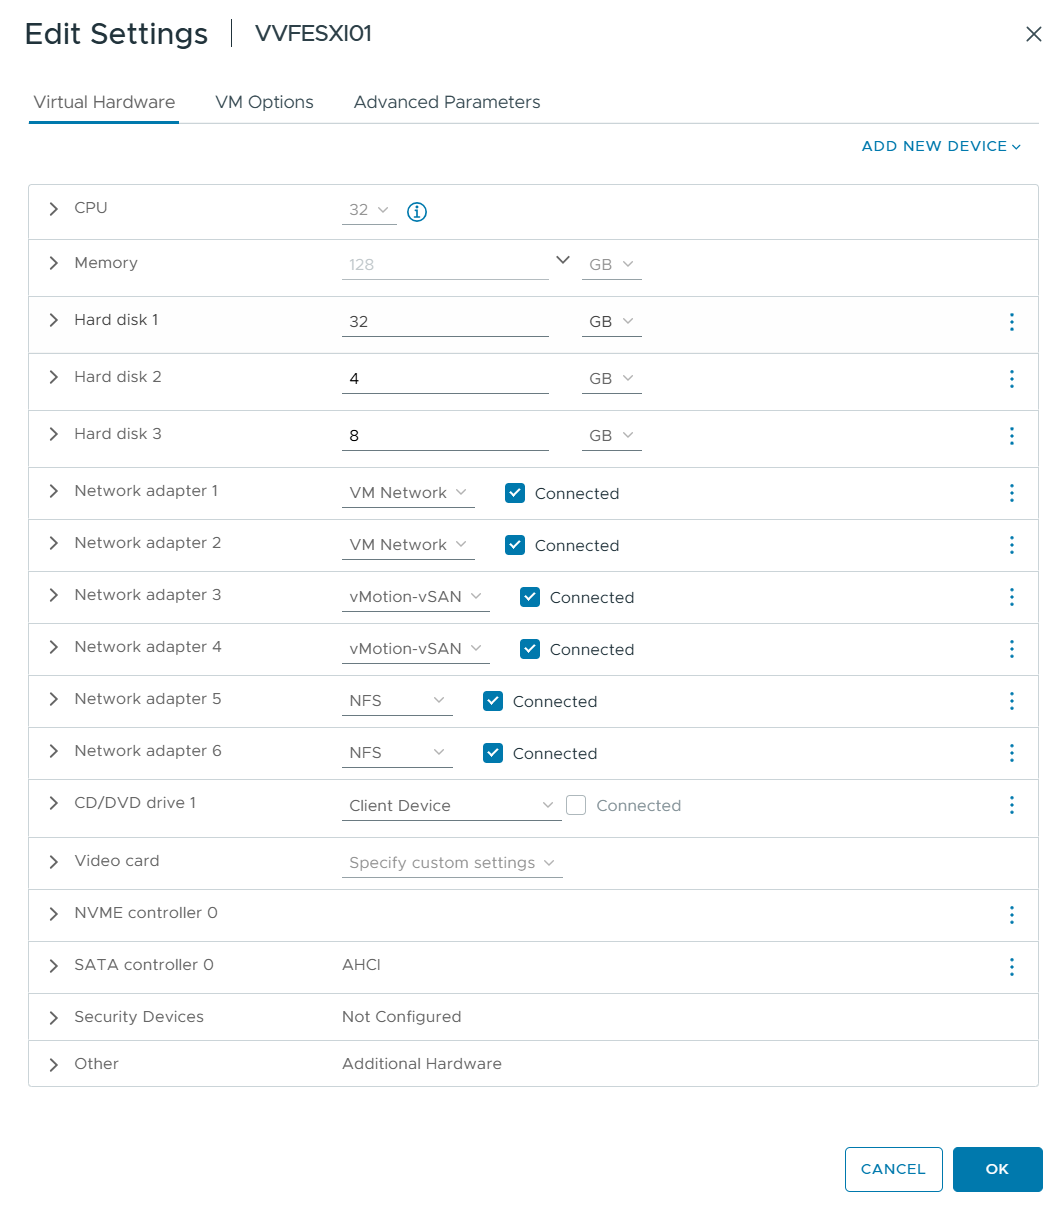
Being a home lab, my environment will consist of nested ESXi Hosts; here are some details:

Physical HW

ESXi Nested

Two VMs where I install my ESXi to 9.1

Check the Machine Certificate for each ESXi; the certificate needs to trust the ESXi FQDN name.

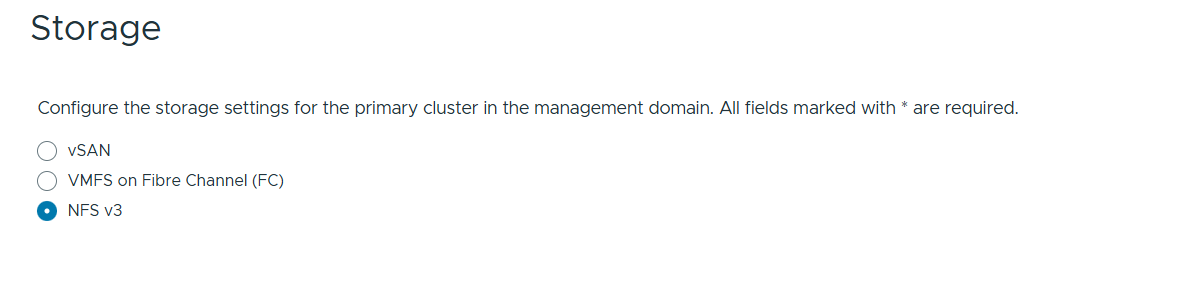
Storage 

As NFS, I created a TrueNAS VM that resides on SSD disks

Network of ESXI nested:

–One connected to my physical network cards of the server where the port group (VM Network) is present, where I will put the Management and Workload VM part of my ESXi servers
–One that is not connected to physical network cards and where I create a port group for the vMotion part
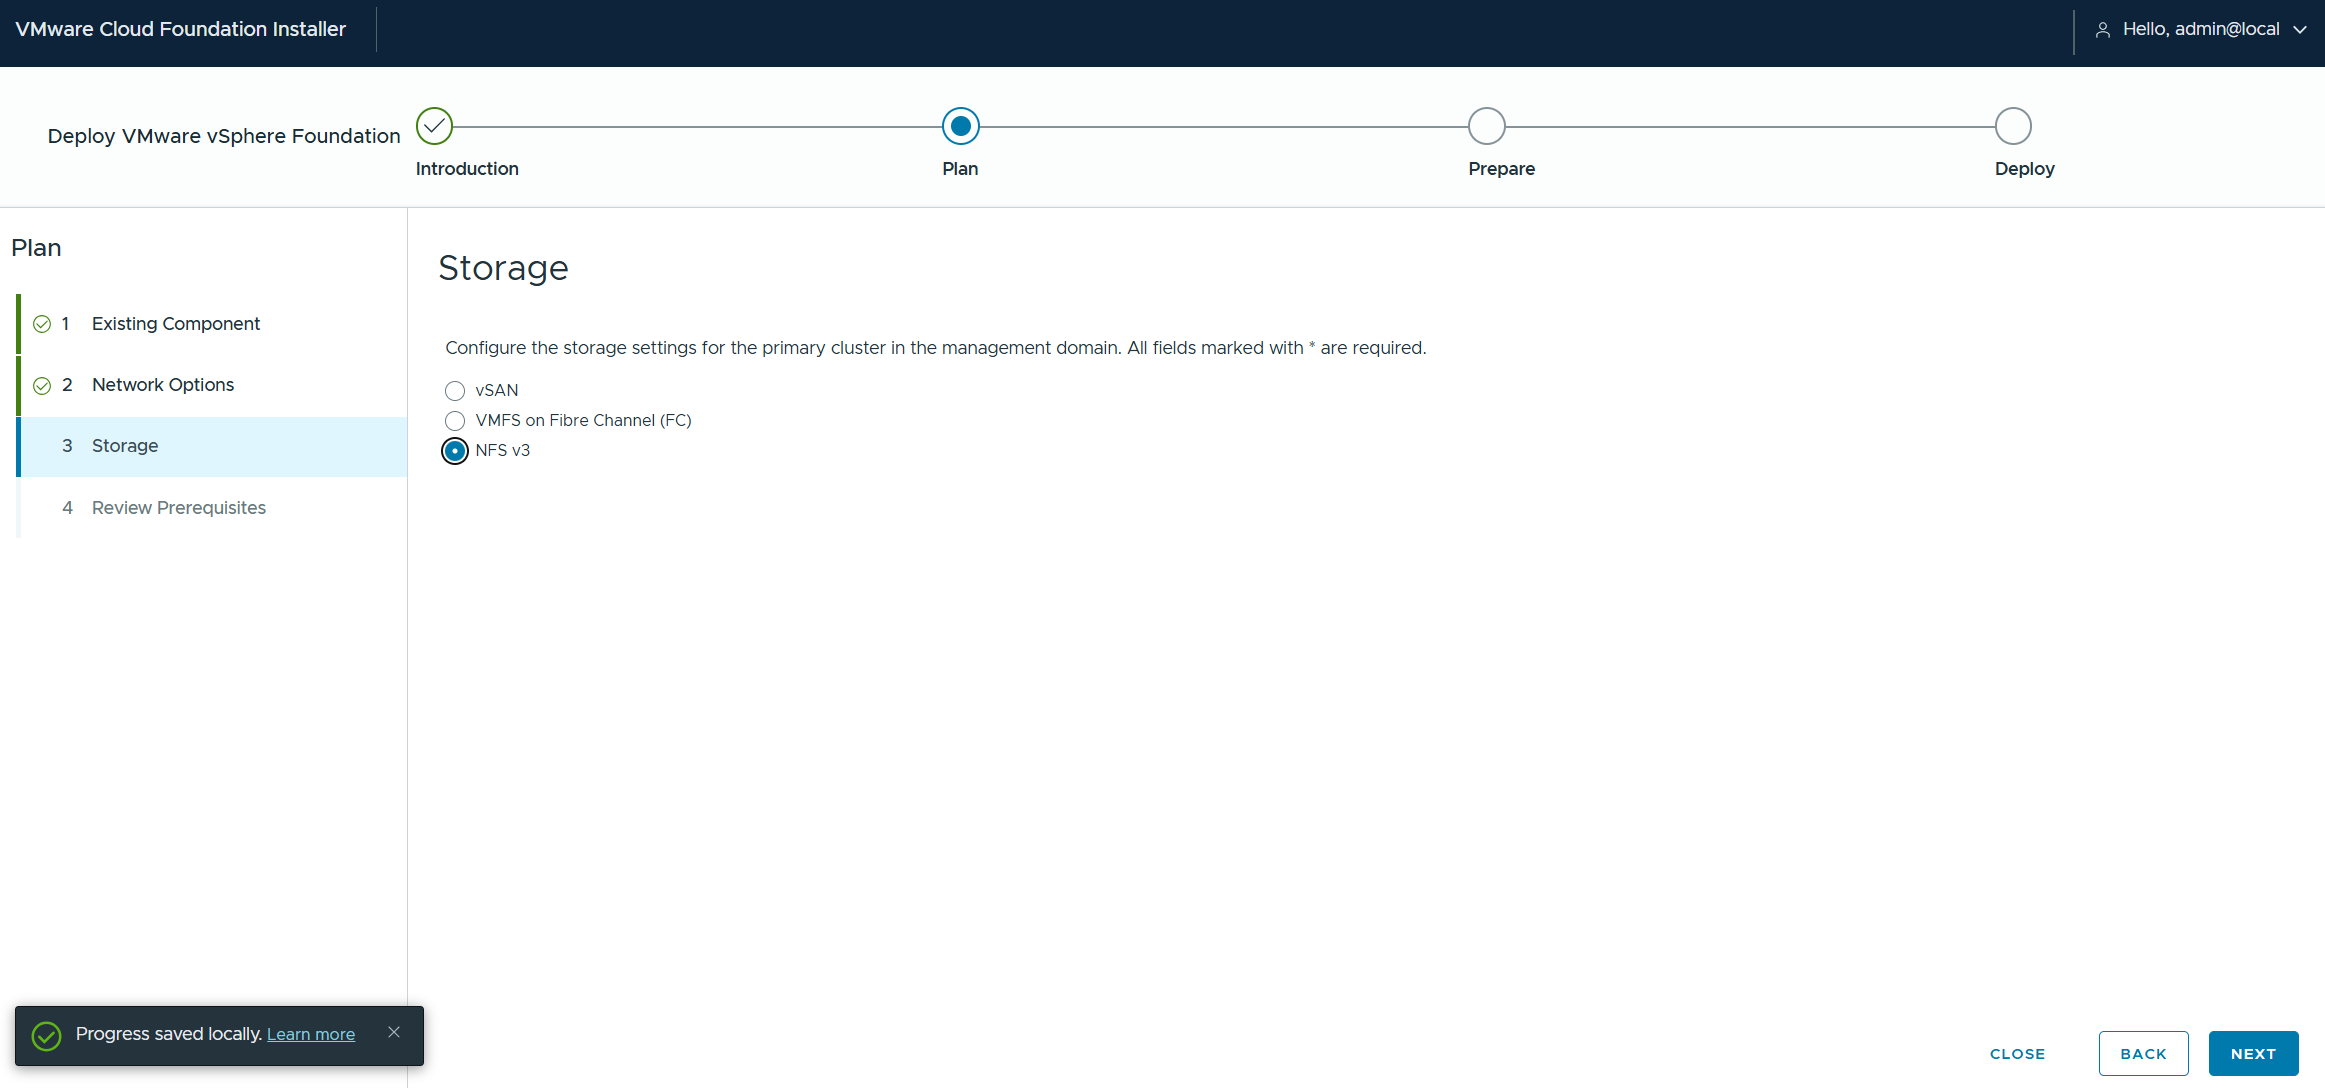
–One not connected to physical network cards and where I create a port group (NFS) for the NFS part (where, in addition to ESXi, I attach a network card for my TrueNAS)

.

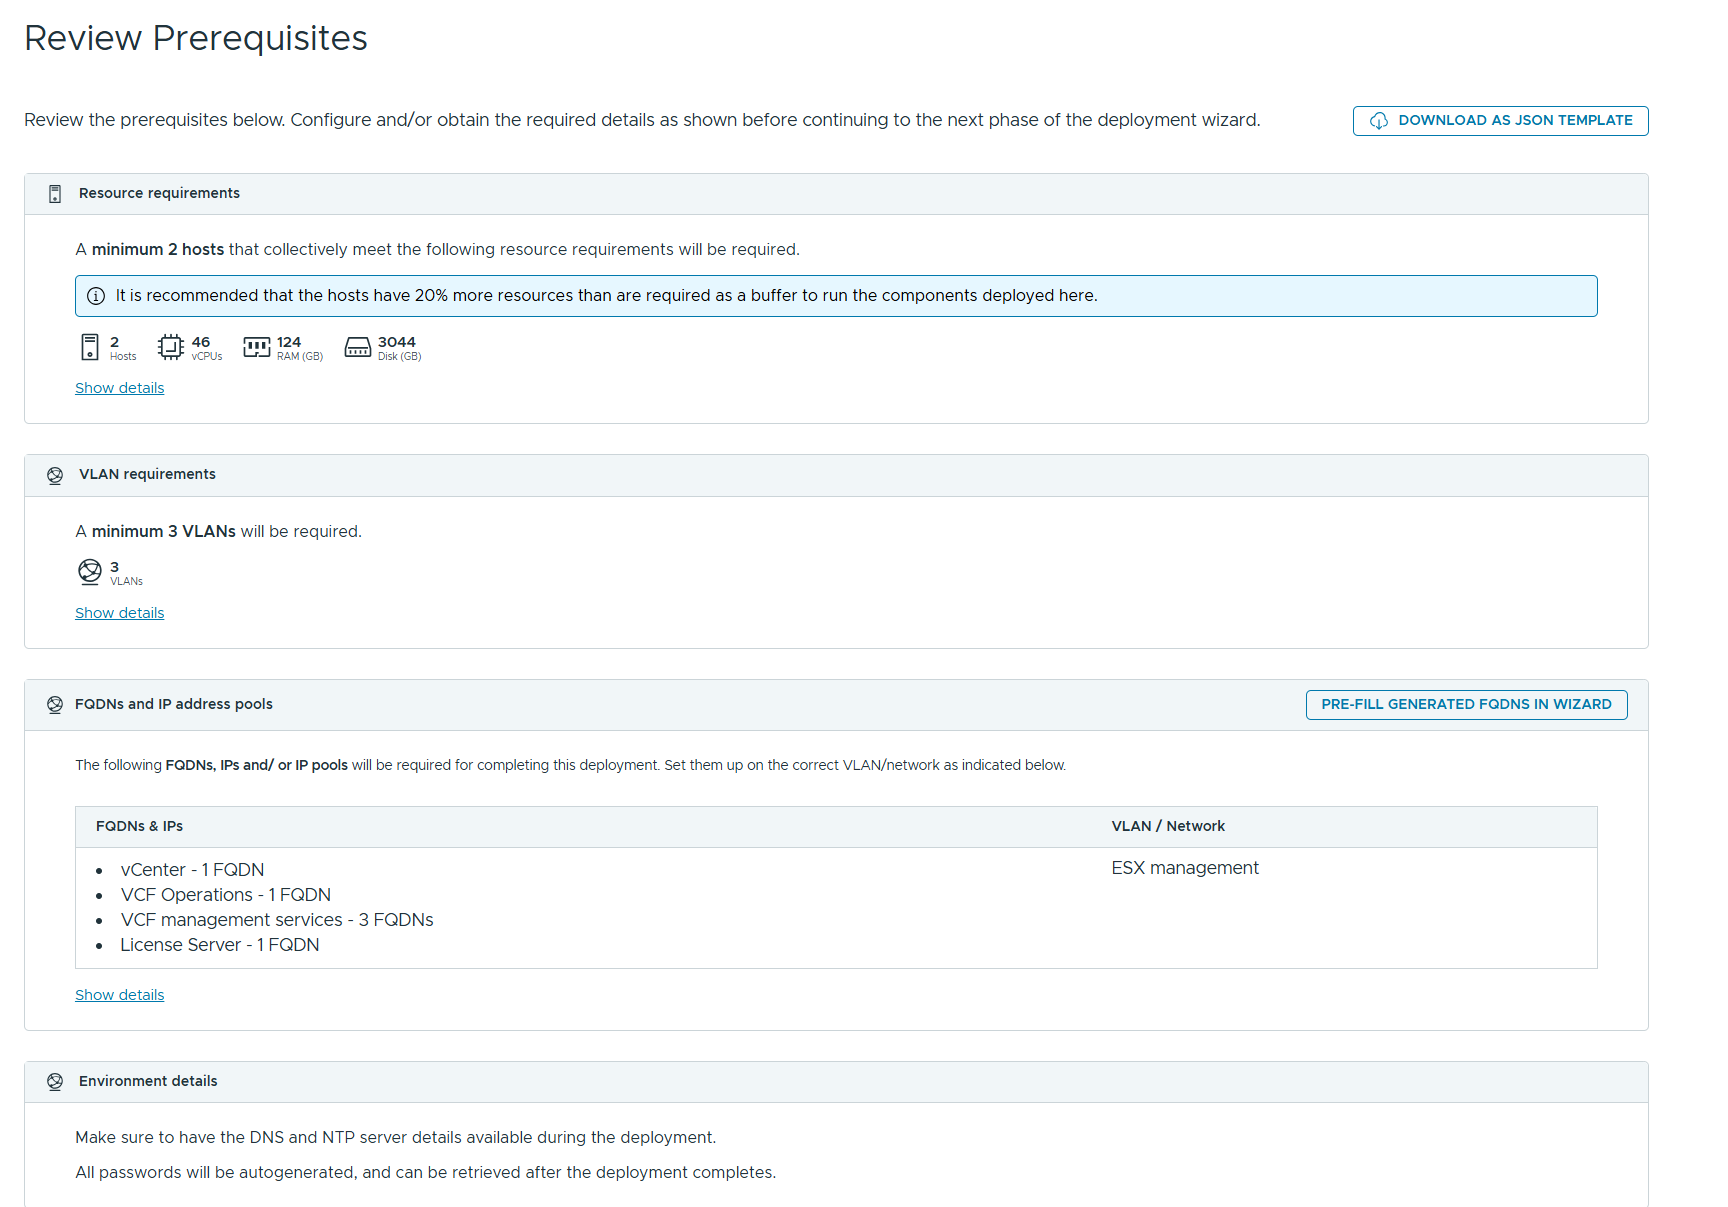
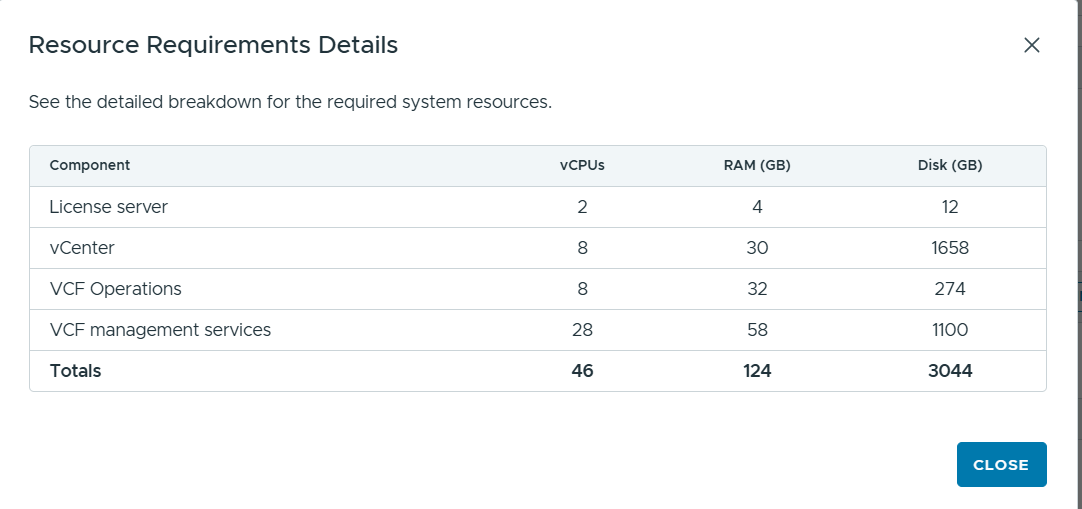
Required resources

.

.

.

.

.

.

As you can see, we have, in addition to the vCenter add-ons, which are:

License Server

A part of VCF Operations. Provides secure and integrated license management for your platform.

vCenter

To say that we all know him well

VCF Operation

VMware Cloud Foundation Operations® (formerly VMware Aria Operations) or VCF Operations helps your organisation build, manage, operate, and secure your private cloud infrastructure by deploying and maintaining its fleet-level components, providing visibility and enhanced performance across the workload and infrastructure stack, and helping your organisation stay compliant with regulatory standards and organisational guidelines.

VCF Management Services

VCF 9.1 introduces VCF management services to provide a unified architecture for centralised lifecycle and operational functionalities. The VCF services runtime instance of the first VCF Instance hosts the fleet-level VCF management services components that perform global operations and the instance-level components for that VCF Instance. Every VCF Instance has a VCF services runtime instance that hosts the instance-level VCF management services that run local tasks. This foundation allows for a unified architecture, simplified lifecycle management, and streamlined backup and recovery of all hosted components.

For the VVF in management servers, we have:

Fleet lifecycle

Log management (to be installed in DAY+1)

SDDC lifecycle

Software depot

Telemetry

VCF services runtime

More details: Components in VCF and vSphere Foundation

.

.

.

.

The steps we’ll take are:

1-Installing ESXi (we won’t cover it in this post)
2-Deploying the VCF installer
3-Configuring the DEPOT
4-Deploying VVF

VCF installer installation

.

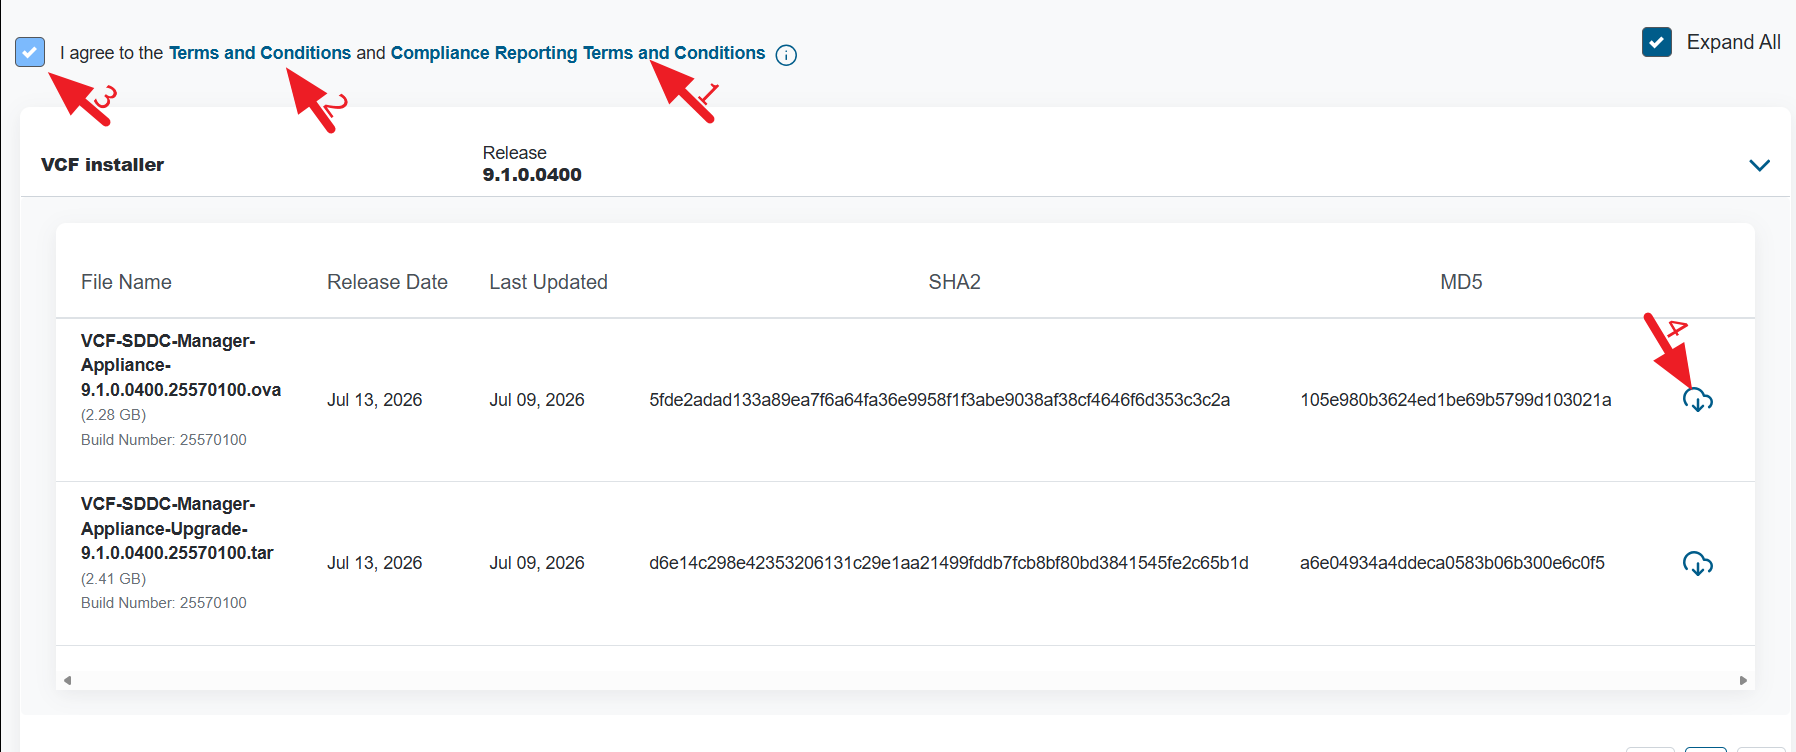
Log in to Broadcom Support Portal https://support.broadcom.com/ and Download VCF Installer

.

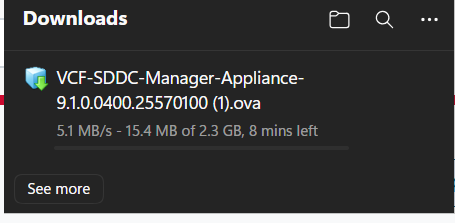
The next step is to deploy the OVA to ESXi or VMware Workstation

.

.

.

.

.

.

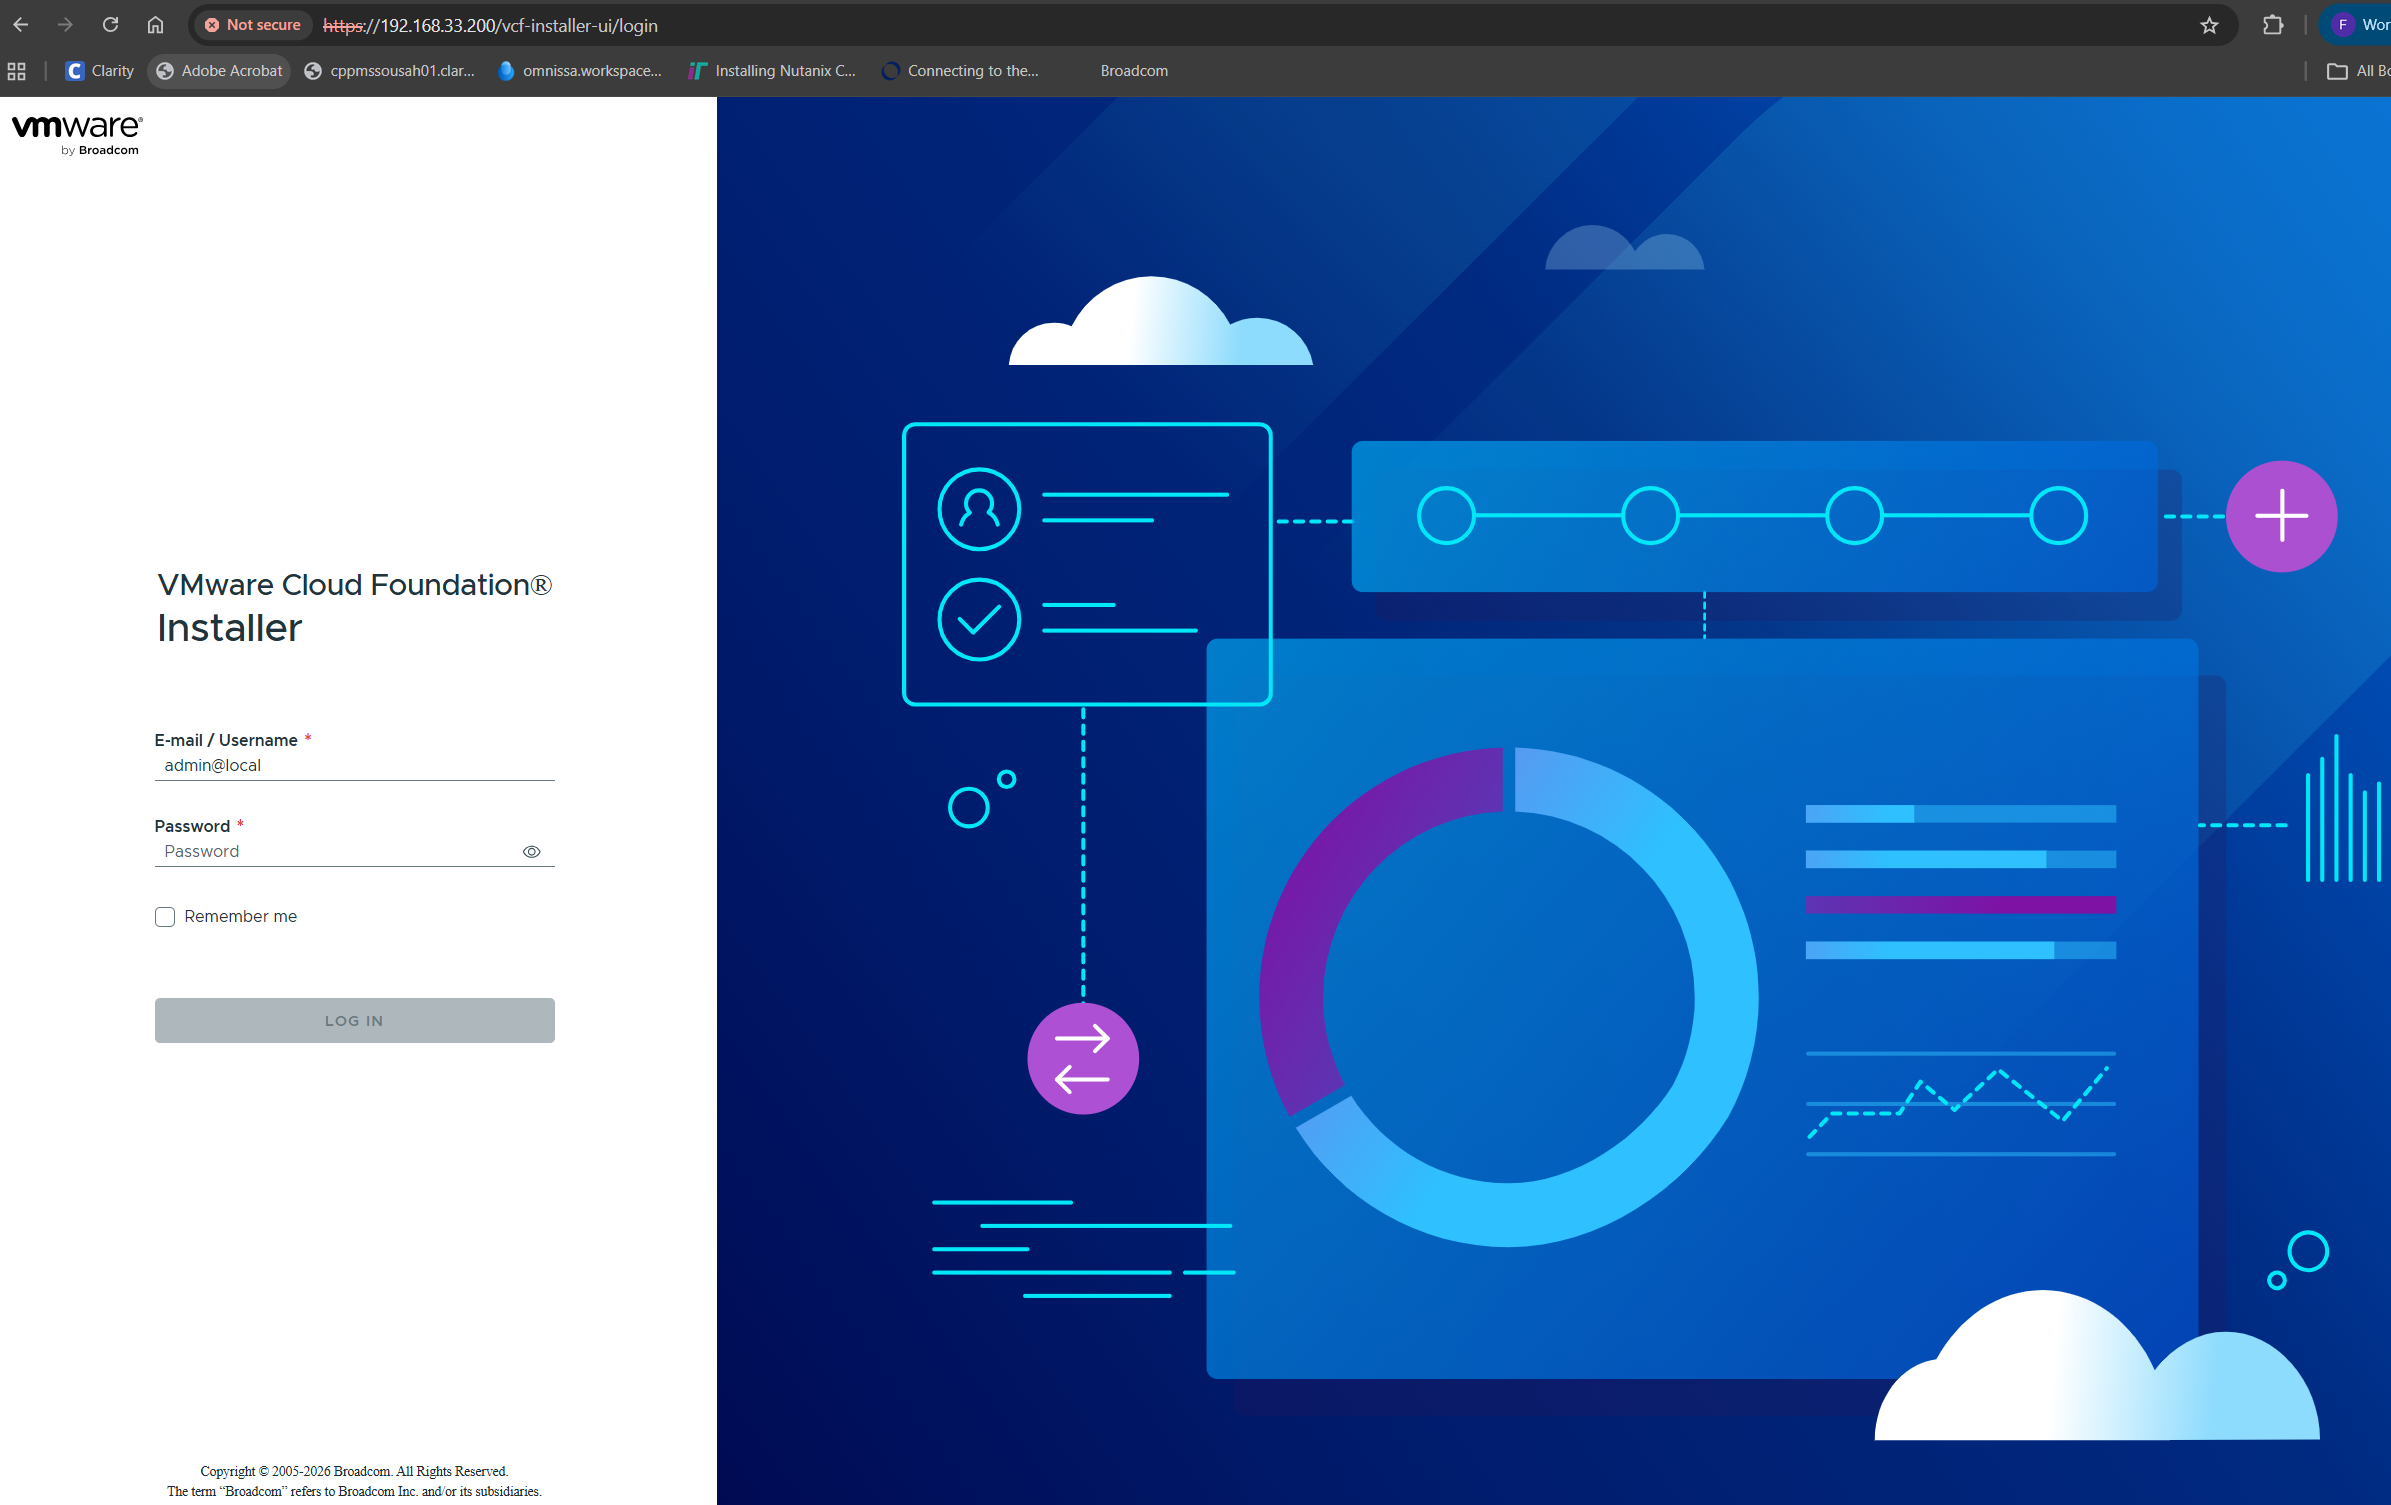
 Once the installation of the OVA is finished, access the URL with the IP or FQDN and log in with the admin@local account and password you set during the deployment
.


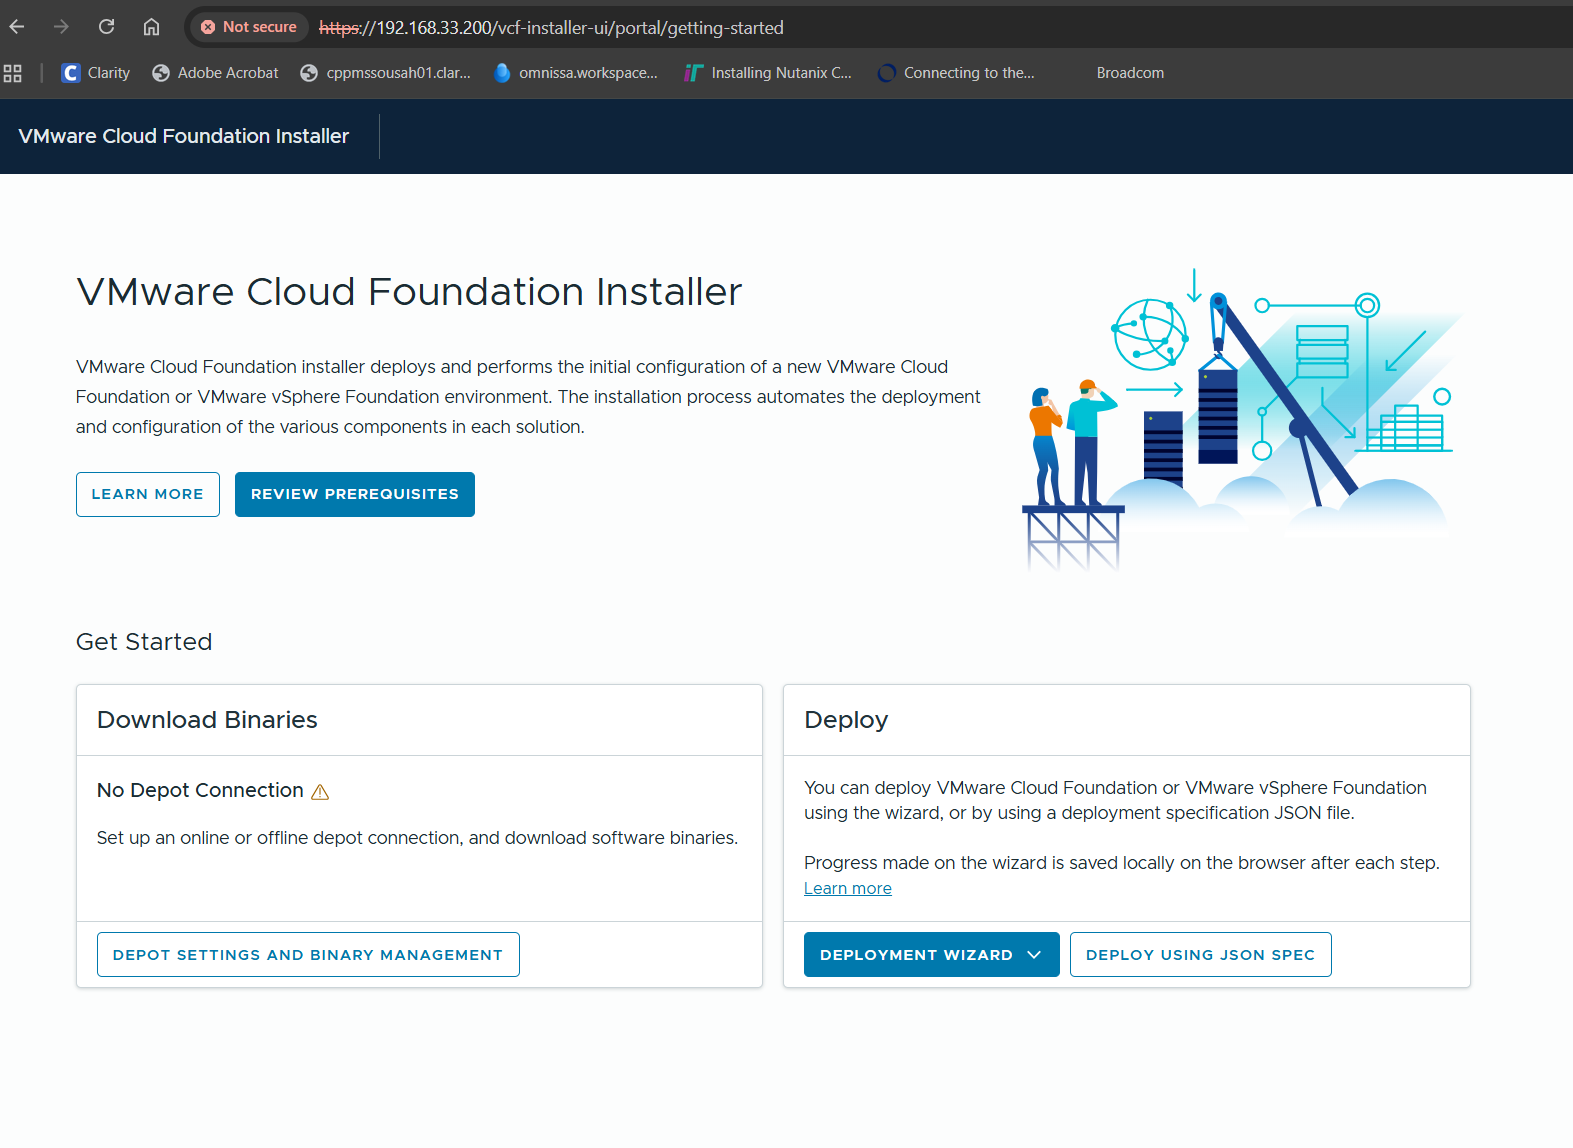
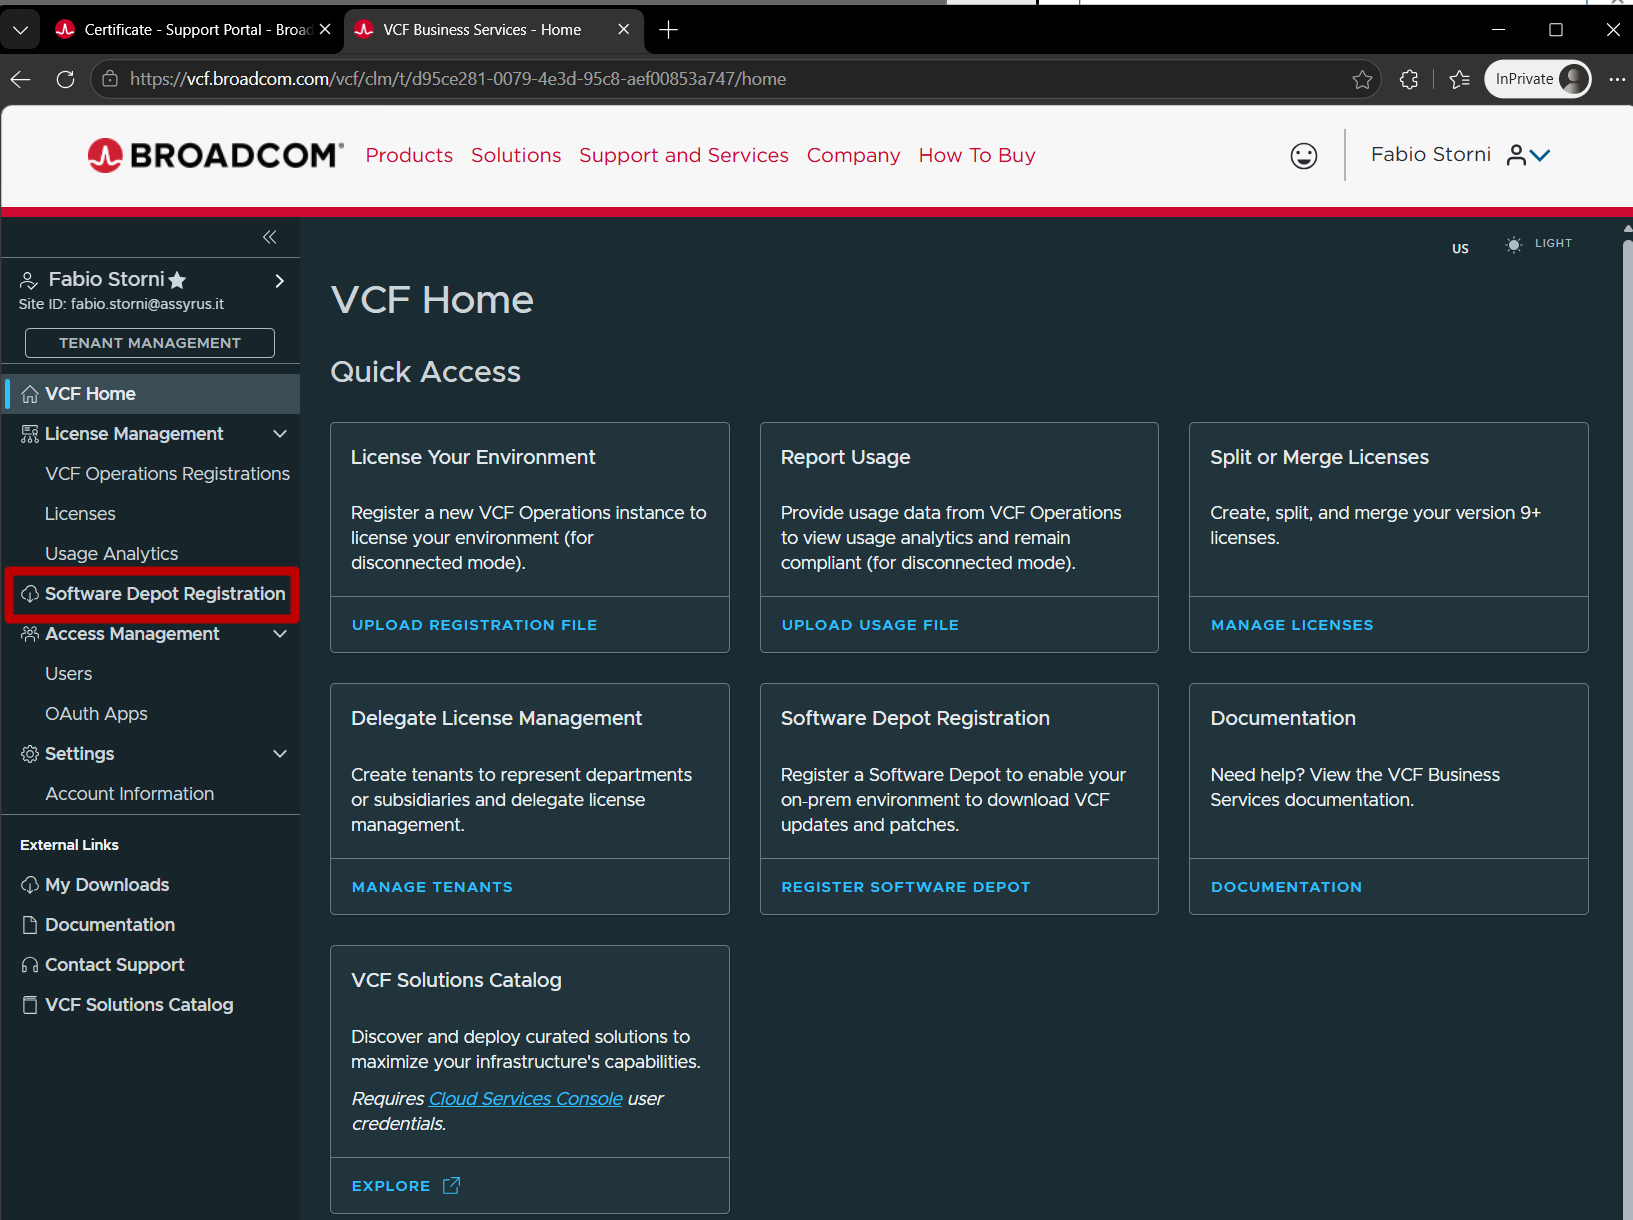
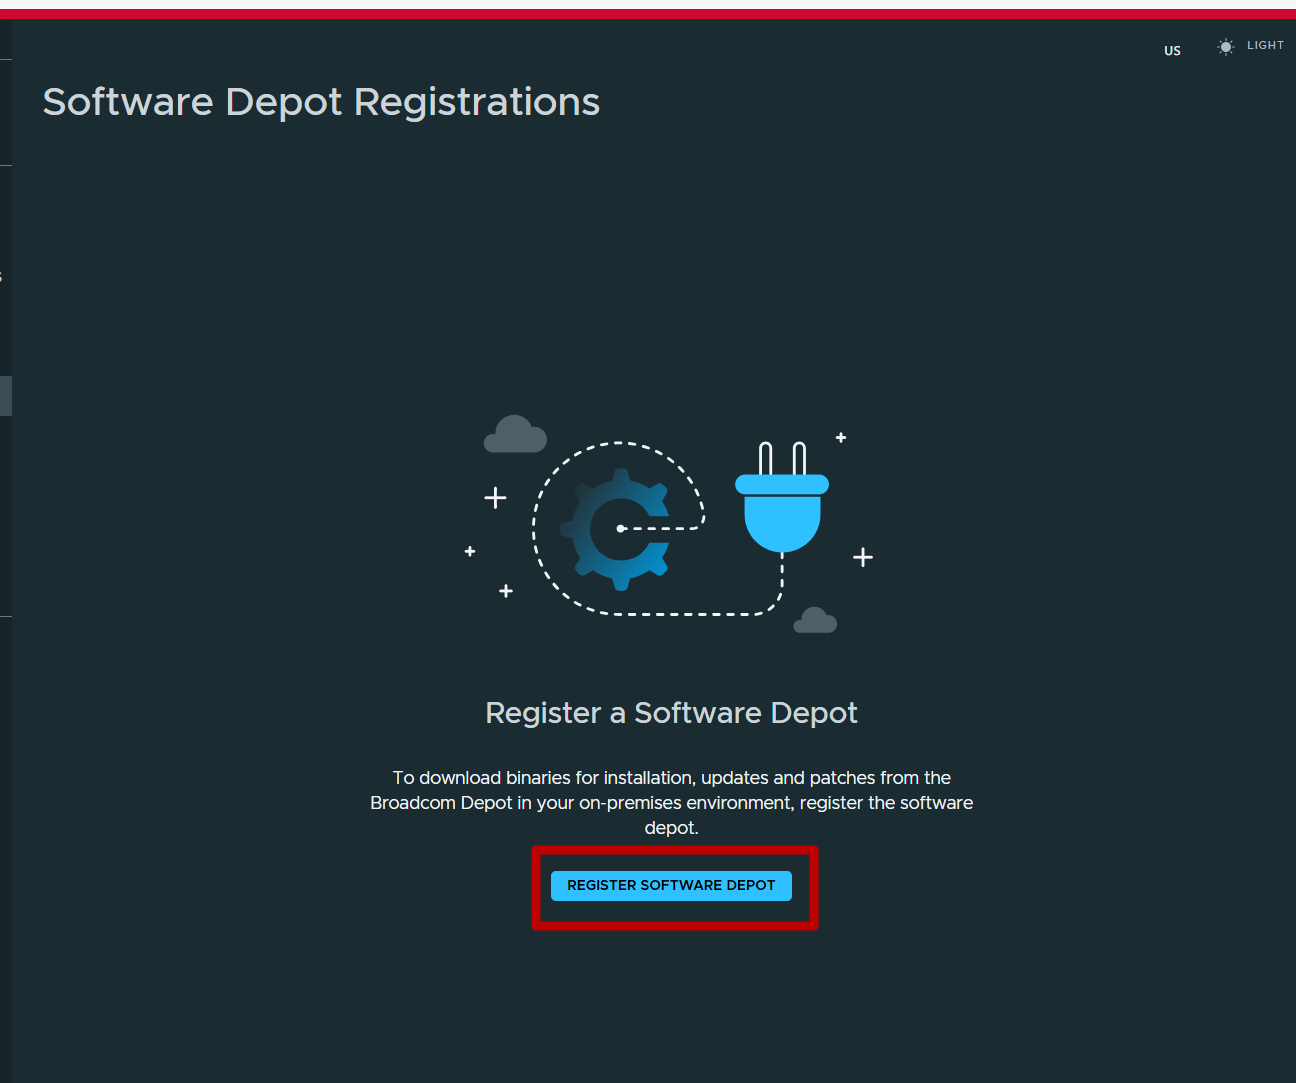
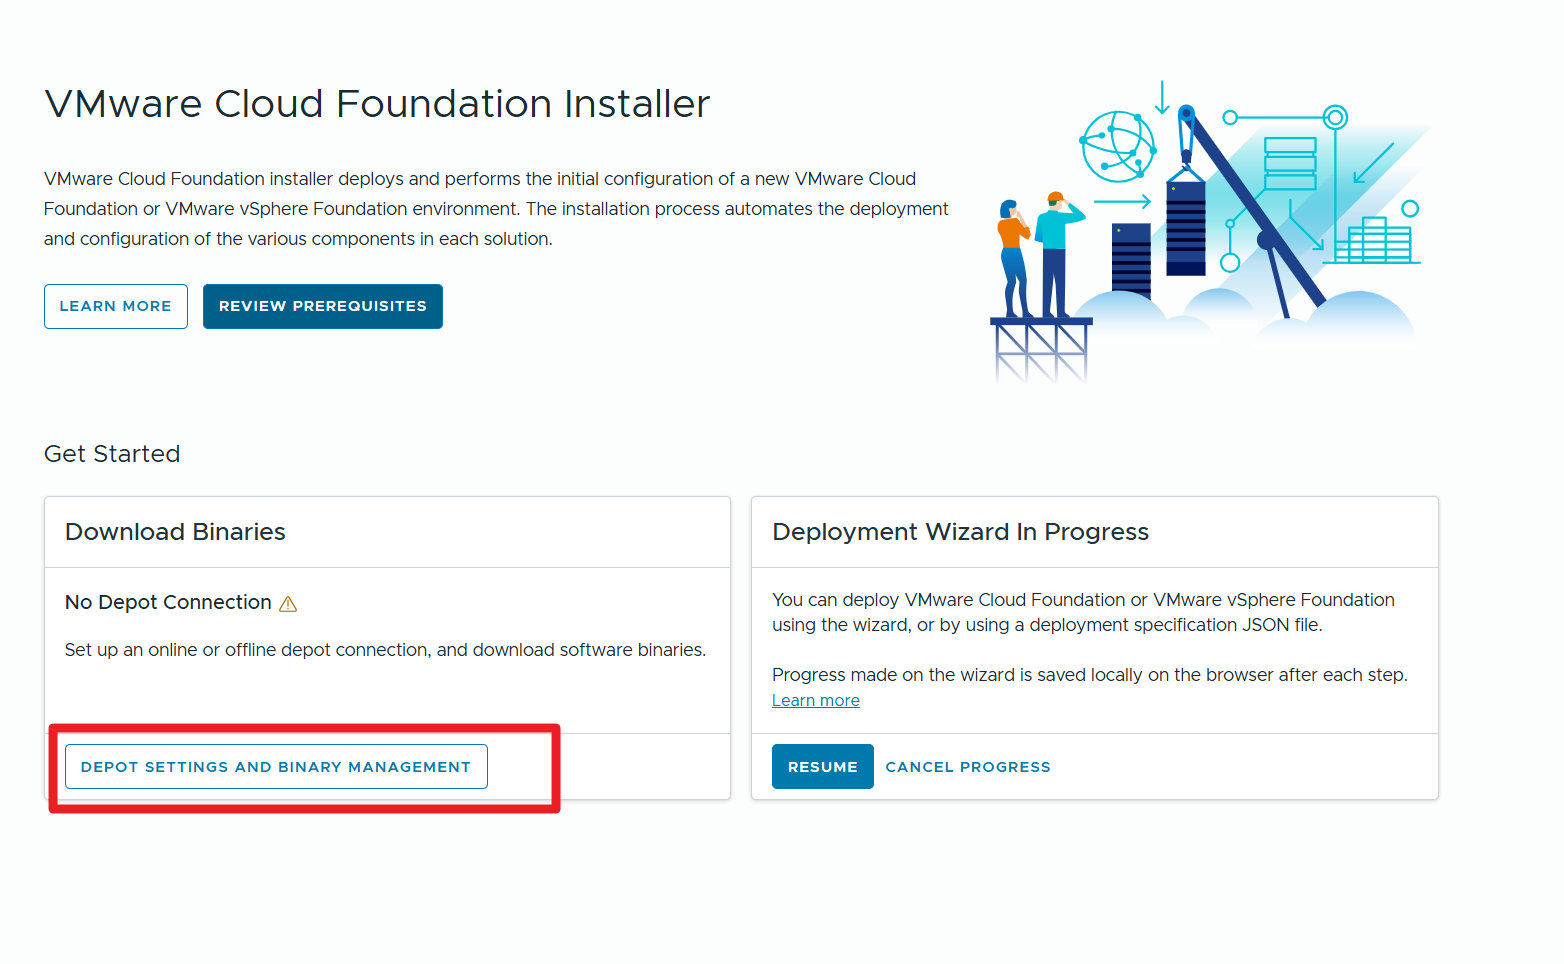
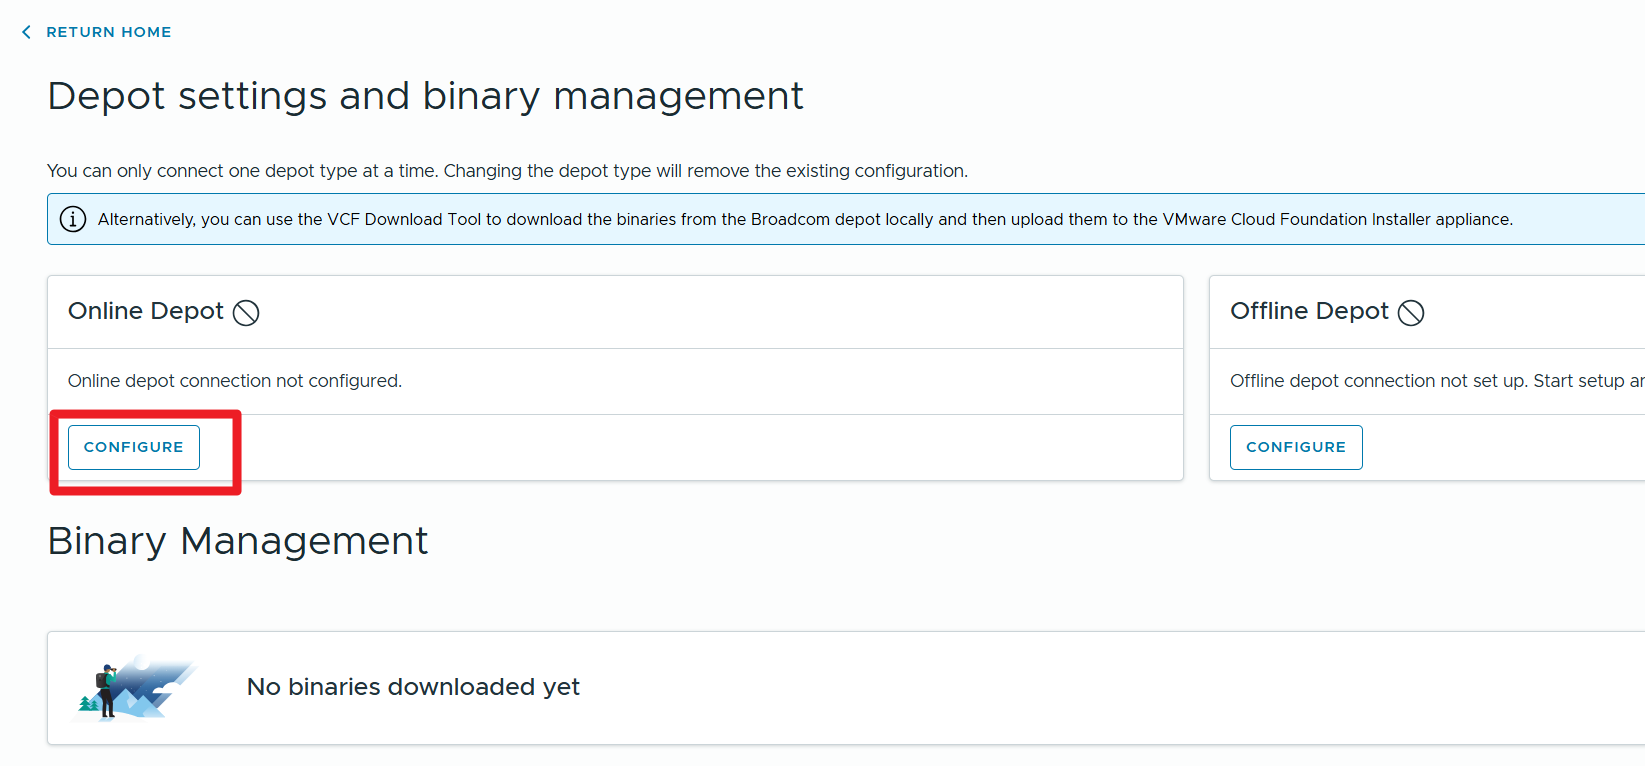
Configure Depot Connection and download the installation Binaries

.

.

.

.

.

Configuration of the repository for downloading the software for installation (vCenter, ESXi, etc.)
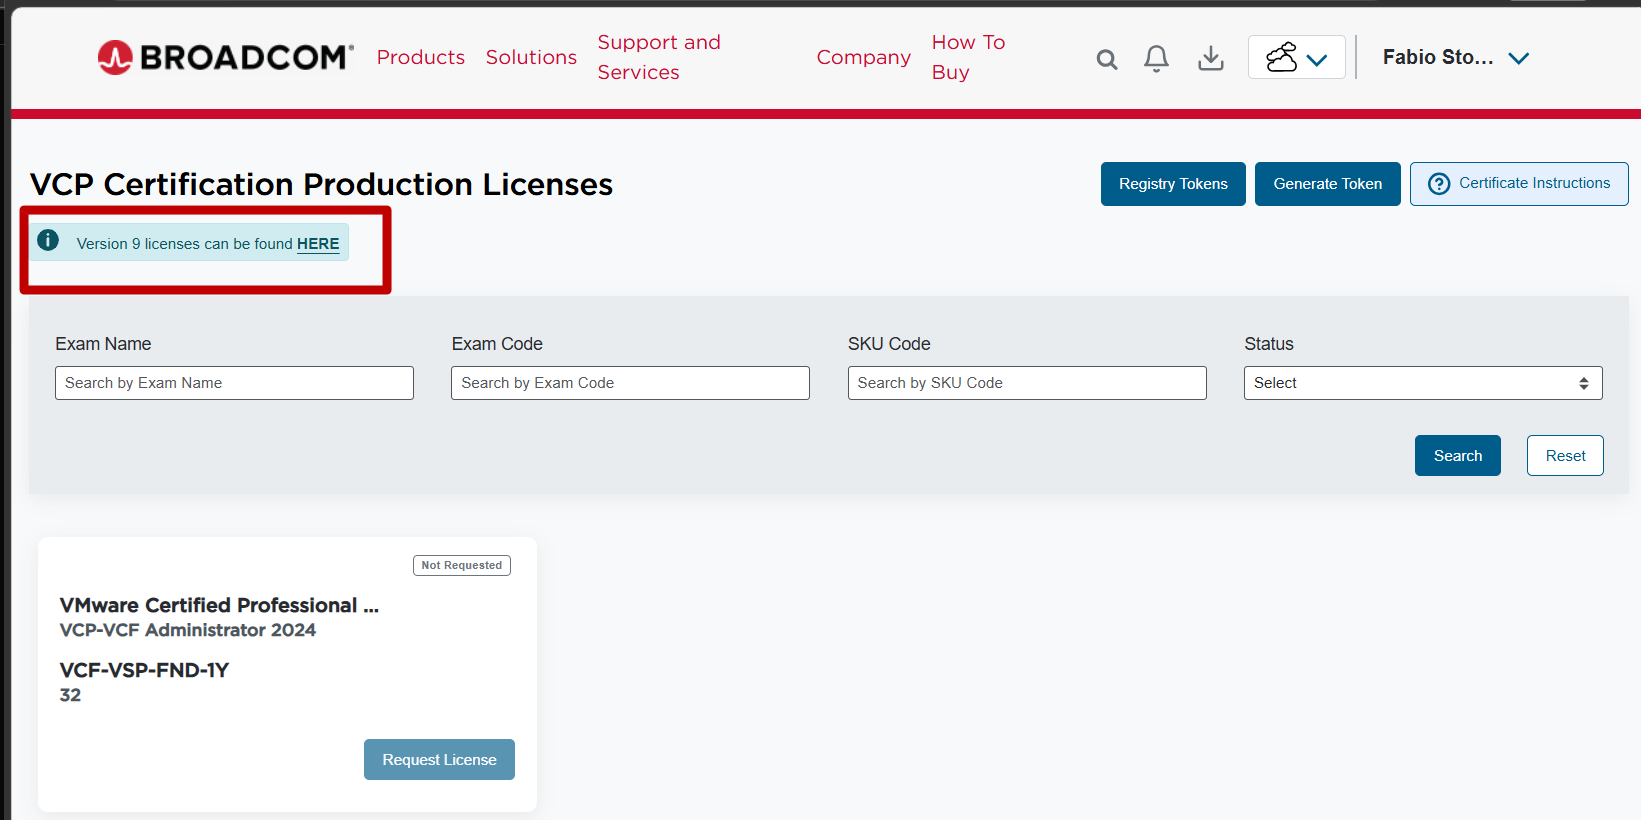
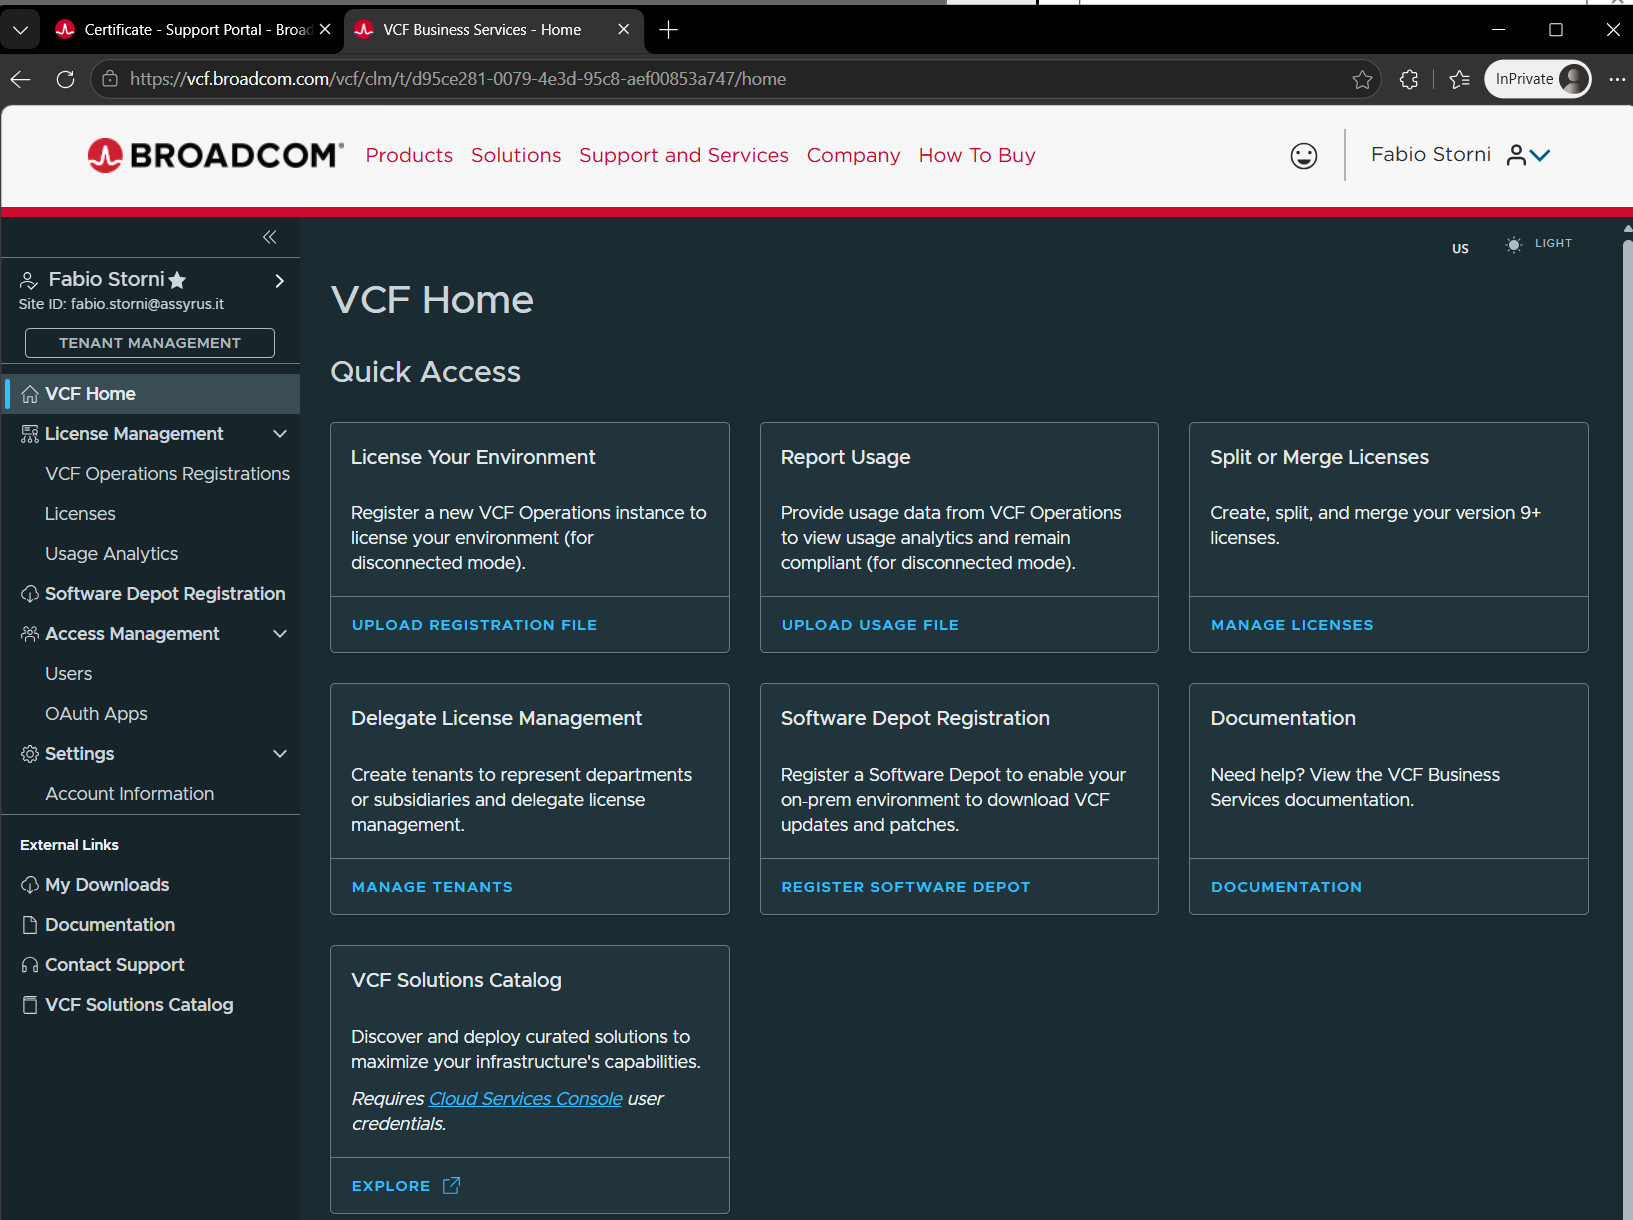
A token must be generated from the portal vcf.broadcom.com

To log in from the Support Portal, select Version 9. Licenses can be found

.

.

.

1.Log in to the VCF Business Services console (vcf.broadcom.com)

.

.

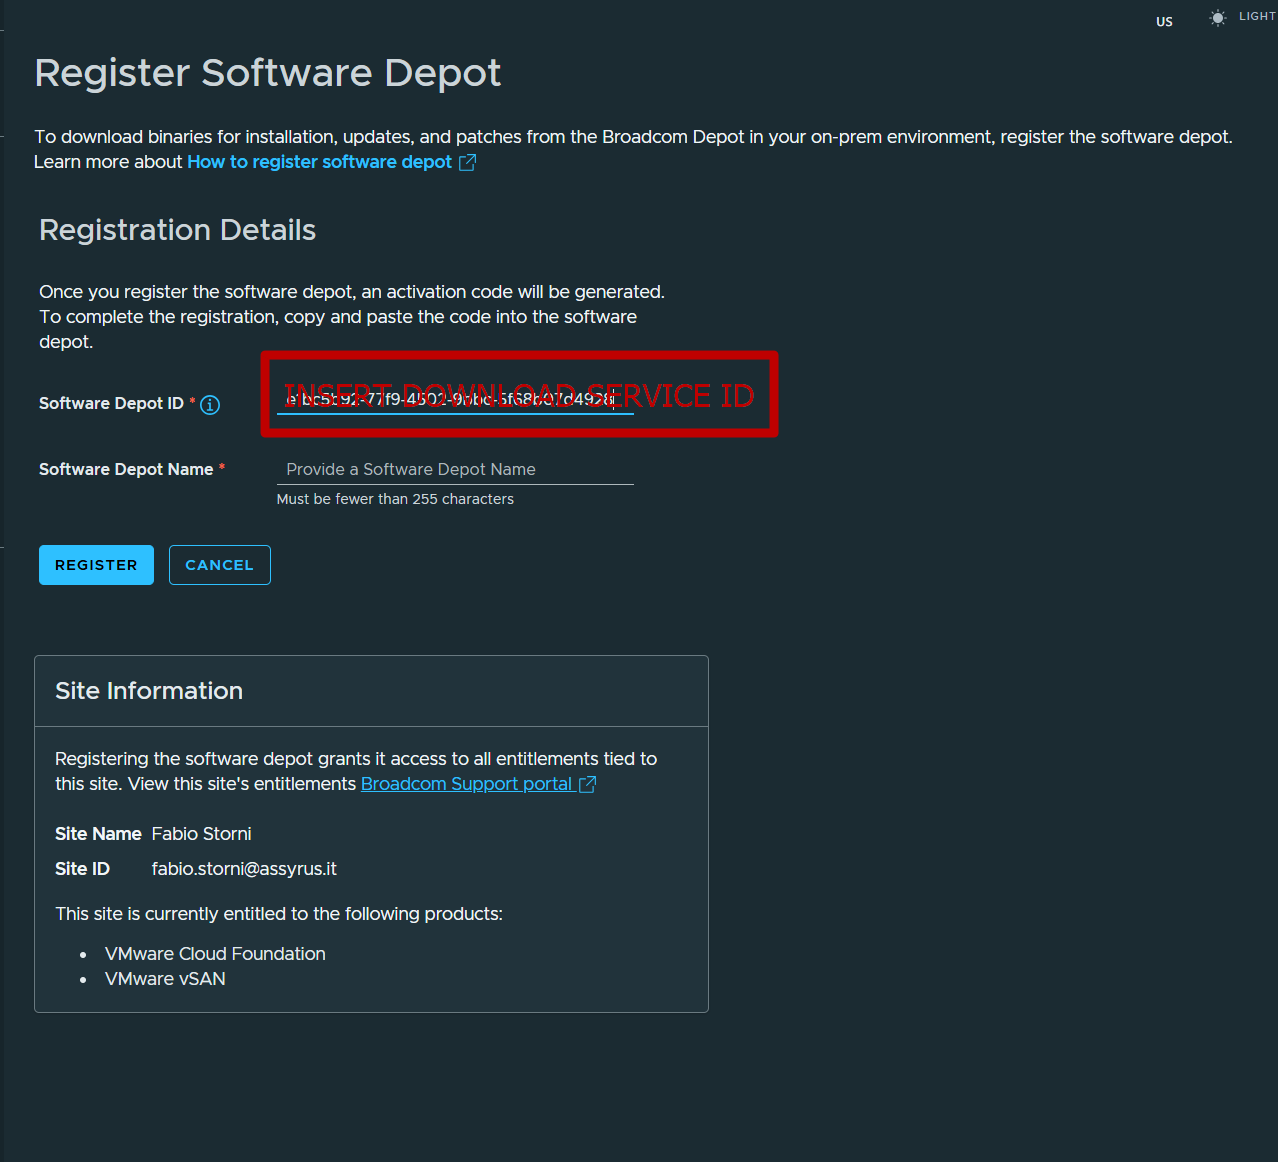
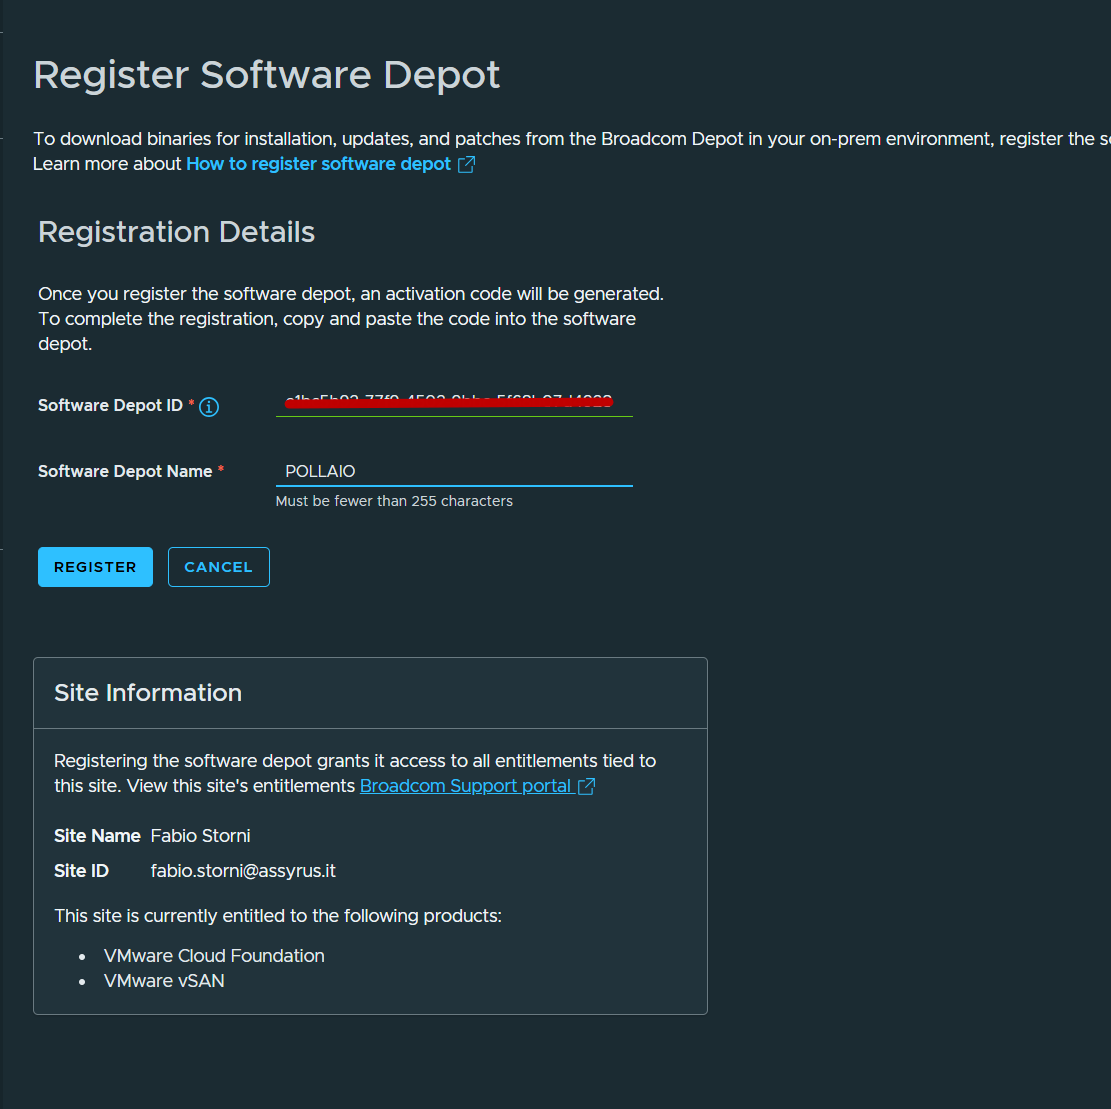
Go to the VCF Installer and create the ID of the depot to upload to the portal

.

.

.

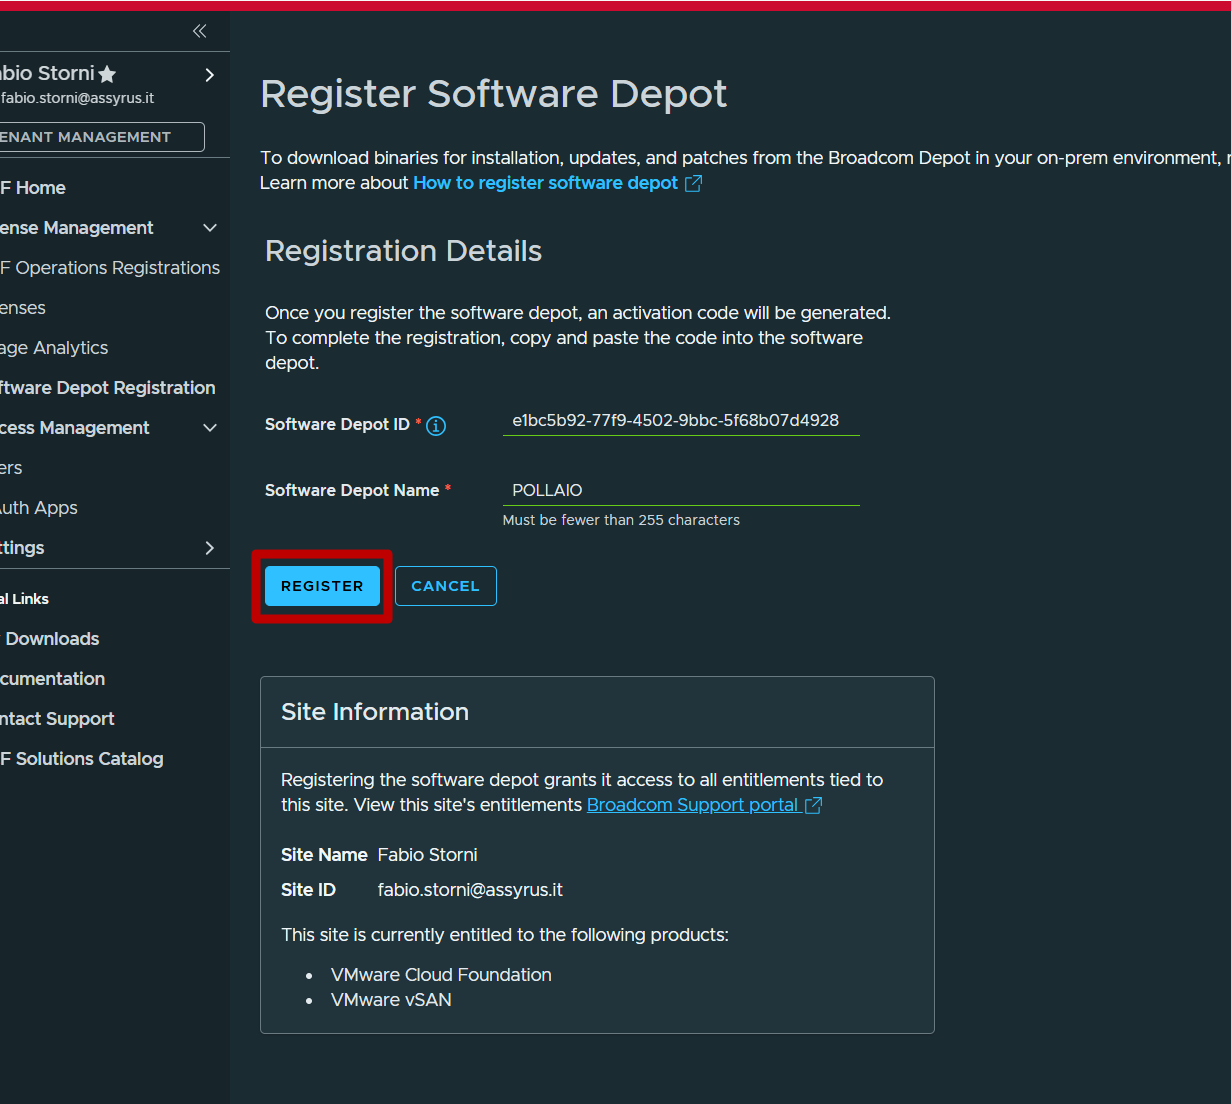
Return to the portal and upload the depot ID to the page that opened

.

.

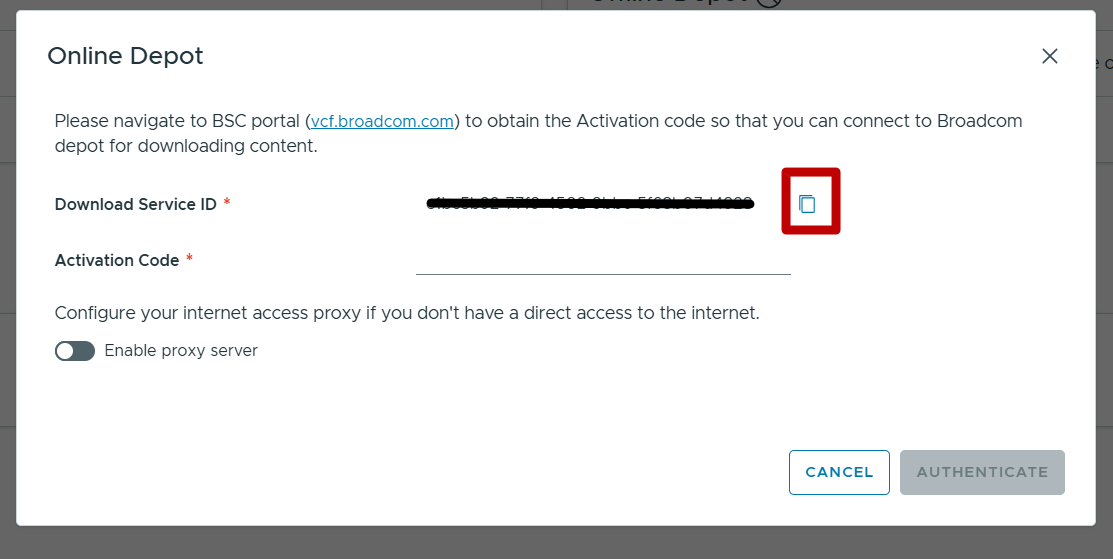
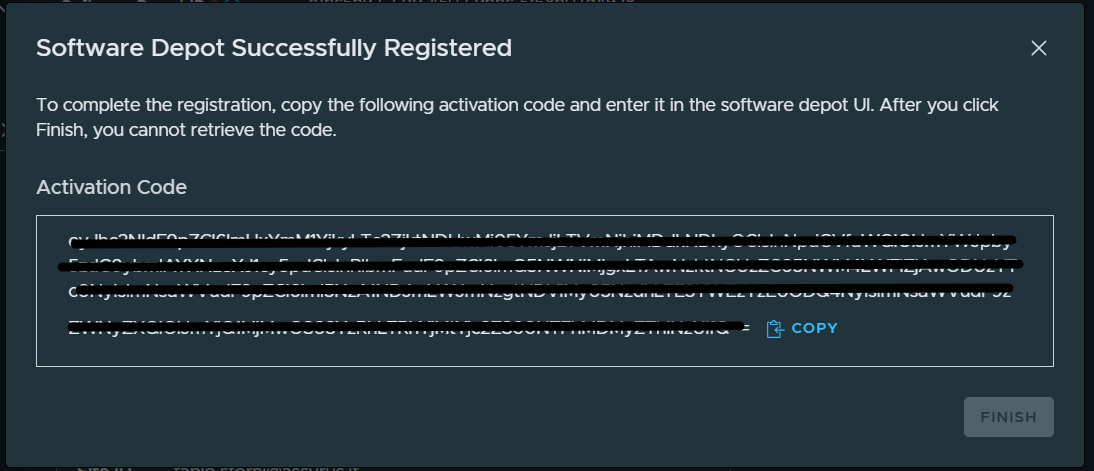
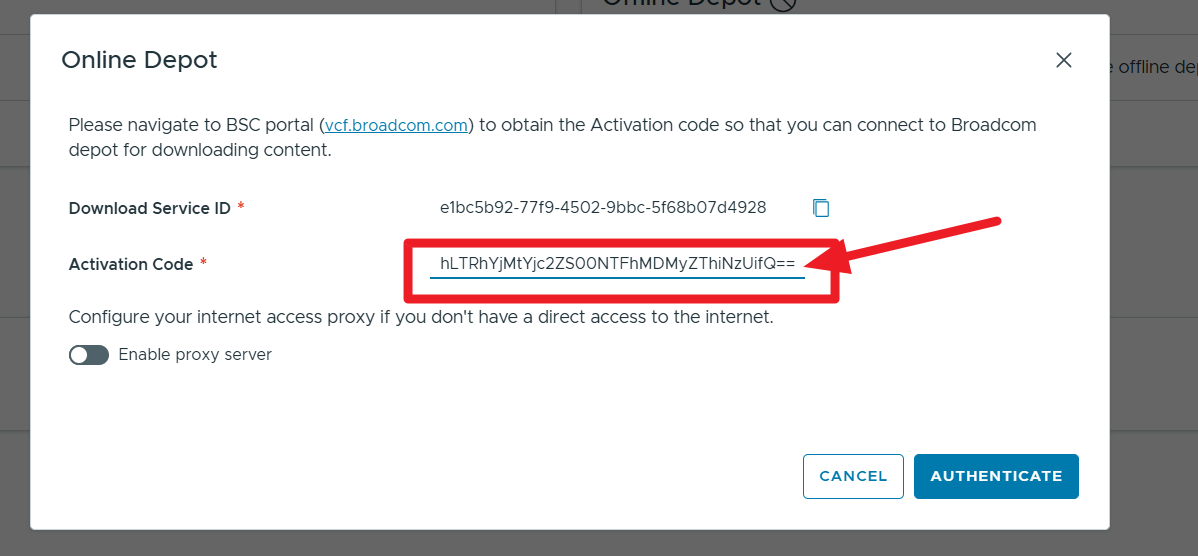
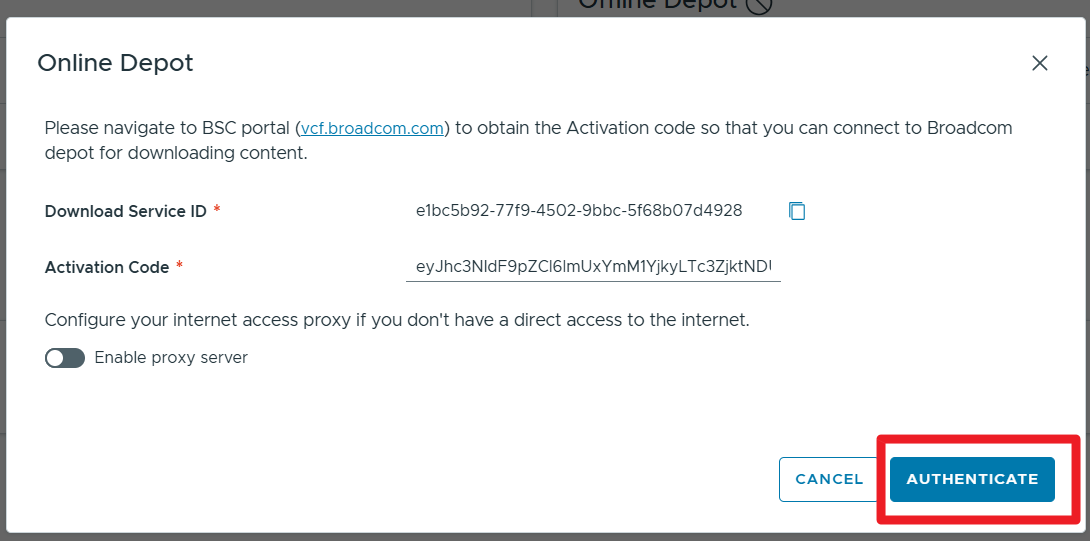
Copy the Activation code and enter it on the vcf installer screen

.

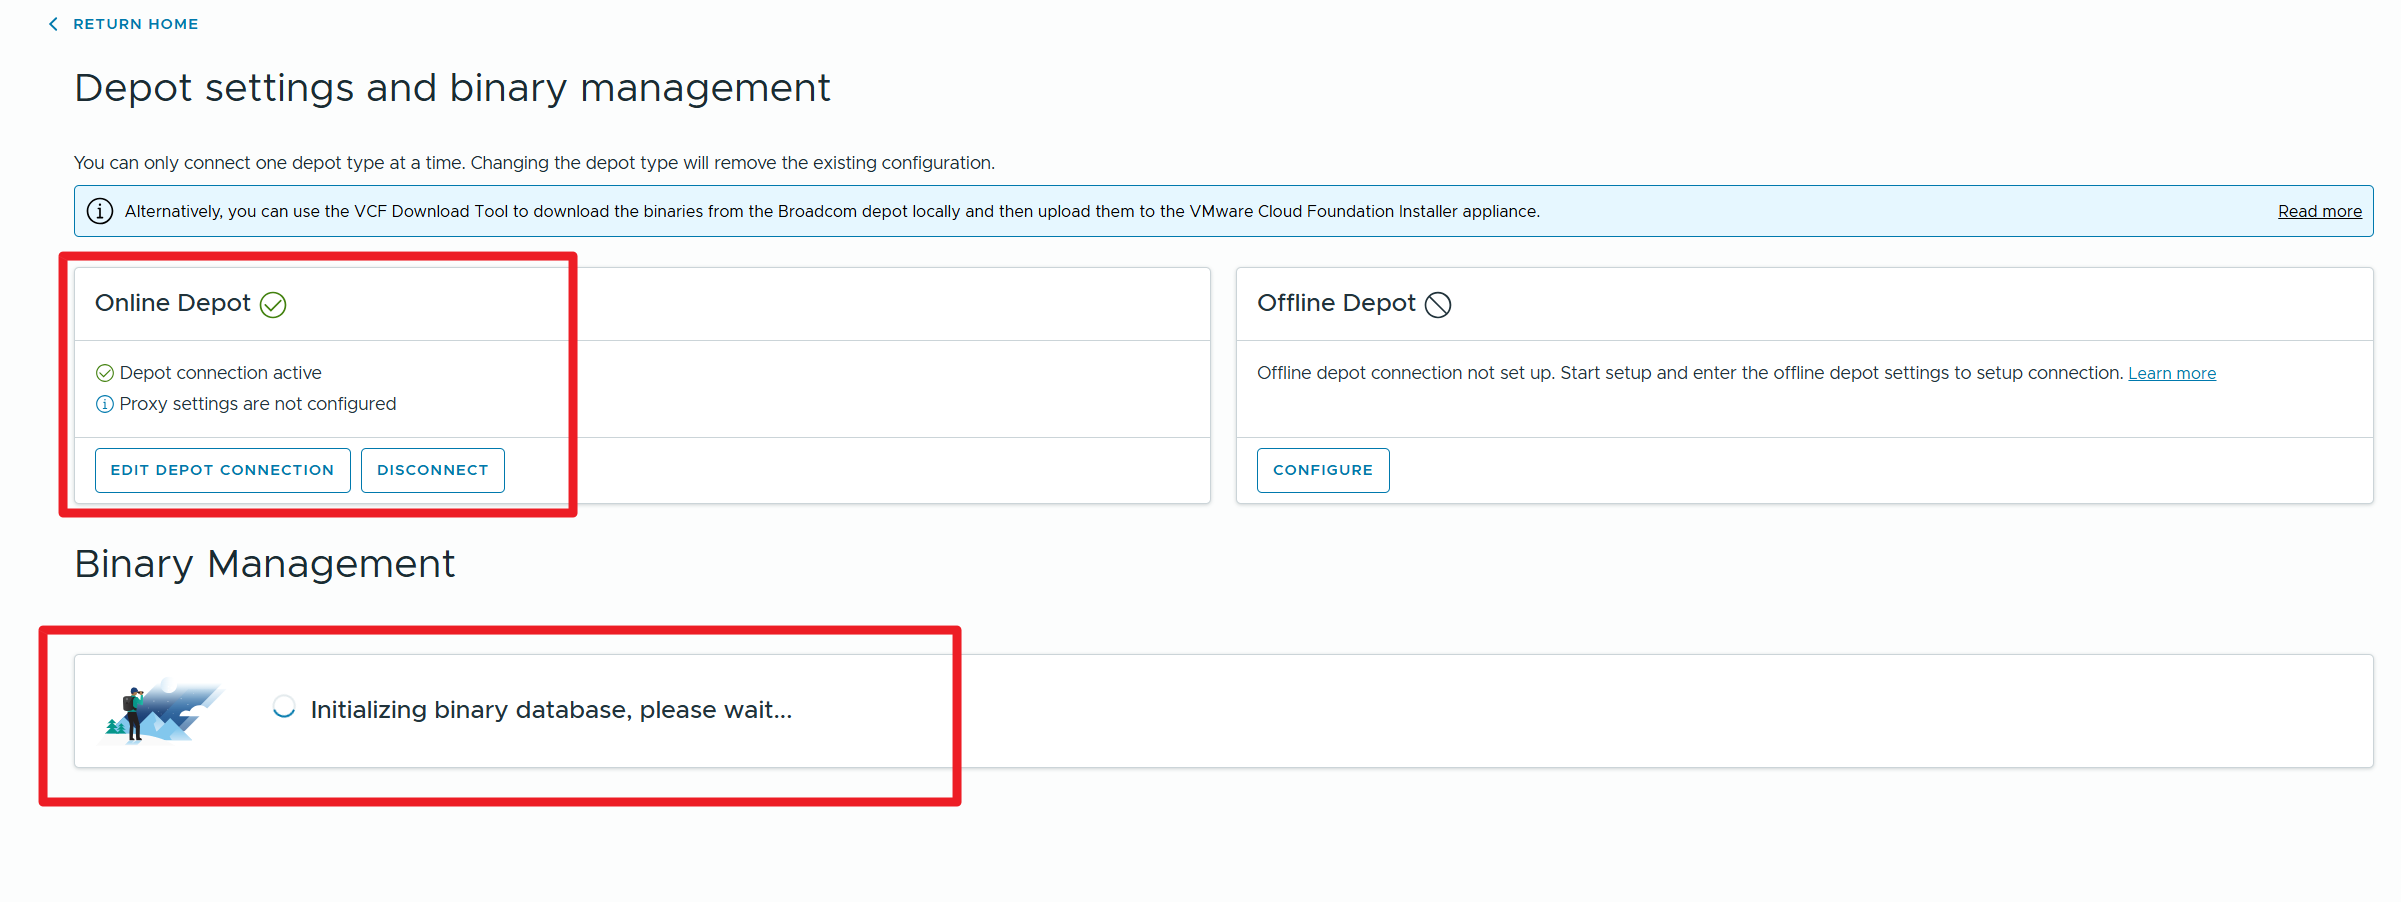
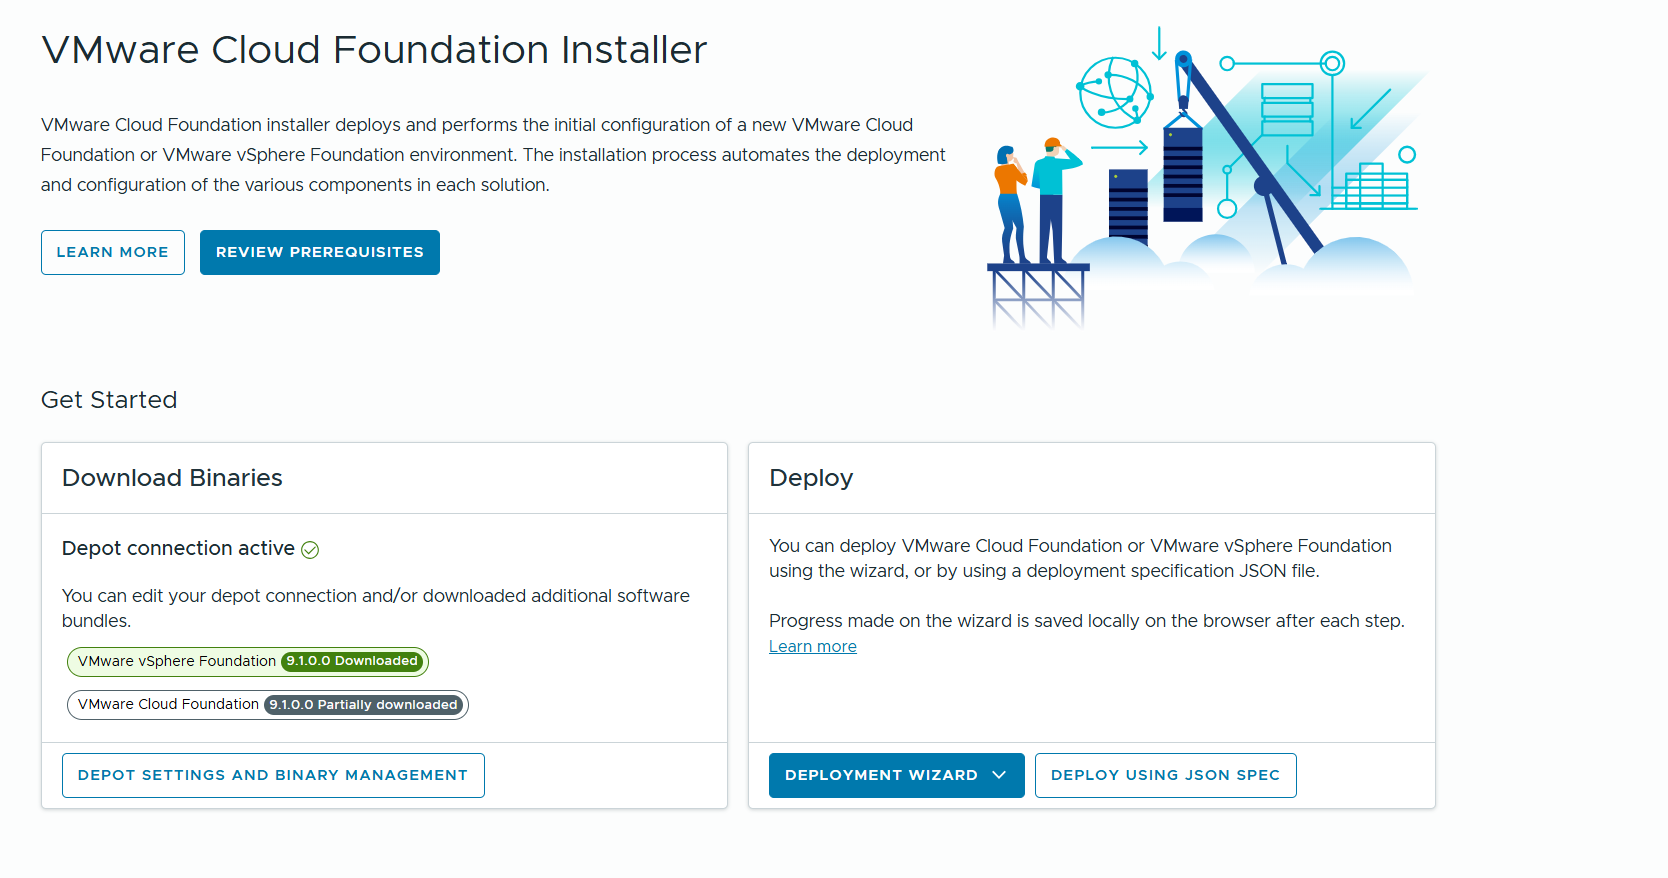
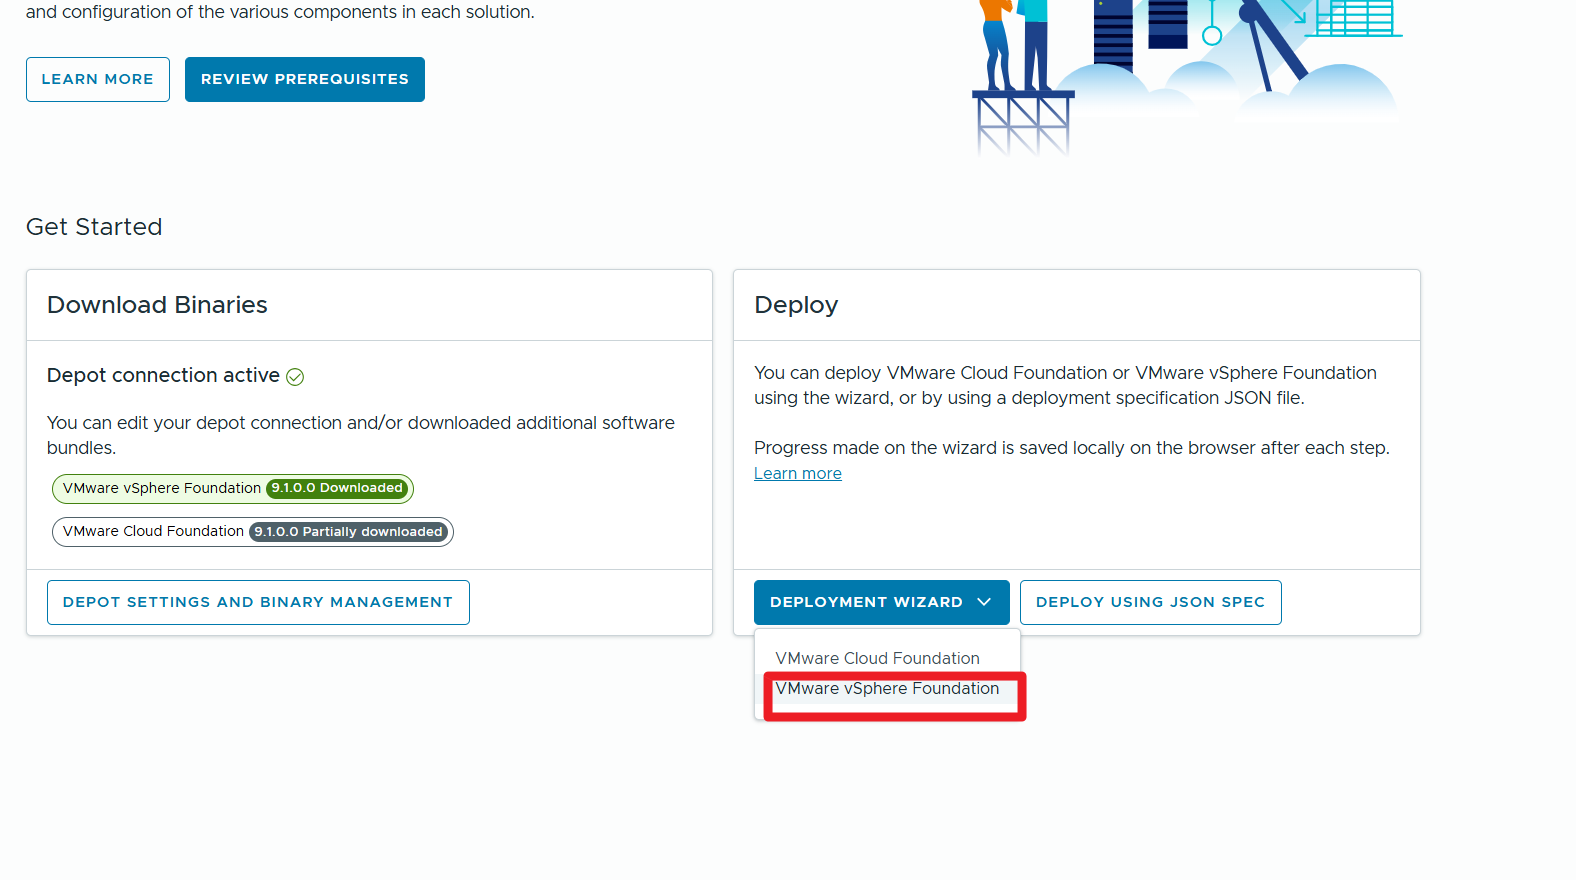
Let’s download the binaries of the VMware vSphere fountadion
.

.

Once the download is complete, we will see everything “Success”
.

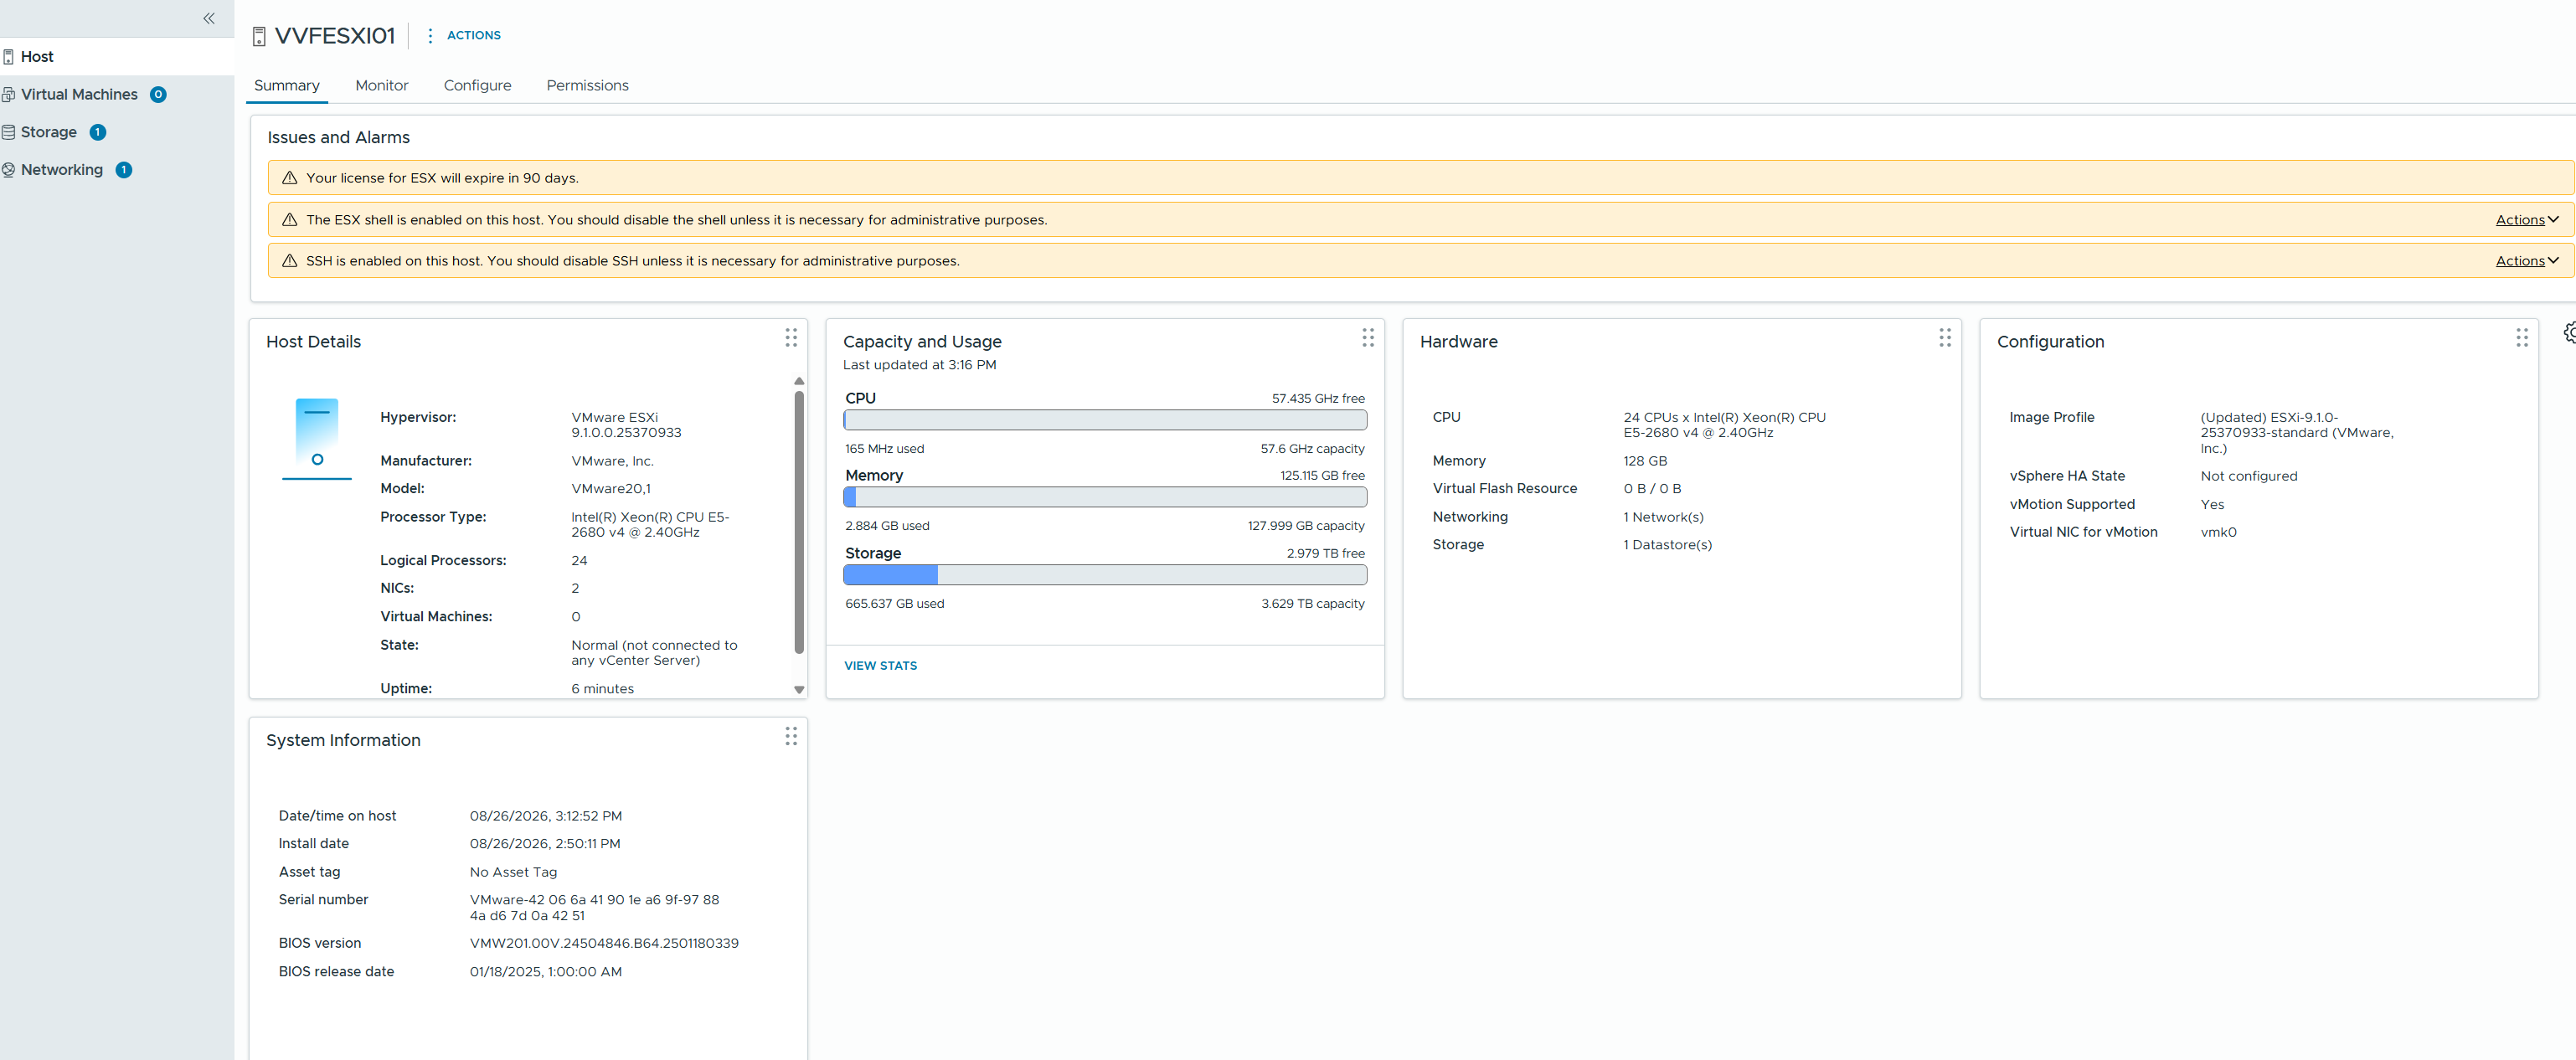
Now I have two ESXi Hosts (in my case, nested vvfesxi01.pollaio.lan and vvfesxi02.pollaio.lan) at version 9.1.0, just installed with no particular configuration (No Storage and more)

Deploy VVF

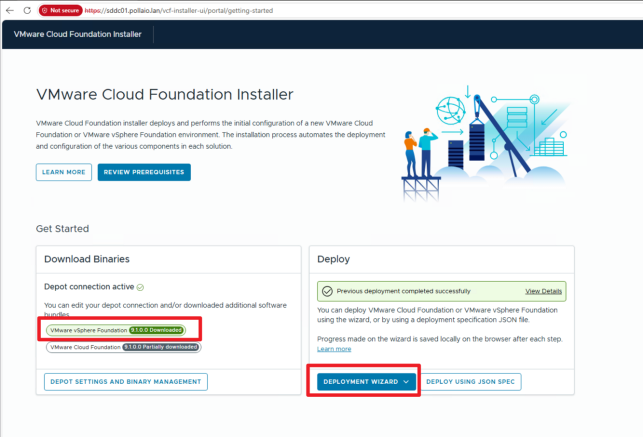
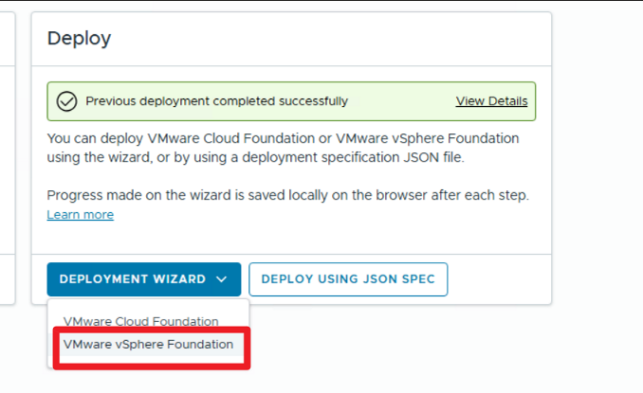
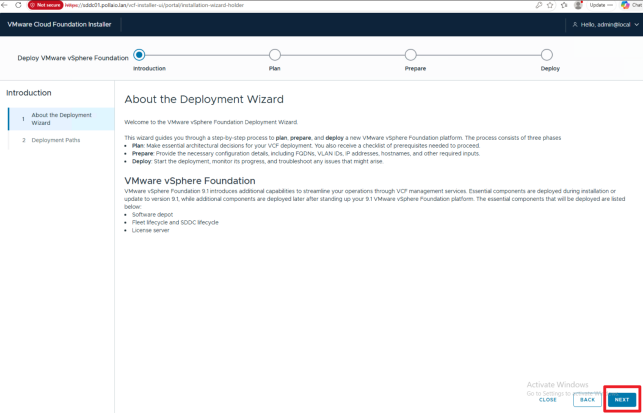
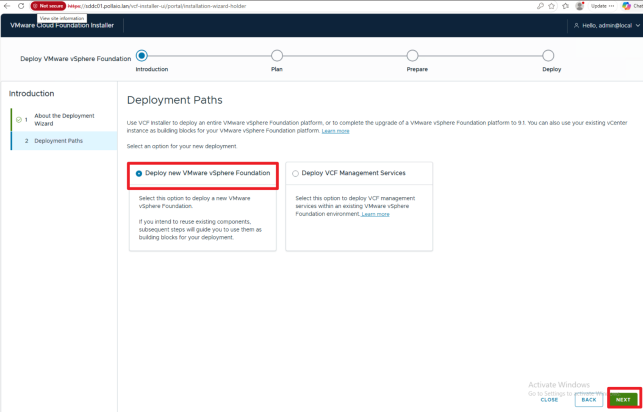
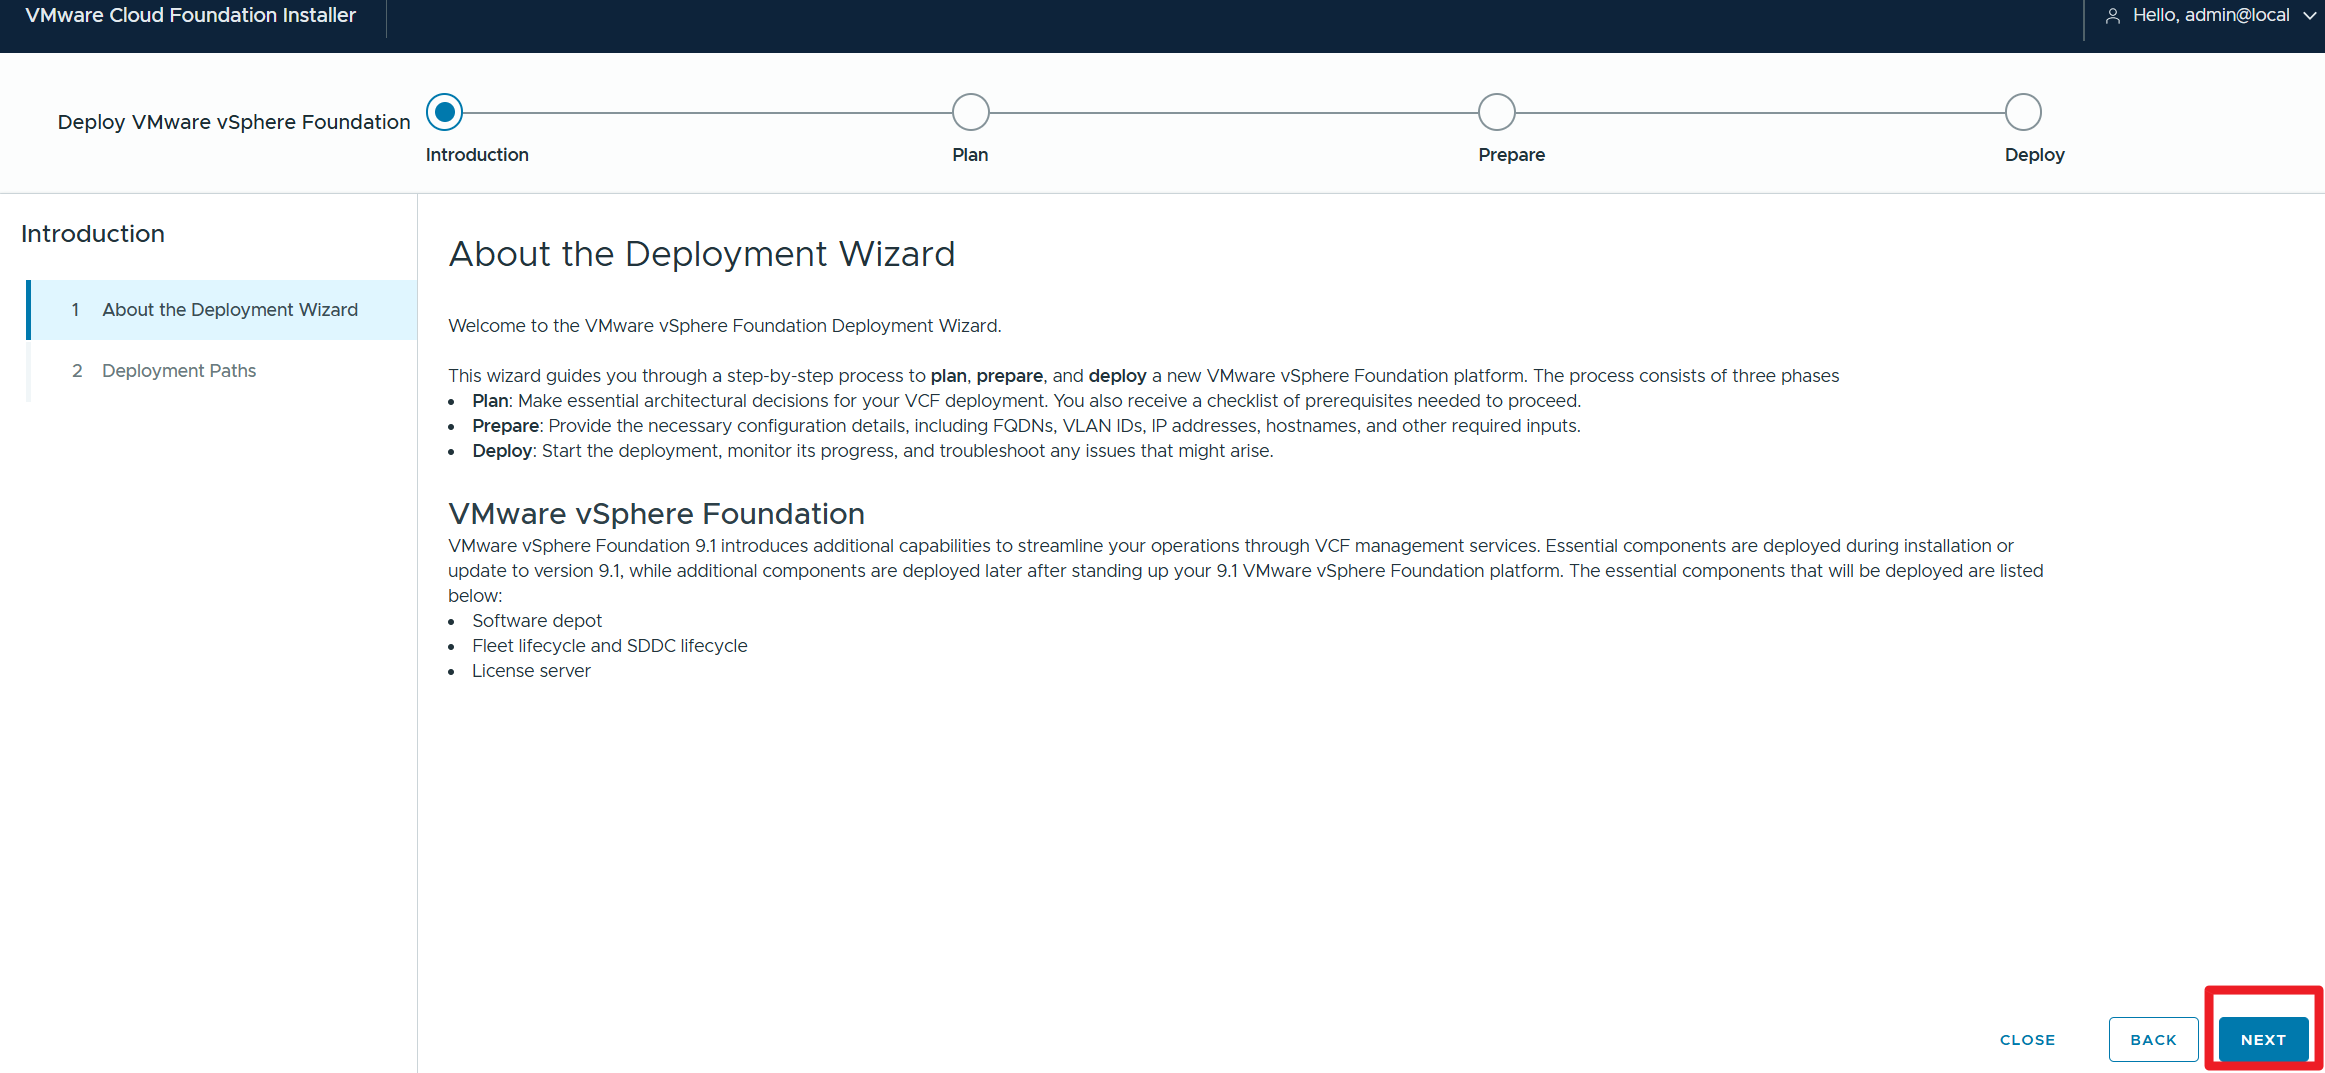
Let’s proceed with the deployment, selecting “Deployment Wizard” from the VCF Installer

.

.

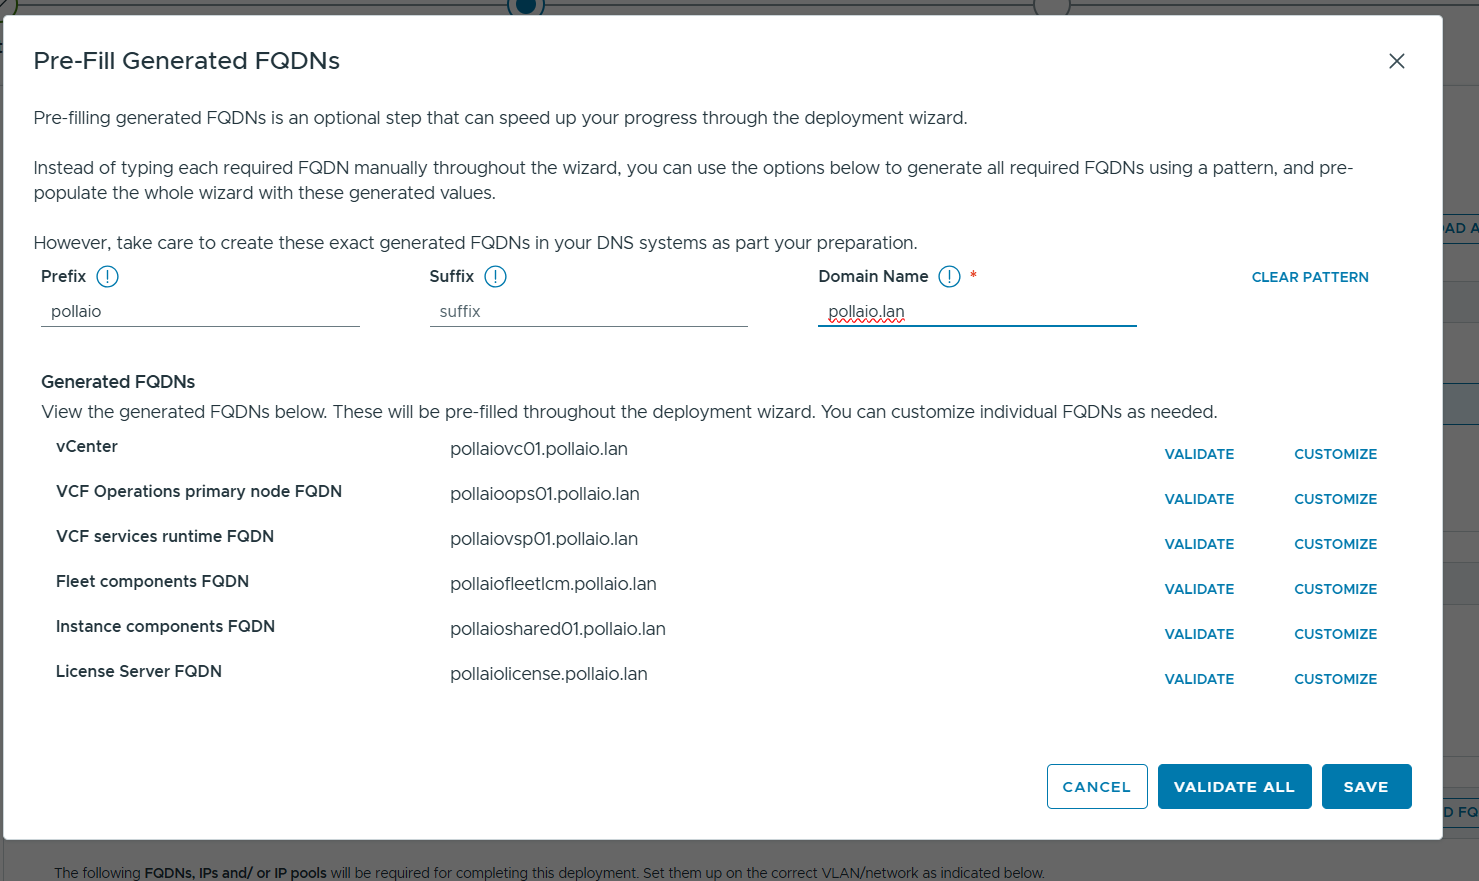
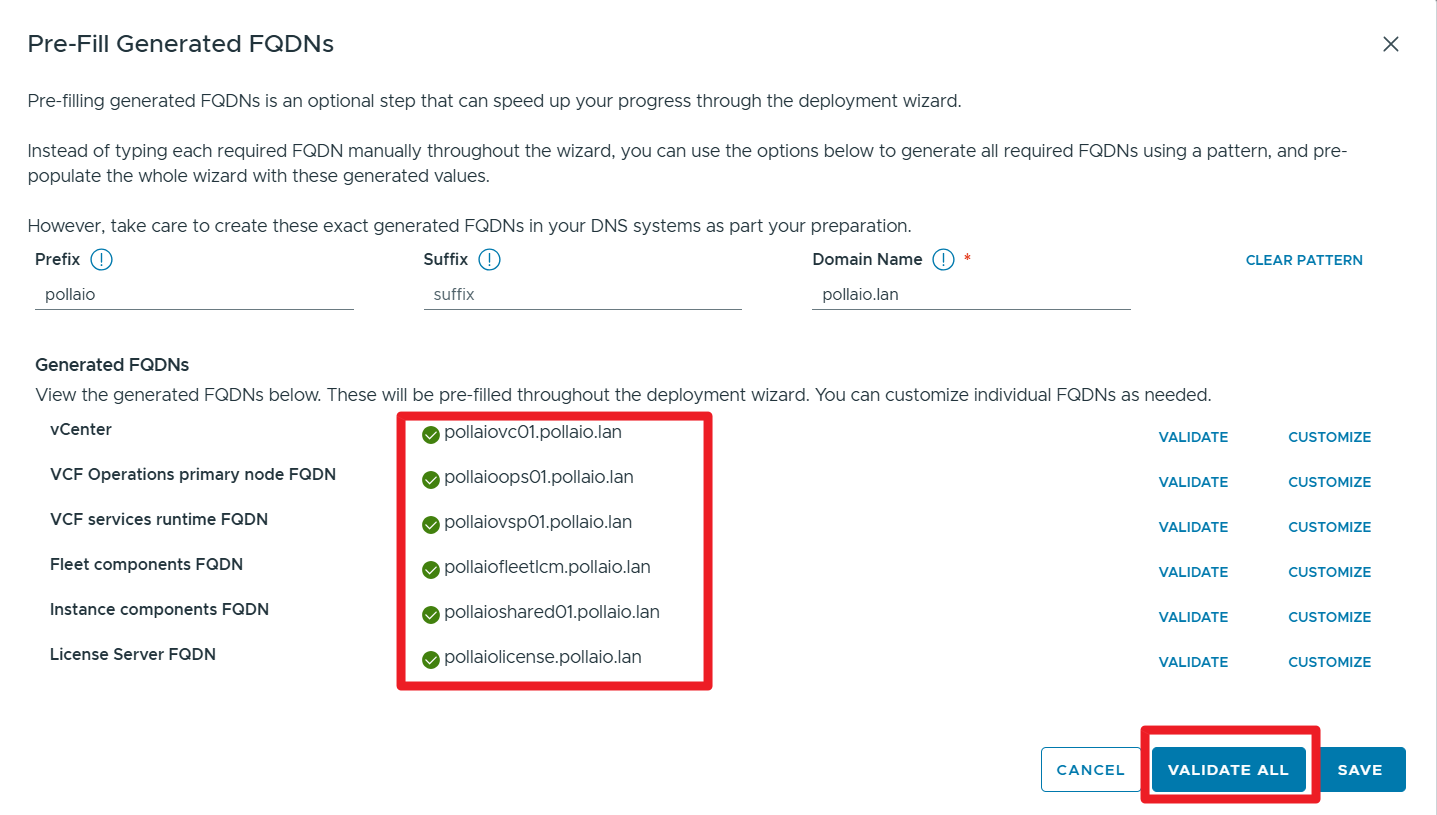
Let’s define the FQDNs for the various components (vCenter…), and I must obviously have already entered the association with the IP in my DNS (always remember the reverse of the DNS)

.

I run the validate all

.

.

.

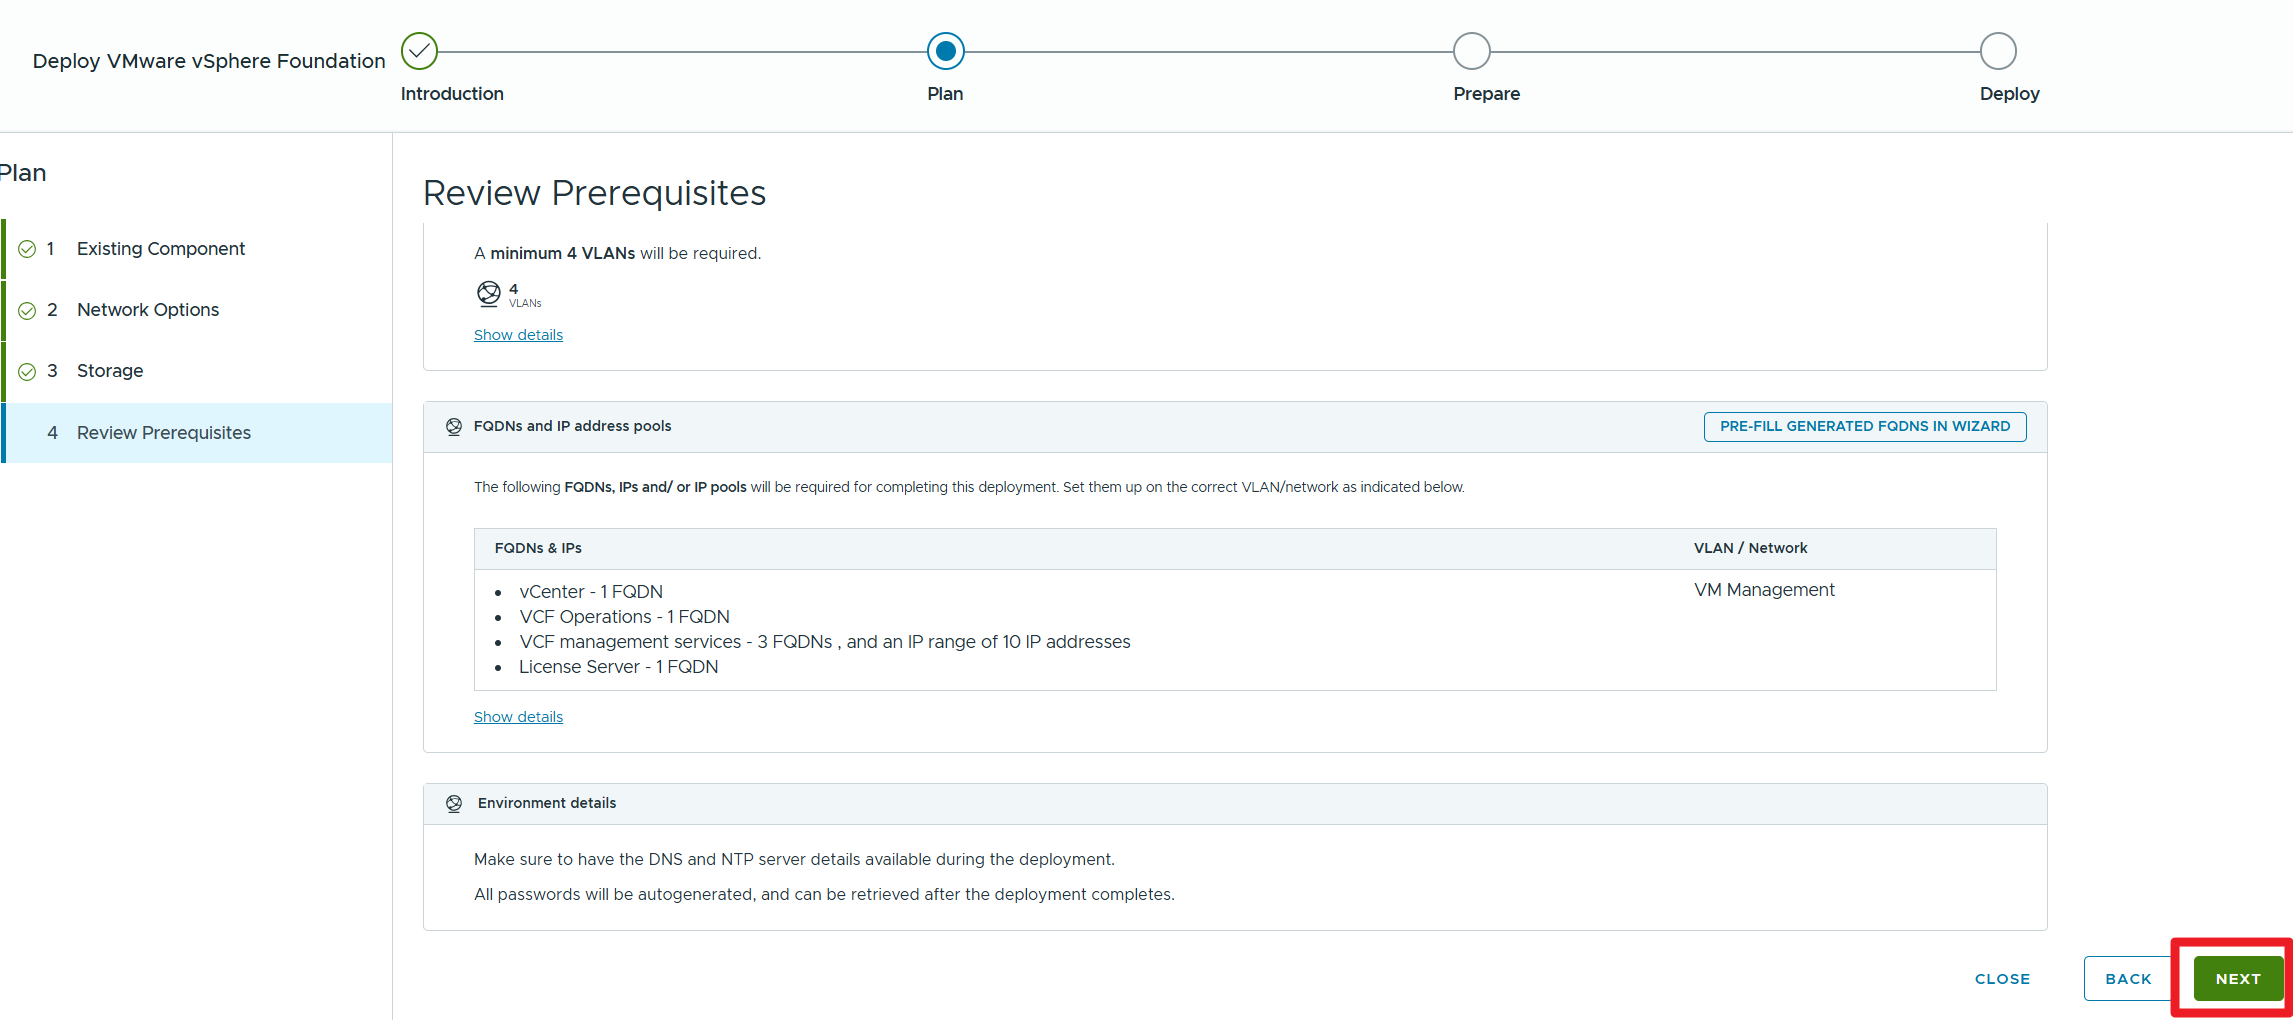
Now let’s save and continue

.

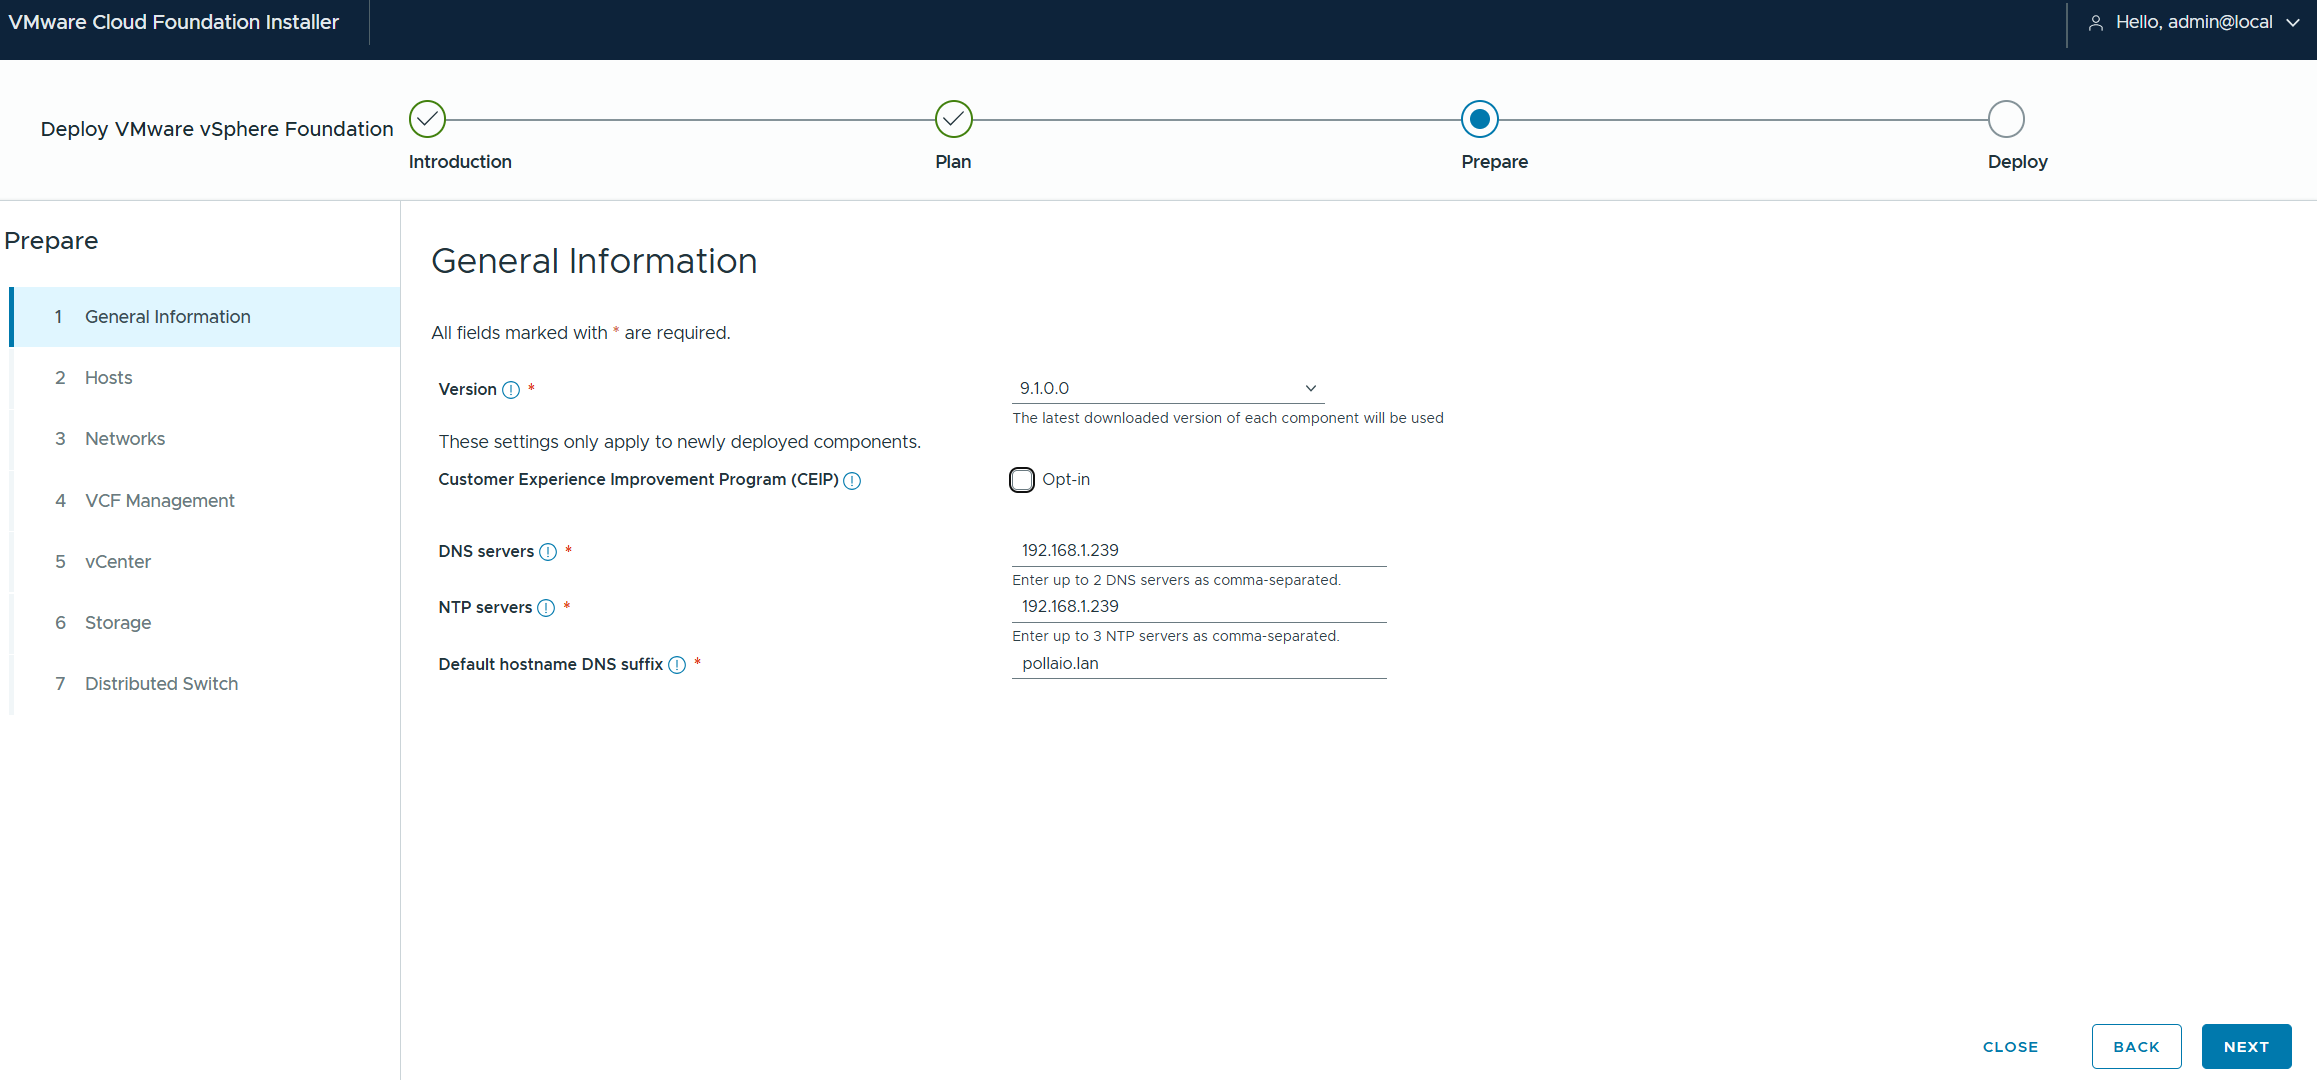
Select the version of VVF and DNS, NTP server and DNS suffix

.

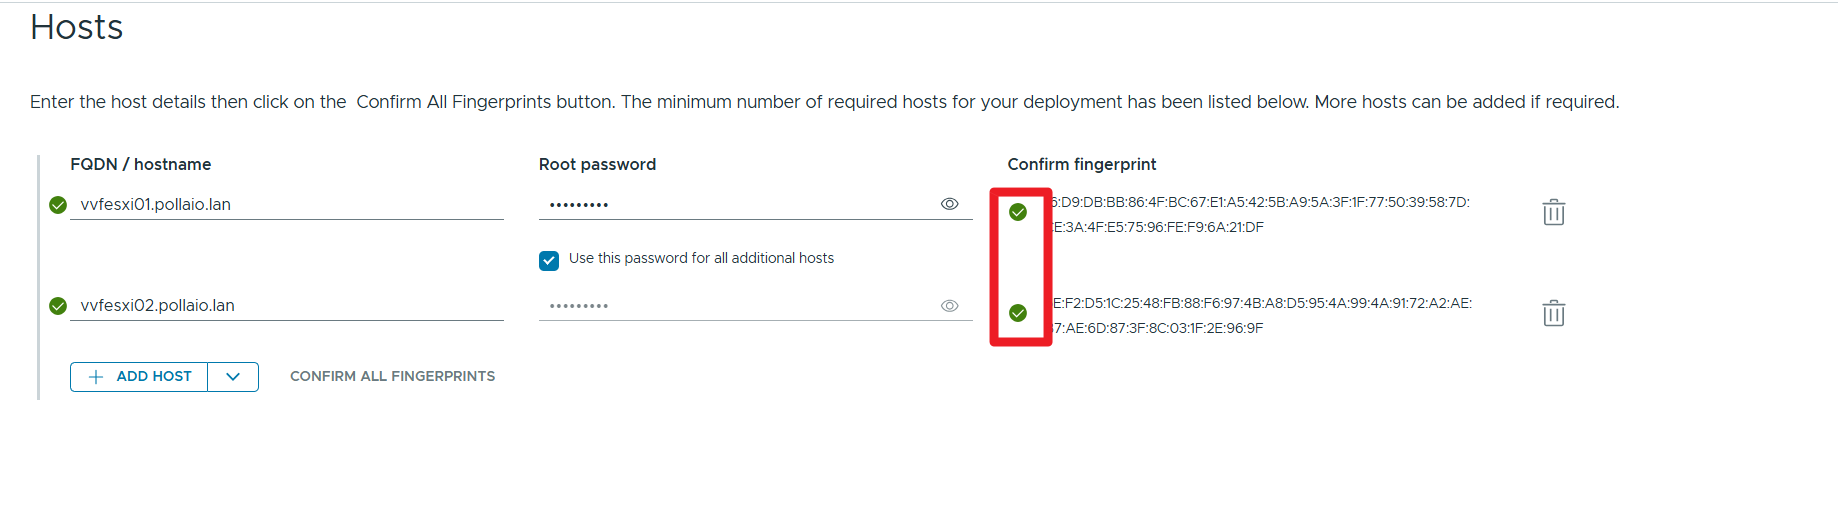
We add the ESXi hosts

.

Caution: Verify the certificates correctly on the ESXi hosts, and that the hostname is populated correctly

.

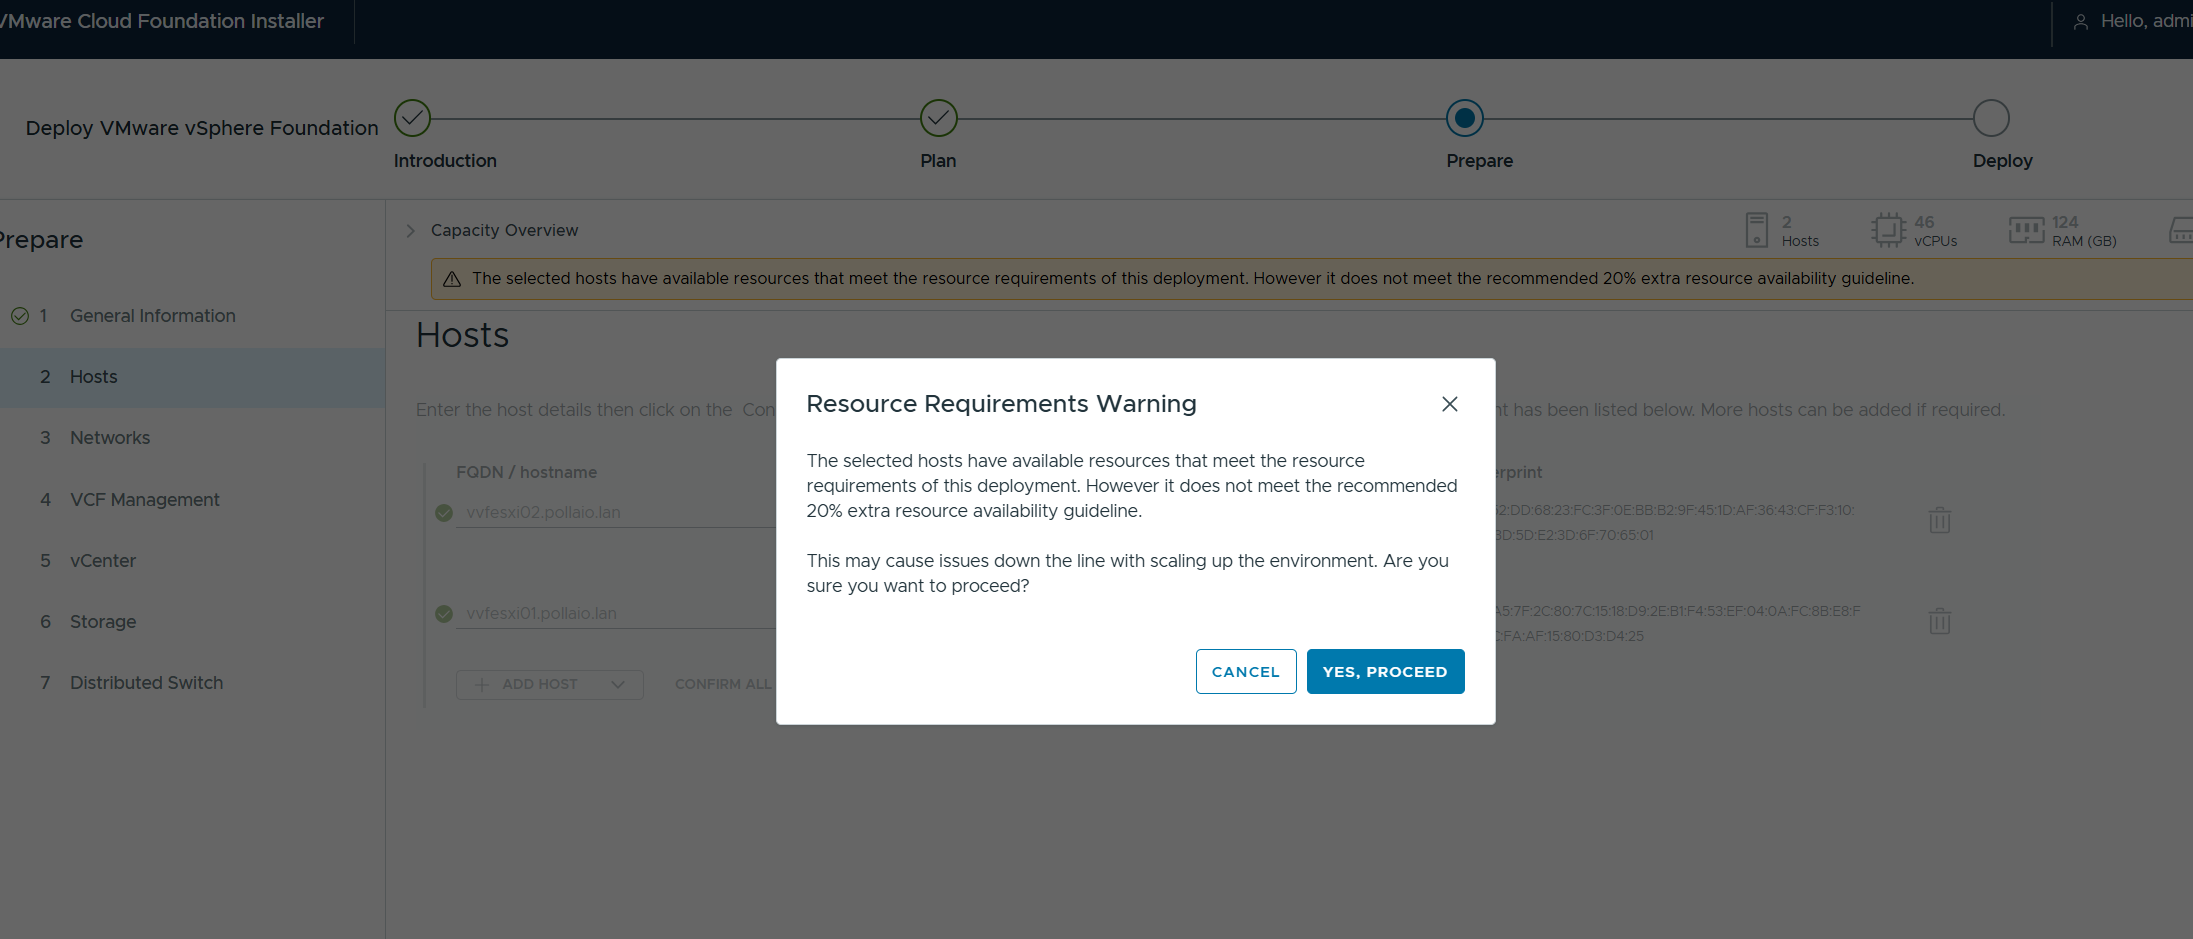
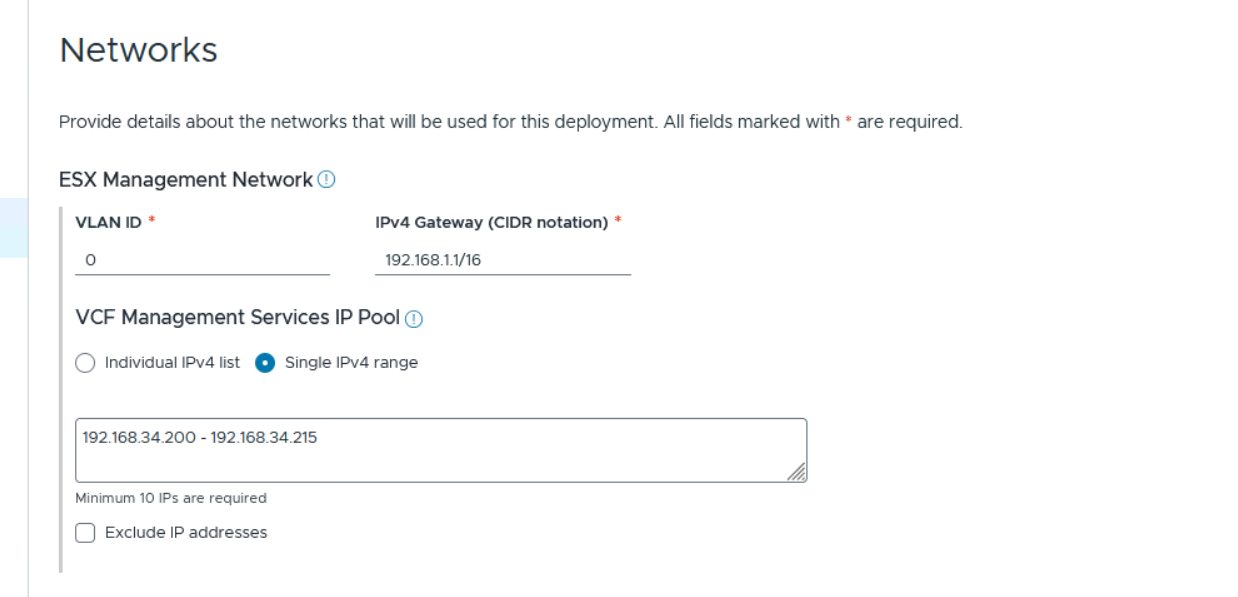
Let’s configure the network, where we will enter the configurations for the VVF management, vMotion and NFS part.

Start a New vSphere Foundation Deployment by Using the VCF Installer Deployment Wizard