 So, you’ve got your shiny new public SSL certificate, and it’s time to make your Unified Access Gateways (UAGs) happy. Excellent choice — a properly installed certificate keeps your users safe, your browser warnings quiet, and your security team smiling.
In this post, I’ll walk you through how to replace or install a new public certificate on your Omnissa Unified Access Gateways.
We’ll use a PFX (PKCS#12) certificate file, since it neatly bundles the private key, certificate, and intermediates in one convenient package.
My Preferred Setup
I like to keep things clean and consistent, so instead of juggling multiple certificates, I use a single public certificate for all Unified Access Gateways in my deployment.
Here’s the trick:
When generating or requesting your certificate, make sure the Subject Alternative Name (SAN) section includes:
If you use the UAGs for internal access (for network segmentation), I suggest adding to SAN the internal UAG FQDN.
🔧 Step-by-Step: Installing the Certificate
(Insert screenshots of each step here)
Open your browser and connect to the UAG admin interface:
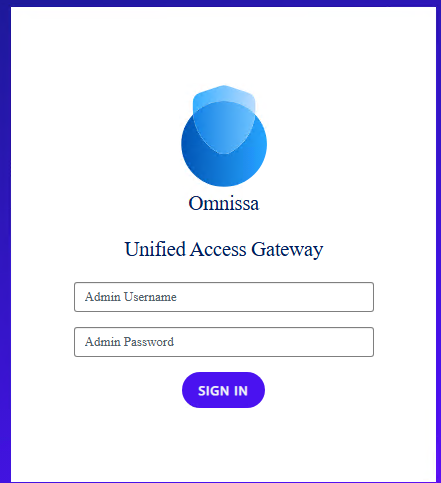
Sign in with your admin credentials.
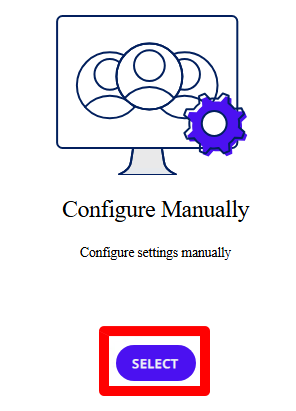
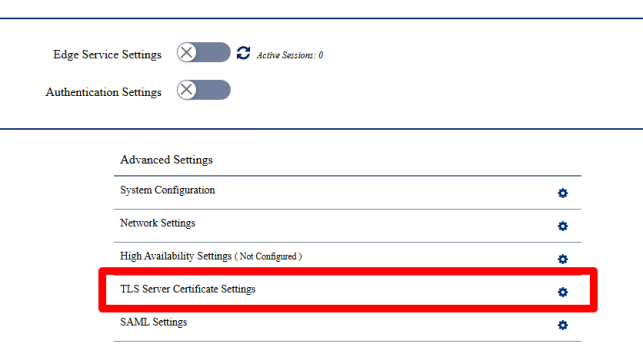
From the left menu, navigate to:
System Configuration → TLS Server Certificate Settings
You should already have your .pfx file ready, containing:
You’ll also need the PFX password you set when exporting the file.
In the TLS configuration page, click Select PFX, browse to your certificate file, and enter the password.
Then hit Save at the bottom of the page.
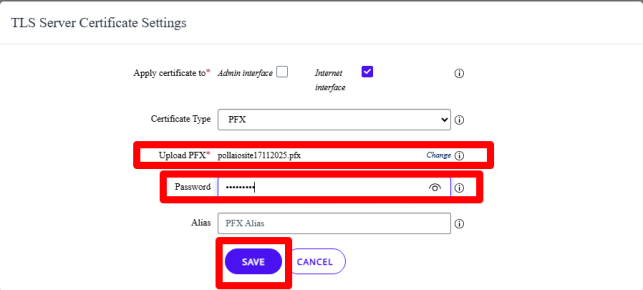

The Unified Access Gateway will automatically restart the Edge service to apply the new certificate.
Grab a coffee ☕ — it only takes a few seconds.
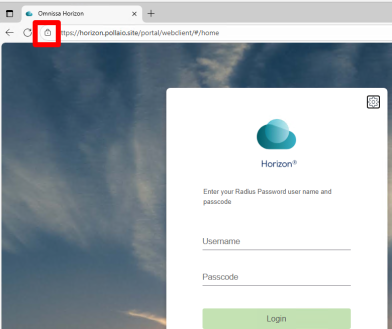
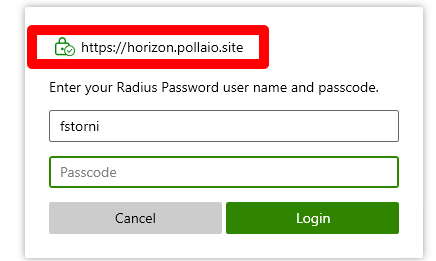
Once the UAG is back online, open the VIP URL in your browser or Horizon Client and check the certificate details.
Browser
Horizon Client
Bonus Tips
That’s It!
You’ve successfully installed a new public certificate on your Omnissa Unified Access Gateways.
Your users now enjoy secure, trusted access — and you get the satisfaction of another clean green padlock in the browser.