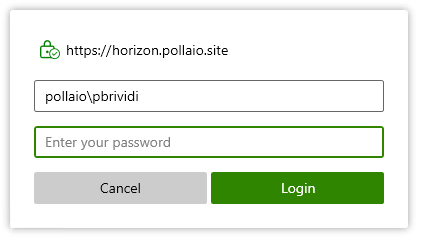
In the production and home lab environments, the SSL Certificate is a point of attention that is especially important when the certificate is nearing its expiration date.
Normally, the expiration date is important to note in an Outlook calendar or other tool as a reminder to renew (a few days before, because if a Public CA generates the certificate, the renew requires waiting some days to have the certificate file). It is important to renew the certificate because some applications can stop running, and for the visibility of our business, it may have a bad reputation.
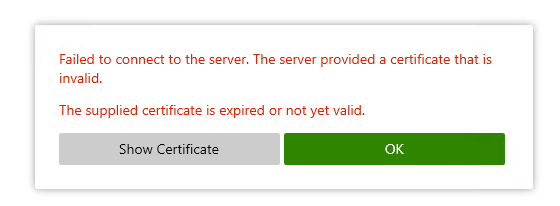
Well in my home lab, where I use the NSX Advanced Load Balancer for Omnissa Horizon, at this time (Christmas Day) my wildcard SSL expired.
Well, I use a Let’s Encrypted certificate (free certificate) and I use Cerbot tool for the renewal.
On my PC where I installed the Cerbot tool I use this command to renew and create the certificate file:
certbot certonly –manual -d *.pollaio.site -d pollaio.site –agree-tos –preferred-challenges dns –server https://acme-v02.api.letsencrypt.org/directory –key-type rsa
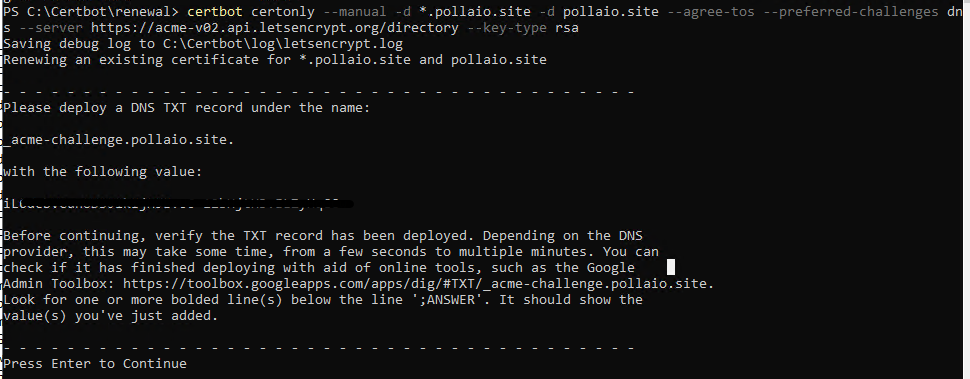
and I need to add a new TXT record on my DNS provider.
After adding the TXT record I can continue

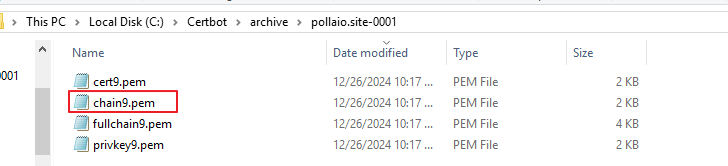
Now I have in my Cerbot directory this new file:
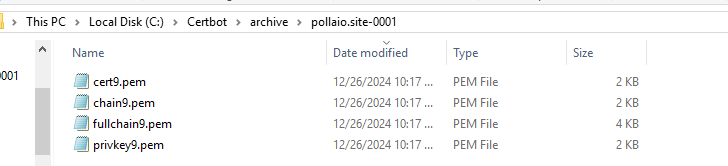
Well, I will use the cer9.pem, chain9.pem and privkey9.pem for the certificate renewal on NSX ALB.
Access NSX ALB console, go to templates zone and under Security select SSL/TLS Certificates

We need to add the new certificate, I suggest to create a new entry and not replace the actual certificate.
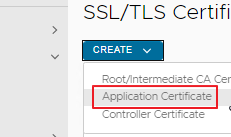
Under Create select Application Certificate
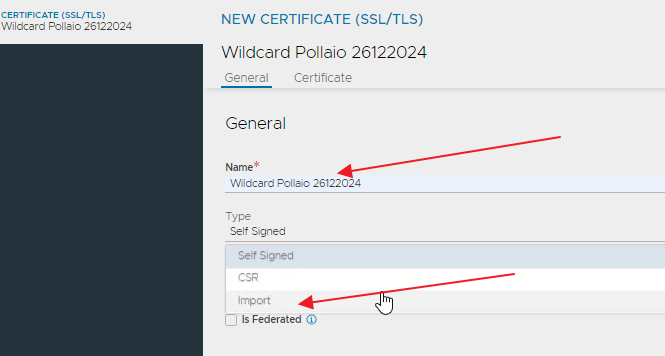
Add the certificate name (I normally add the name and the expiration date or the creation date) and how certificate type select Import
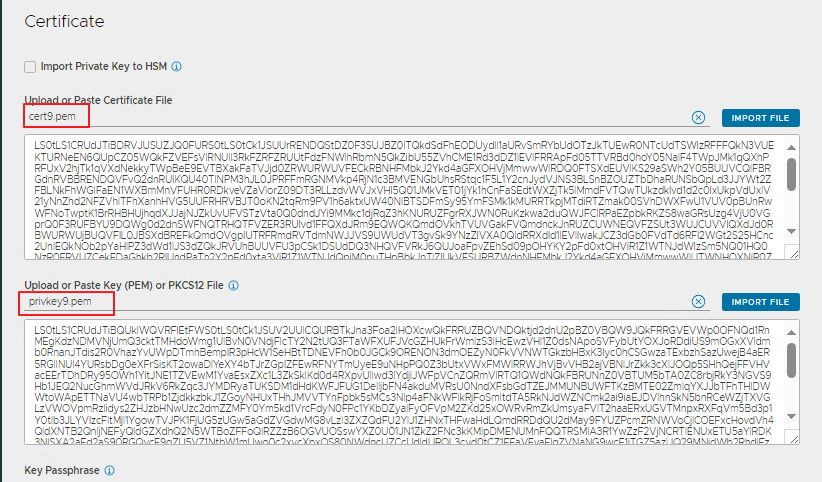
In the first import select the certificate file, in the second import the private key.
Validate and Save the change.
Now in to the certificate list we have the new SSL certificate

If the certificate has an orange warning it is probably because we don’t have the full certificate chain and we need to load the root and sub ca on NSX ALB.
In the same console page where we show the uploaded SSL certificate we have at the bottom a section where we see the Root and Sub CA and we don’t watch the R10
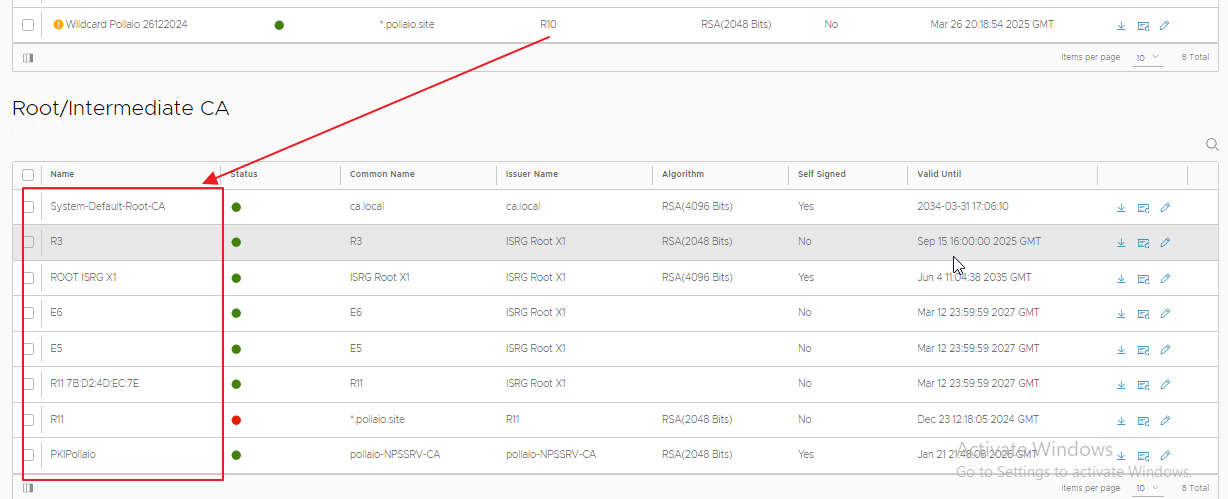
Ok, no problem we have the chain9.pem file …
Select Create the root/intermediate CA Certificate
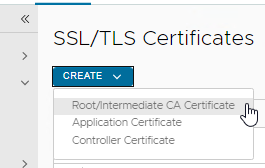
and import the pem chain file, Validate and Save

Now the row with the new certificate doesn’t show any warning or error

Now we are ready to replace the SSL certificate on Virtual Service.
Go to Application Menu, Virtual Service and edit the VS where we want to change the SSL certificate
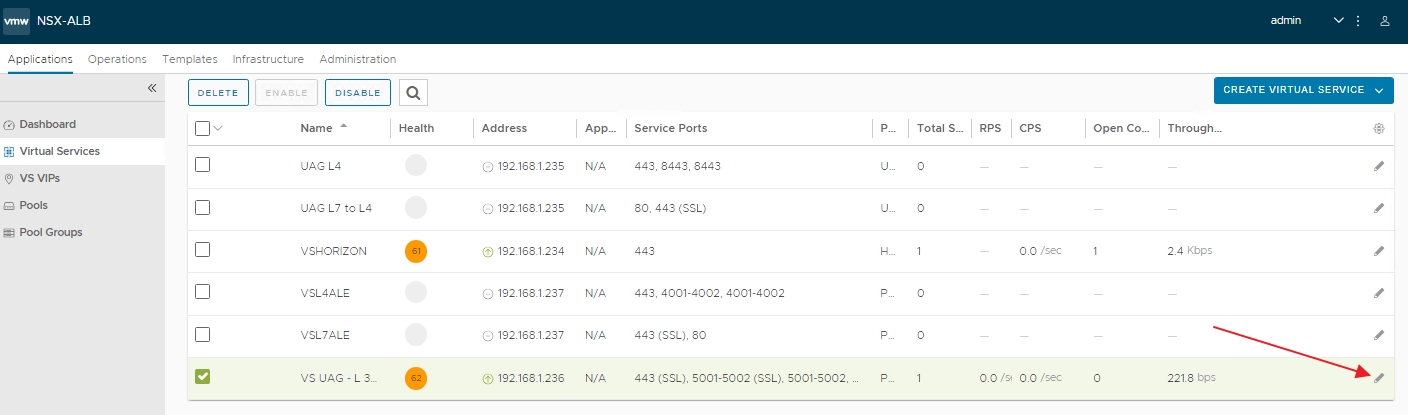
On the bottom select the correct certificate form menu and remove the old certificate, after Save the change.
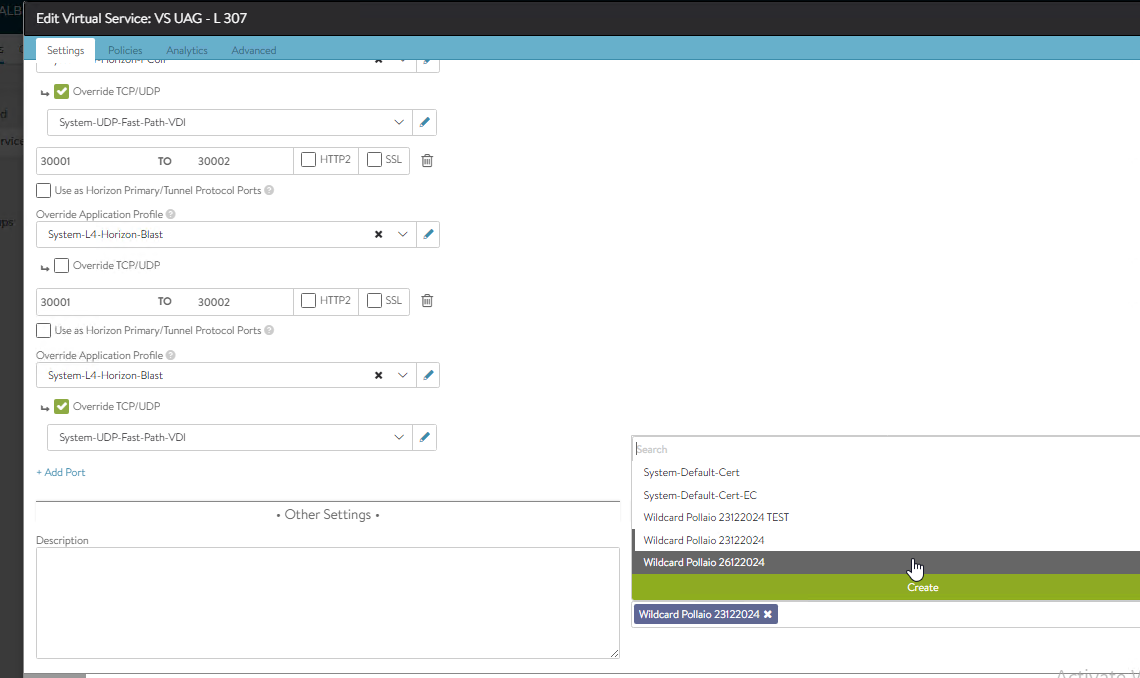
Now the SSL certificate is validated and I can connect to my VDI