VMware Horizon infrastructures often have the Unified Access Gateway (UAG) component to enable a secure connection from outside your corporate network to VDI.
This positioning makes the UAG subject to frequent updates, today we will see how to update it.
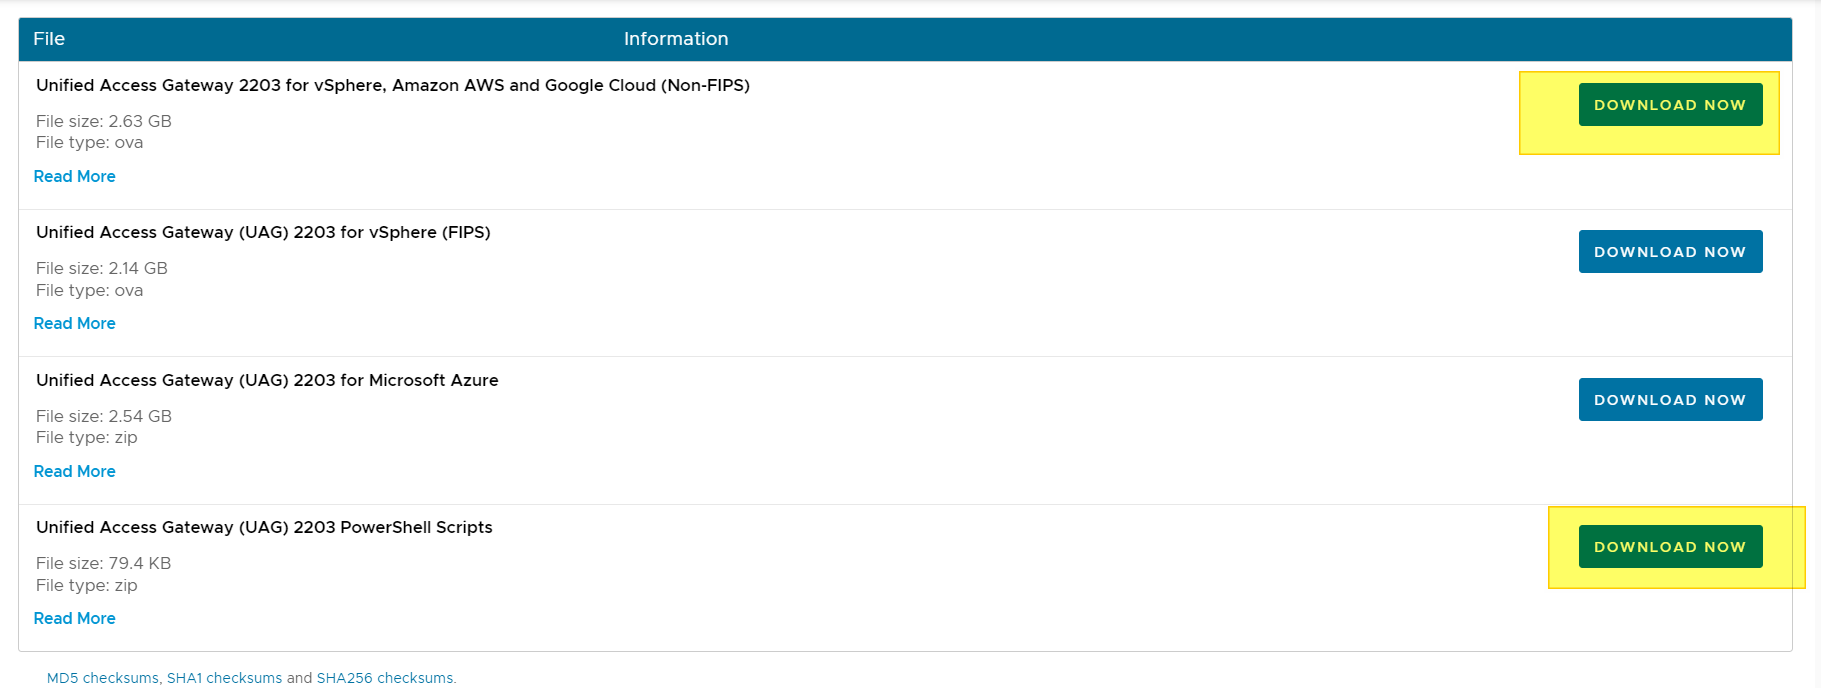
Download the ISO file of the version we want to update from the VMware Customer Site:

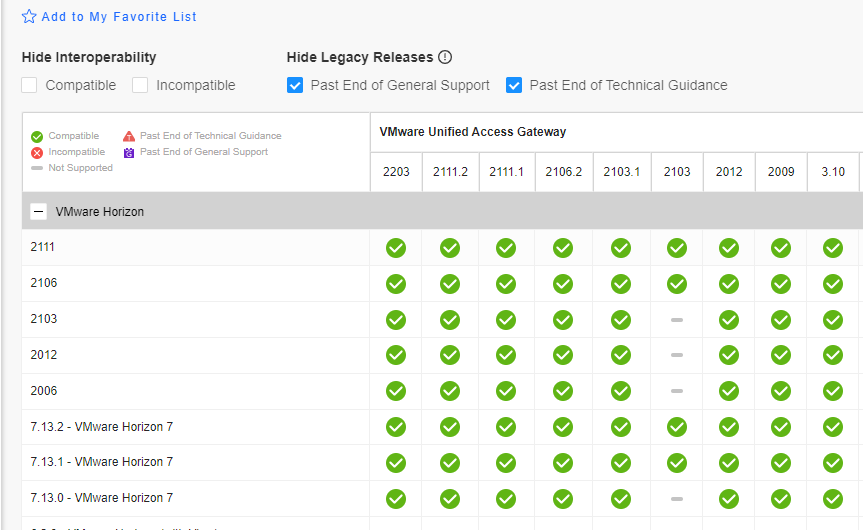
Check compatibility with your Horizon infrastructure:
Product Interoperability Matrix (vmware.com)

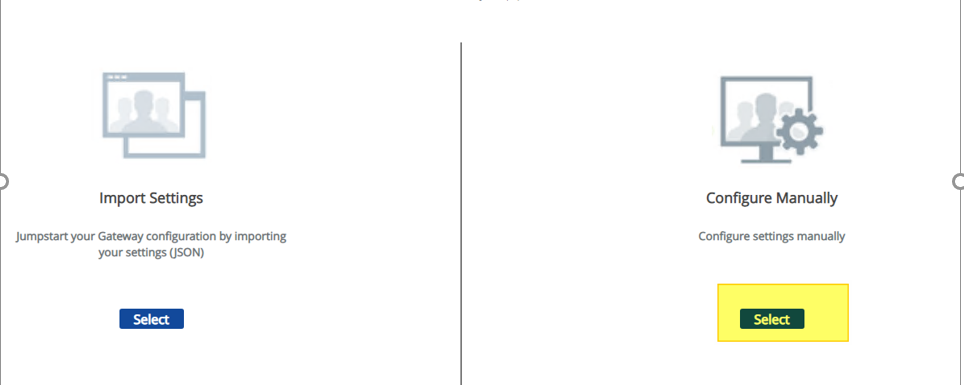
Download the INI file containing the current UAG configuration
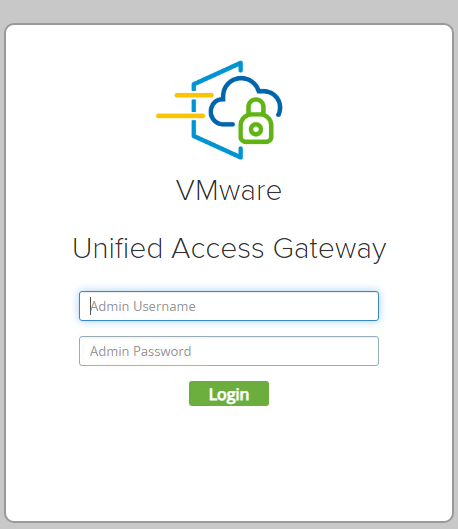
- Access the Unified Access Gateway interface
- HTTPS://<fqdnUAG>:9443
Using the credentials of the admin user

Once logged in, download the .ini file


Retrieving the information needed to complete the configuration file:
- Certificate for public access and password
- Certificate for the admin center and its password
- SAML component XML if integration with AZURE MFA
- Information on where to deploy (vCenter, Cluster, virtual network, datastore ) the Virtual Appliance of the new UAG
The data indicated will serve me to fill in the fields of the downloaded ini file
![Notepad
File Edit Format
[General]
netlnternet=
View
Help
ipø=192.168.247.54
diskMode=
ip1=192,168,246.54
defaultGateway=192.168.247.1
target=
ds=
routes
2.168.246.1,192.168.4.0/24 192.168.246.1,172.25.2.0/23 192.168.246.1,172.25.6
netmaskØ=255.255.255. or
netManagement etwor
net3ackendNetwork
• pØA110cationMode=STATICV4
name=
deploymentOption=twonic
forceNetmaskØ=255.255.255. or
forceNetmask1=255.255.255. or](https://vmvirtual.blog/wp-content/uploads/2022/05/notepad-file-edit-format-general-netlnternet.png)

I summarize the info required in this table
| Sector | Field | Description |
| General | netInternet | PortGroup on which to certify the network card that communicates to the internet world * |
| General | diskmode | Thin or Thick |
| General | Source | Absolute path where the ISO resides |
| General | Target | Path of the vSphere infrastructure where we will deploy the virtual appliance |
| General | Ds | Datastore where the VM will be created |
| General | netManagementNetwork | Portgroup on which to certify the network adapter for UAG management * |
| General | netBackendNetwork | Portgroup on which to certify the network adapter for UAG management * |
| General | Name | Virtual Machine Name |
| General | uagName | Hostname of the UAG (normally to be left that of the UAG to be replaced) |
| SSLCert | pfxCerts Property | Path where the SSL Certificate generated by a public CA in password protected PFX format used to access VDI by Horizon Clients resides |
| SSLCertAdmin | pfxCerts Property | Path where the SSL Certificate generated by a CA (normally Microsoft and Private) used to secure and validate access to the UAG Management Interface resides |
| IDPExternalMetadata1 | metadataXmlFile Property | XML file of the Identity Provider (In this case Azure AD) to enable Azure MFA for access |
*VMware recommends at least two network adapters in two different segments for production environments
- One for internet traffic (I call it the EXT-DMZ)
- One for traffic to the internal LAN (I call it the INT-DMZ)
It is possible to create environments with 1 or 3 network adapters, in the first case VMware recommends only one card only for test environments, and in the second to also differentiate the management traffic that otherwise, in the two-card configuration would pass through the card that communicates with the internal LAN.
![Notepad
File Edit Format View Help
l[Generate1]
net Internet—DPG - EXT•4Zjjj)
ipe=192.168.247.55
diskMode—thick
source—E : - unified - access - gateway- 22.03. 1955Ø 91_OVFI Ø. Ova
ip1=192,168,246.55
default-Gateway=192.168.247.1
target—vi : / /vcaØ7
ds=vsanDatastore
routes1=172.16.e.Ø/16 192.168.246.1,192.168.4.0/24 192.168.246.1,172.25.2.0/23 192.168.246.1,172
netmaskØ=255.255.255. and
netManagementUetwork
net8ackendNetwork=DPG - INT - C*IZ
ipeA110cationMode=STATICV4
name-VilJAGØ3-22Ø3
deploymentOption=twonic
forceNetmaskØ=255.255.255. and
forceNetmask1-255.255.255. and
ip1A110cationMode=STATICV4
net-maski=255,255,255. and
authenticationT imeout—3ØØØØe
fipsEnab1ed—fa1se
sys L ogType=UDP
uagName=viuage3
clockSkewT01erance=6Øe](https://vmvirtual.blog/wp-content/uploads/2022/05/notepad-file-edit-format-view-help-lgenerate1.png)

At this point we can proceed with the deployment of the virtual appliance:
- The first step is Shutdown the old UAG Virtual Appliance (I suppose do you have at least two UAGs with a Load Balancer in front and at least a DNS round-robin for balancing the traffic to the Connection server)
.\uagdeploy.ps1 -iniFile UAG_Settings_VIUAG04.ini

Allow CEIP

Insert password for PFX Certificate File
![]()
Insert a new (or reuse the old) password for the Root account (for access to UAG OS) and Admin account (for access to UAG WEB admin console)

Waiting to complete the UAG Deploy (You can check the process from the vCenter task)
Now the new UAG virtual appliance is up and running!! Test it and apply the same step for all UAG virtual appliances of your VMware Horizon Infrastructure.